Overview
This post describes the steps to install the Sophos Central Deployment Script for NinjaRMM and setup the Auto Deployment Policies (Windows Only).
Note: If you need assistance with plugin implementation, please contact MSP.SE@sophos.com for support.
Download the Customer CSV File from the Partner Dashboard
Please review the Central Partner - Customer CSV section under Integrations if you don't know how to find this.
Download the Sophos Central Script
Download the Sophos Central Script for NinjaRMM Here and extract the contents.
Create a New Scripting Category
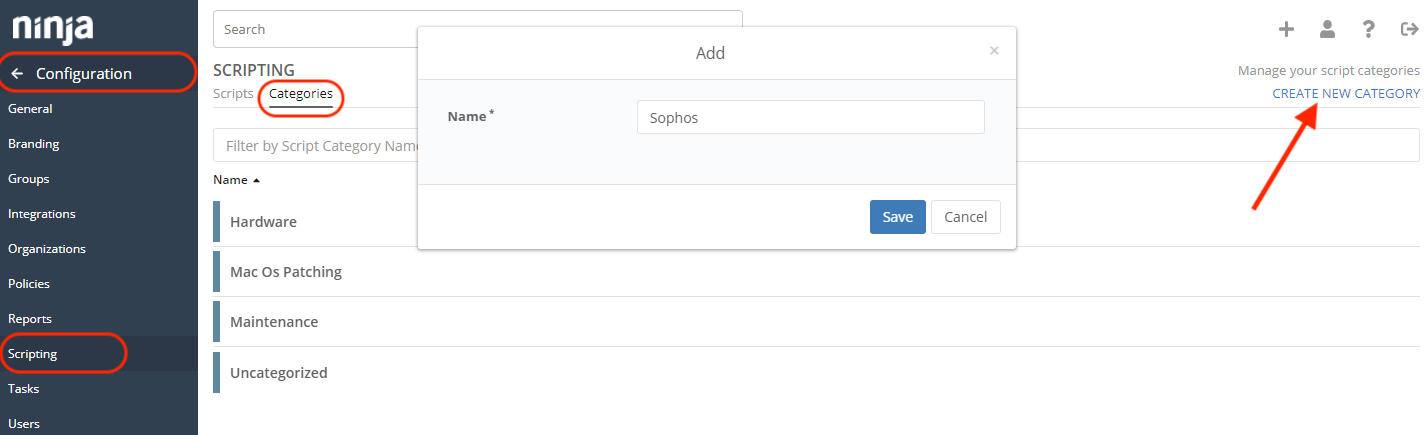
To do this click on Configuration and then Scripting in NinjaRMM.
Select the Categories
Click on Create New Category
Enter the Name: Sophos
Importing the Sophos Central Deployment Script
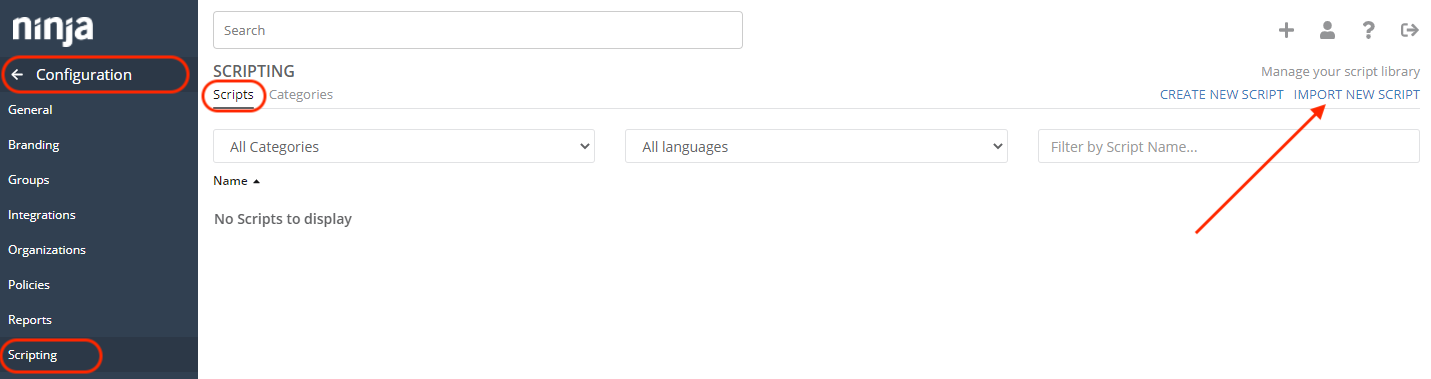
To do this click on Configuration and then Scripting in NinjaRMM.
Click on Import New Script
Select the Sophos Central Deployment PS1 File that was downloaded and extracted.
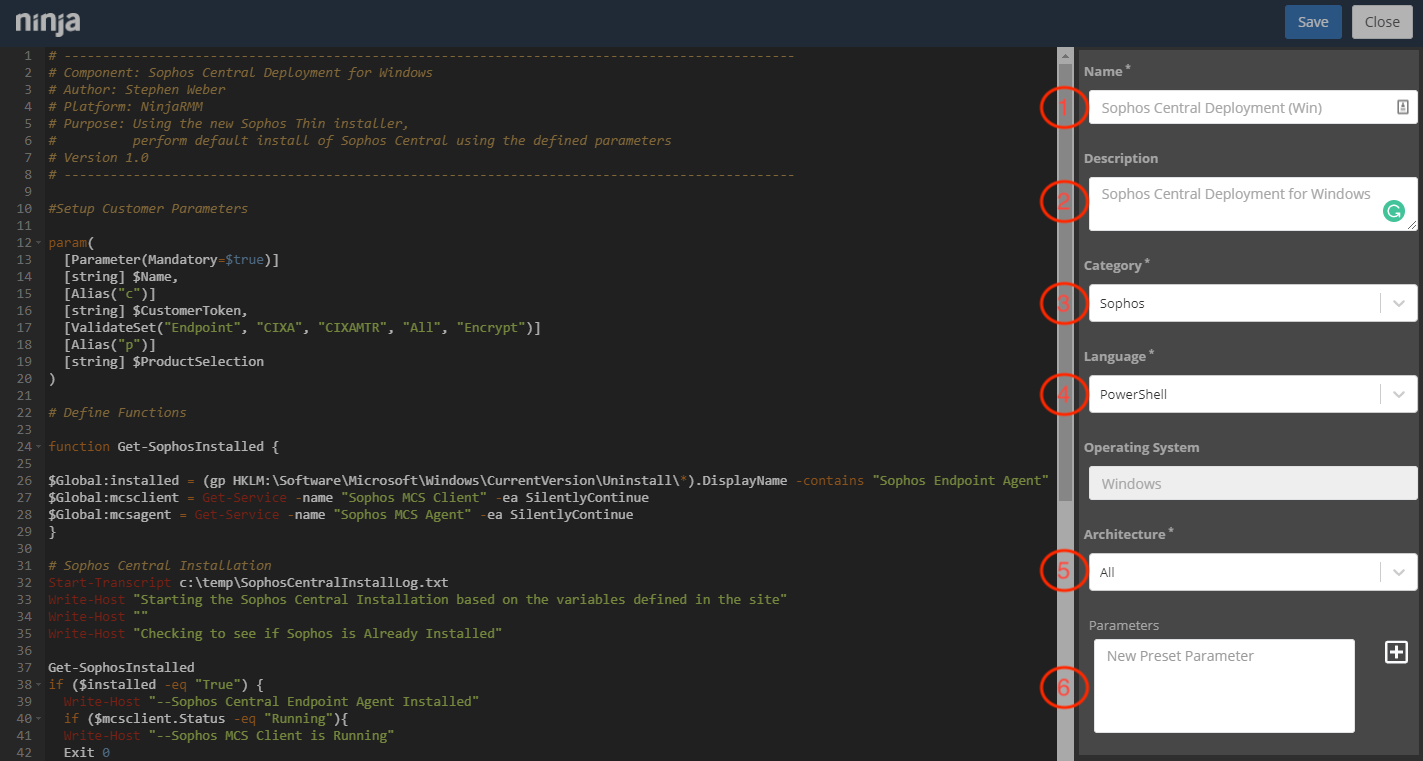
Fill in the Script Details on the right side from the options below. You can copy and paste where available.
1 - Name: Sophos Central Deployment (Win)
2 - Description: Sophos Central Deployment for Windows
3 - Category: From the dropdown select Sophos which was created in the first step.
4 - Language: Verify that Powershell is selected
5 - Architecture: Select All from the dropdown
6 - Parameters: Leave this blank for now. Parameters will be explained in the Parameters section.
Your Sophos Central Deployment Script is now installed into NinjaRMM.
Next Steps
Parameters - Parameters are needed to assign the Customer and Products that will be installed during the deployment.
Policies - Policies can be used to Automatically Deployment Sophos Central Endpoint on any new Workstation or Server for that customer.