A few notes
This wiki page explains how to setup a MDR data collector VM in Hyper-V. It is intended for the QA testers on Ben’s team, but if someone else wants to test with Hyper-V and they have their own test environment setup then most of this wiki should apply. The Hyper-V server that I setup for this testing can only run one VM at time.
Accessing the Hyper-V Server
-
Use Team Viewer to access the Ubuntu VM in my home test environment
-
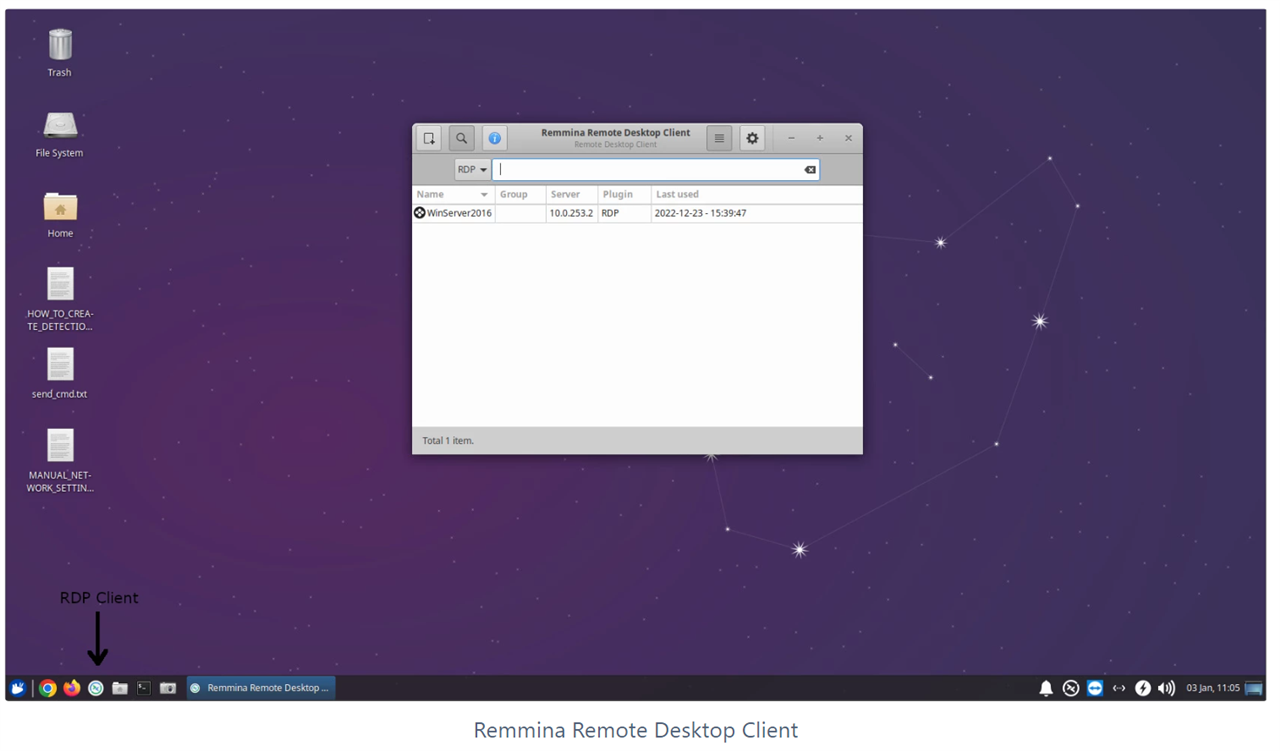
Click on the RDP Client icon in the taskbar.
-
Double-click on the
WinServer2016entry
Creating and Downloading the VM
-
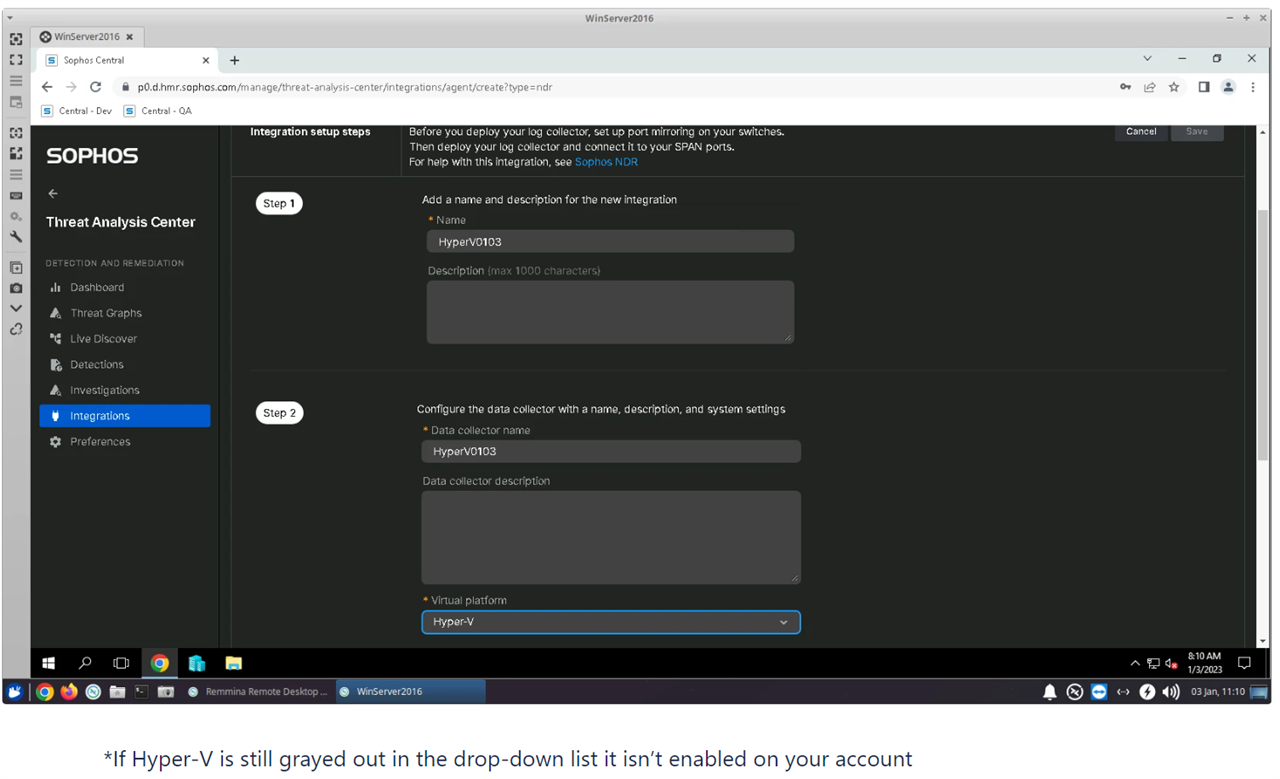
Login to your Central dev/test account
-
Create an integration selecting
Hyper-Vfor the virtual platform* -
Download the image once it is ready
Installing the VM
-
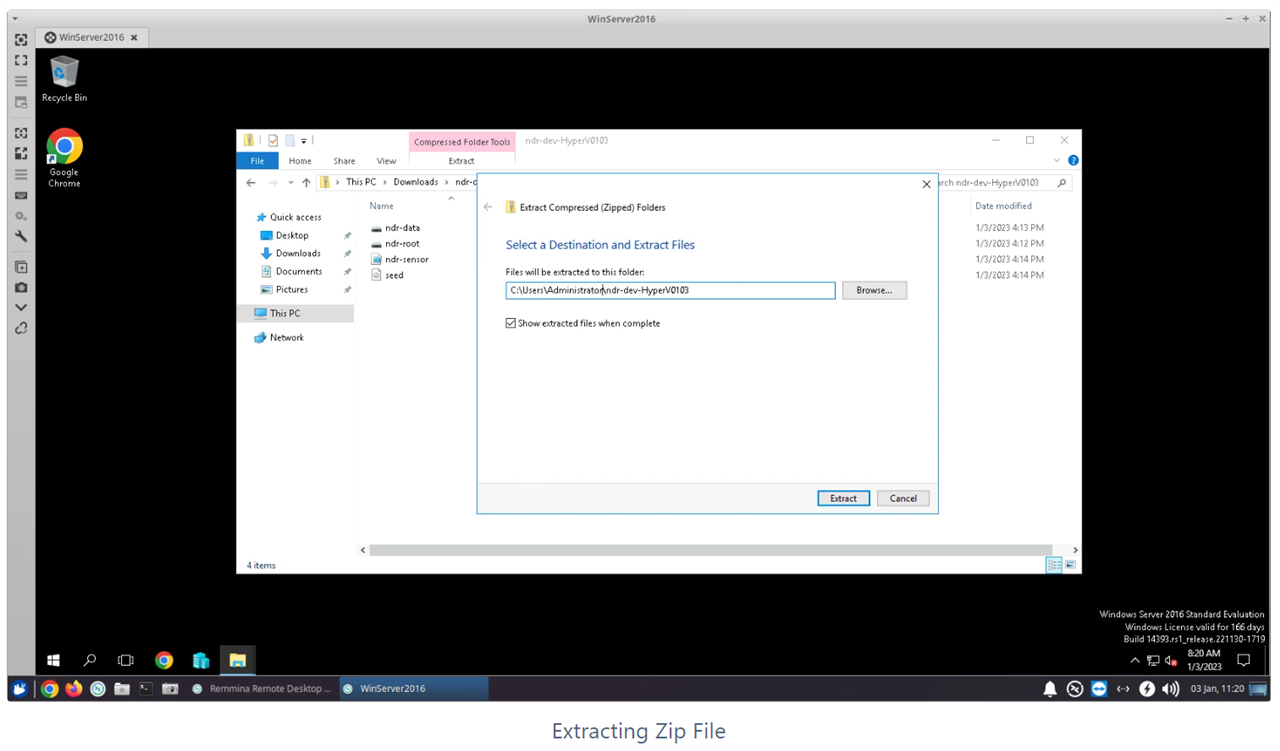
Extract the zip file into a new folder under the users directory
-
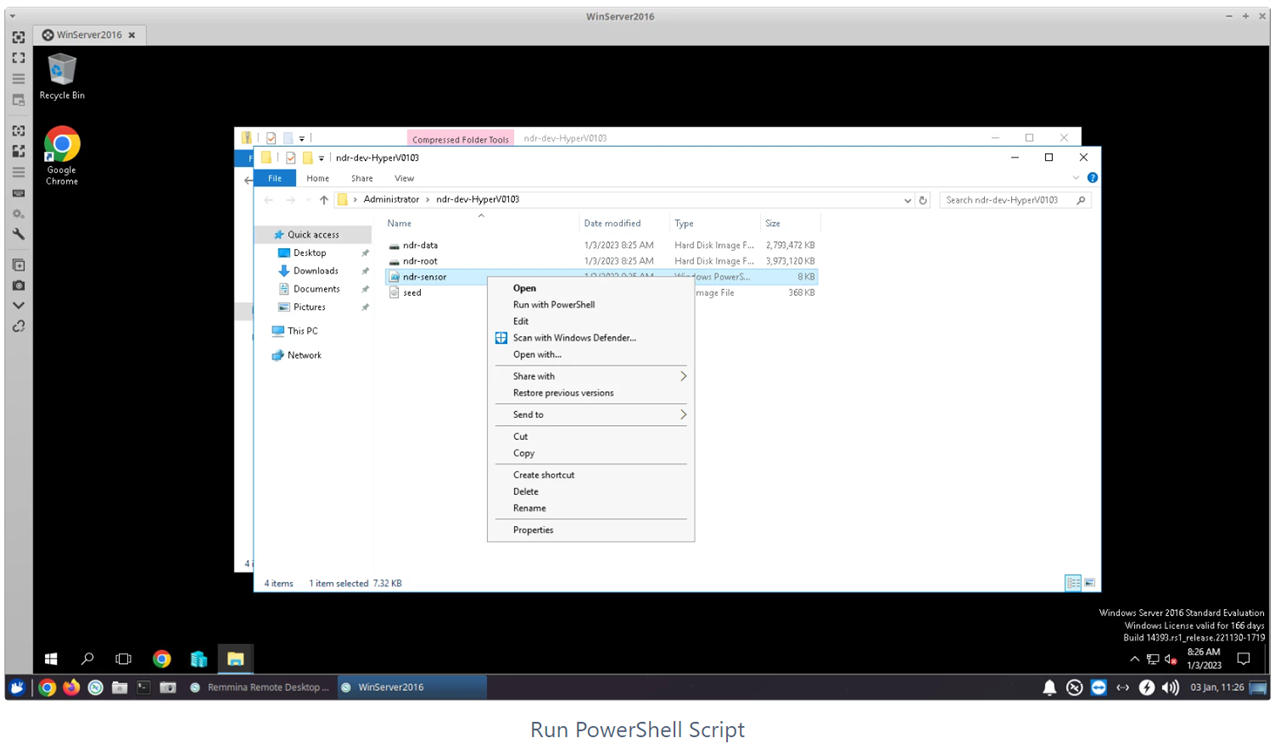
Navigate to the new folder, right click on the
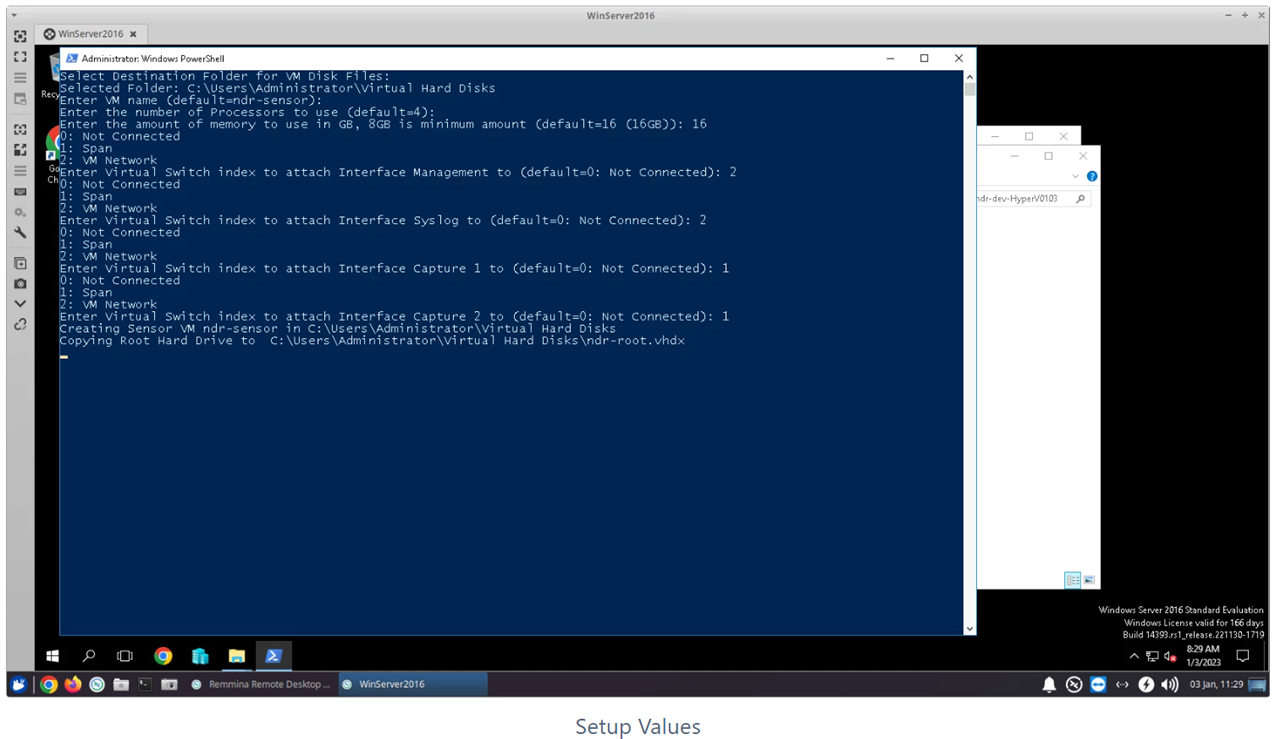
ndr-sensorfile, and selectRun with PowerShell -
Use the same values for each question as shown in the last image below
Running the VM
-
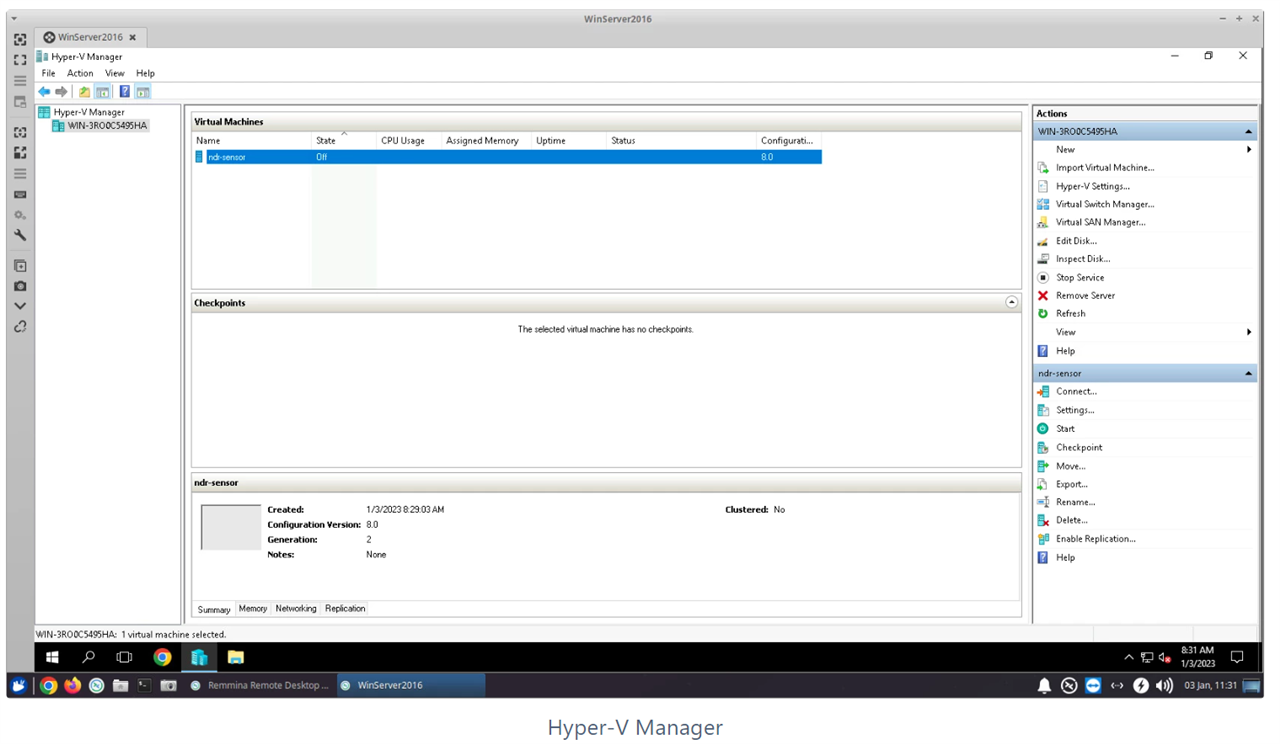
Open the Hyper-V Manager application, you should see the newly installed VM under
Virtual Machines -
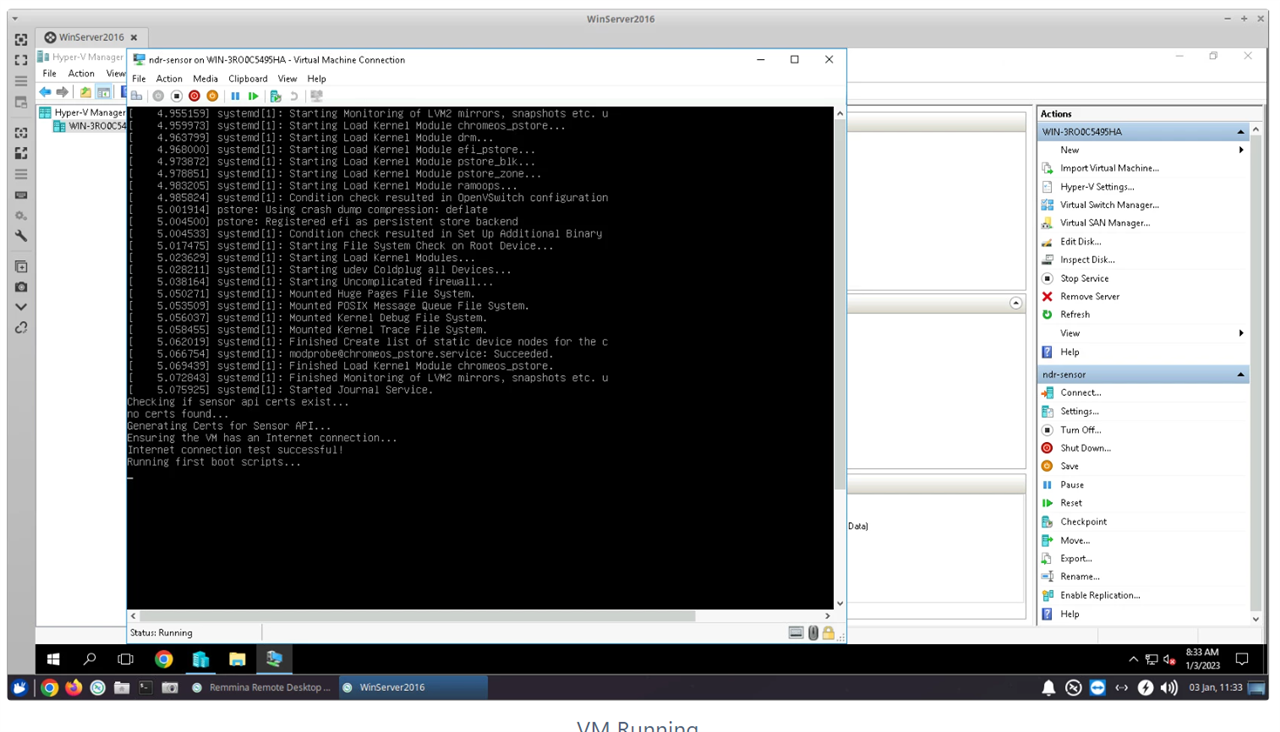
Click on the VM, then in the lower right pane, select
Startand thenConnect
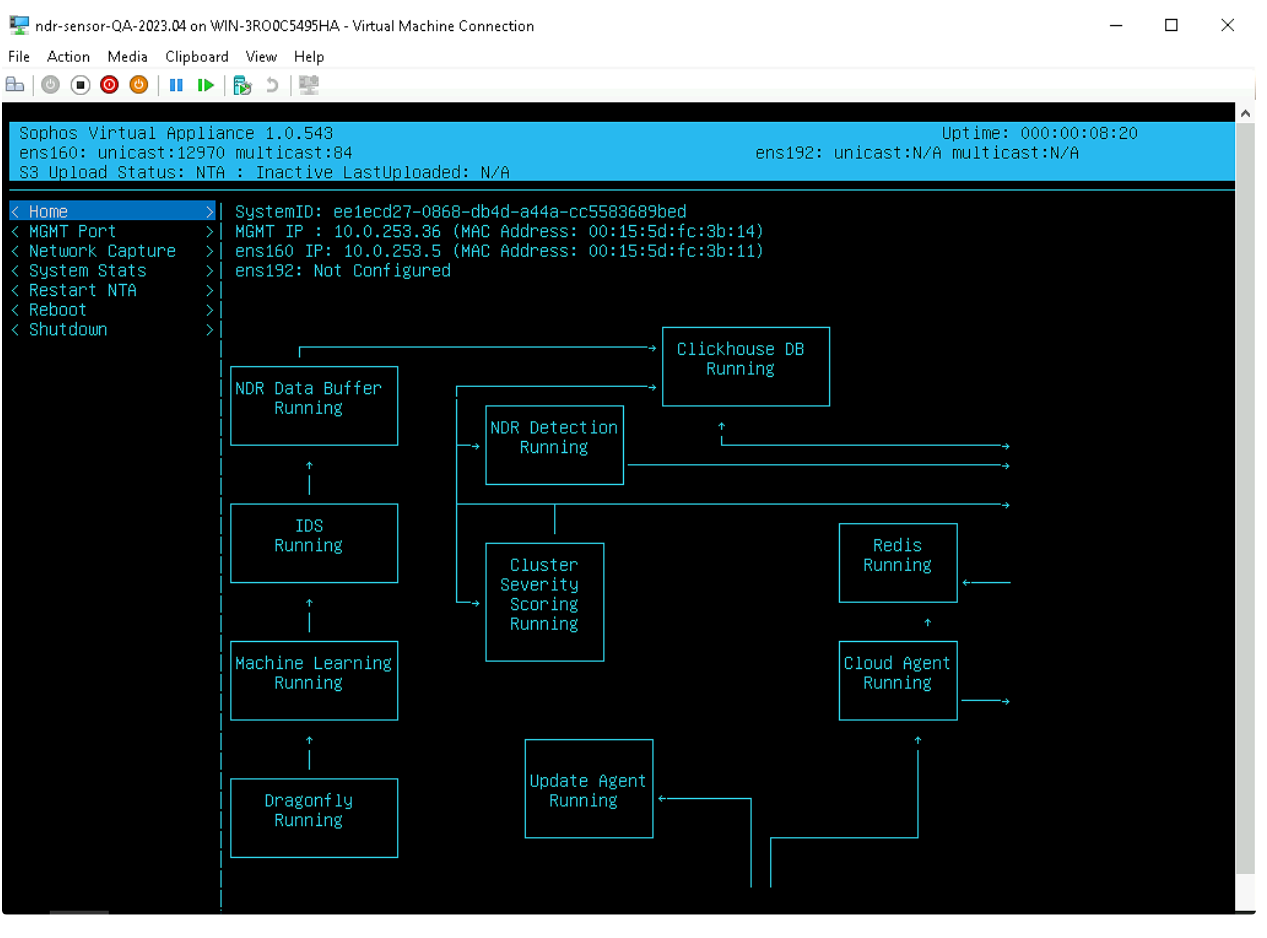
Configuring Network Interface to be used
Use below settings :
Send data for malware detections
In terminal run: pcaprunner -r 2022-02-25-Emotet-epoch5-with-Cobalt-Strike.pcap -d 10.0.253.5 -s
