

Disclaimer: This information is provided as-is for the benefit of the Community. Please contact Sophos Professional Services if you require assistance with your specific environment.
Table of Contents
Overview
This Recommended Reads is Part 1 of the Series "Access the Sophos Firewall Web Admin from ZTNA.
Note: The information in this Recommended is relevant to creating a certificate without following the full series.
Requirements
- Linux or Windows machine with Certbot
- Access to a 3rd Party Public DNS
Wildcard Certificate
By default, ZTNA needs a wild certificate signed by a Public CA; you can get one for free using Let' Encrypt and Certbot.
In my case, I installed Kali Linux in a VM, but you can use any Ubuntu distro.
1. Open a Terminal in Kali and enter the following:
sudo apt-get update
└─$ sudo apt-get -y install certbot
(you might be asked to enter your sudo password)
After updating apt database, We can install certbot using apt-get by running the following command:
sudo apt-get -y install certbot
└─$ sudo apt-get -y install certbot
(you might be asked to enter your sudo password)
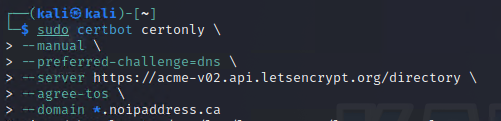
Once Certbot is installed, enter
└─$ sudo certbot certonly \
> --manual \
> --preferred-challenge=dns \
> --server acme-v02.api.letsencrypt.org/directory \
> --agree-tos \
> --domain *.yourdomain.ca
And press enter
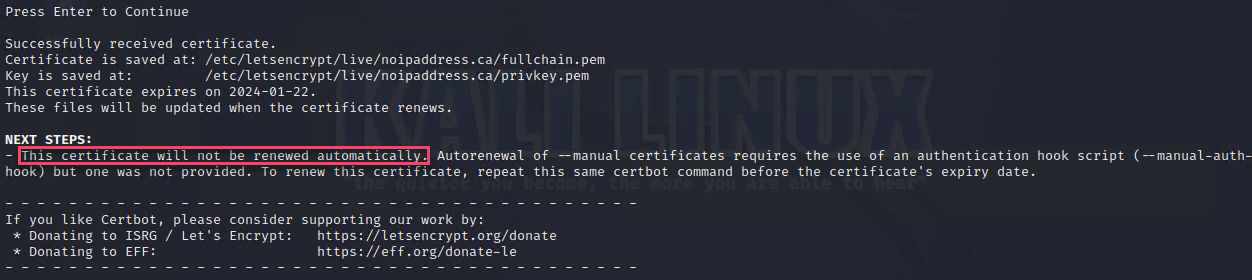
You should get the following output, (make a note of the two values marked in red)
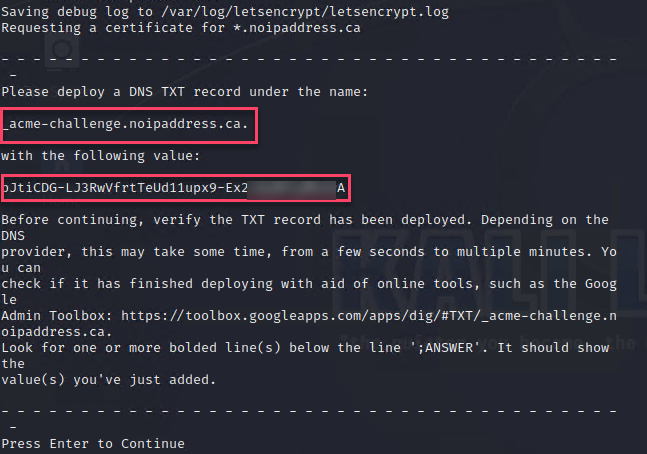
Note: Do NOT press enter at this time
The above asks you to create a TXT Record in your Public DNS where your domain is registered so that Let's Encrypt can confirm that you own the domain.
I am using NameCheap
In Name Cheap go to your Domain List
Find the Domain you entered in the command above (the one Let's encrypt will create the certificate for) and click Manage

Then go to Advanced DNS > Host Records
Click Add New Record
Select
Type = TXT
Host = _acme-challenge
Value = pJtiCDG-LJ3RwVfrtTeUd11upx9-Ex*********A
TTL = Automatic

Note: Make sure you enter the complete value, I substituted some letters for * in the RR on purpose)
Note: This is the format Namecheap follows for the TXT, it might be different for other DNS providers.
Wait around 2 minutes and then press enter in Kali, if your TXT record is correct and has propagated you should see the following:
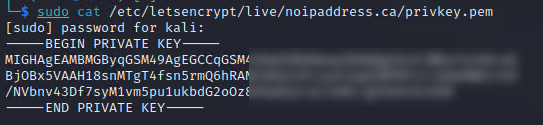
The easiest way when using Kali, to see your certificate and key is by using sudo cat and then copying what you see to Notepad ++
In my case the cert and privkey are stored in etc/letsencrypt/live/noipaddress.ca/
In Kali I would enter the following:
sudo cat /etc/letsencrypt/live/noipaddress.ca/privkey.pem
Then enter your password, and you should see ---BEGIN PRIVATEKEY---
Copy ALL the text including --BEGIN PRIVATE KEY --- and ---END PRIVATE KEY----- and paste in Notepad++
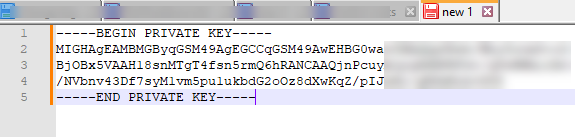
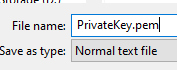
Save the file as .pem in Notepad++
Do the same for the fullchain.pem (this is your certificate)
Note: When you Cat the full fullcertificate, you’ll see 3 BEGIN and 3 END Certificates; you must copy and paste all of them in one go.
Save the File as .pem (Example cert.pem)
Keep in mind where you saved the files, as we would need them later on.
That is it for your Wildcard certificate.
TAGs
[edited by: emmosophos at 11:16 PM (GMT -8) on 10 Nov 2023]