

Disclaimer: This information is provided as-is for the benefit of the Community. Please contact Sophos Professional Services if you require assistance with your specific environment.
Table of Contents
Overview
This recommended read describes the required steps to set up Microsoft Windows Server Radius Authentication and the Sophos Firewall for wireless users.
This applies to the following Sophos products
Sophos Firewall
Configure RADIUS on Windows Server
Note:
- When the Sophos Firewall's wireless network security mode is set to WPA2 Enterprise, a Windows NPS network policy with PEAP is required.
- NPS network policy with EAP doesn't work for the WPA2 Enterprise wireless network.
- To configure PEAP, see Configure Certificate Templates for PEAP and EAP Requirements.
The Active Directory role must be set and configured before installing and setting up the RADIUS on Windows Server.
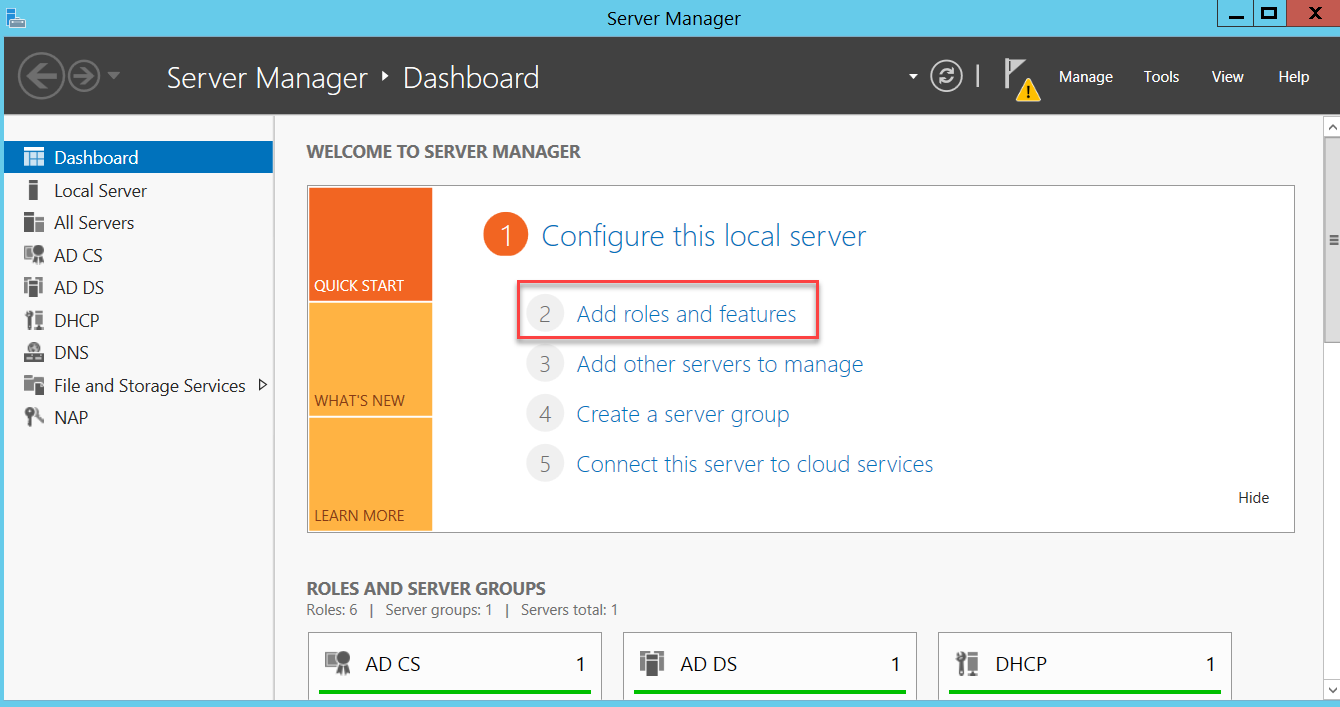
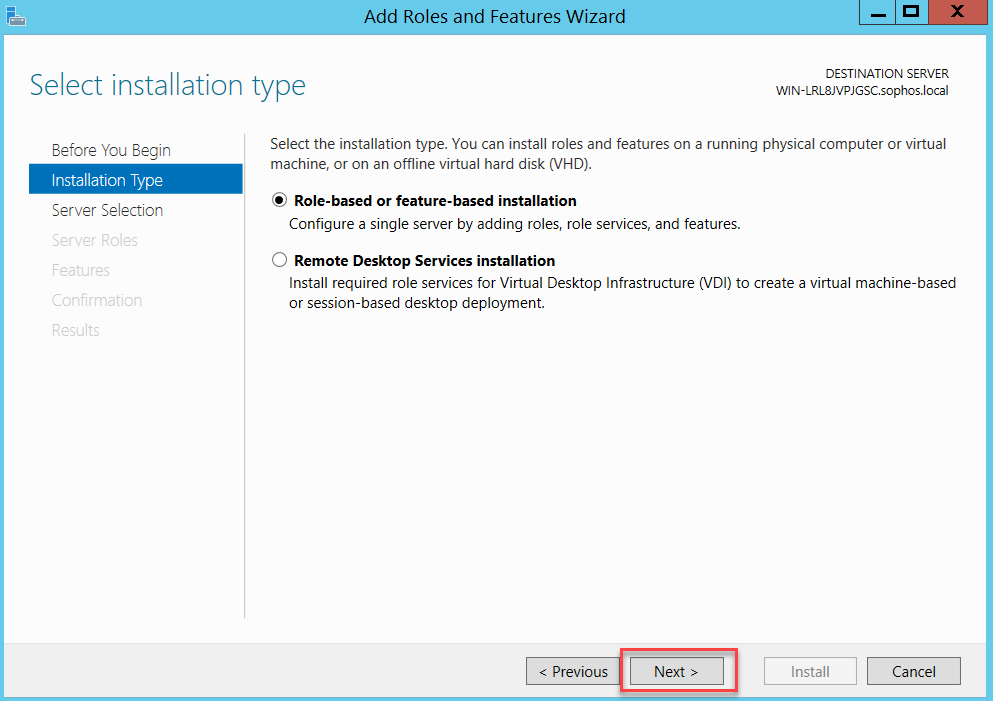
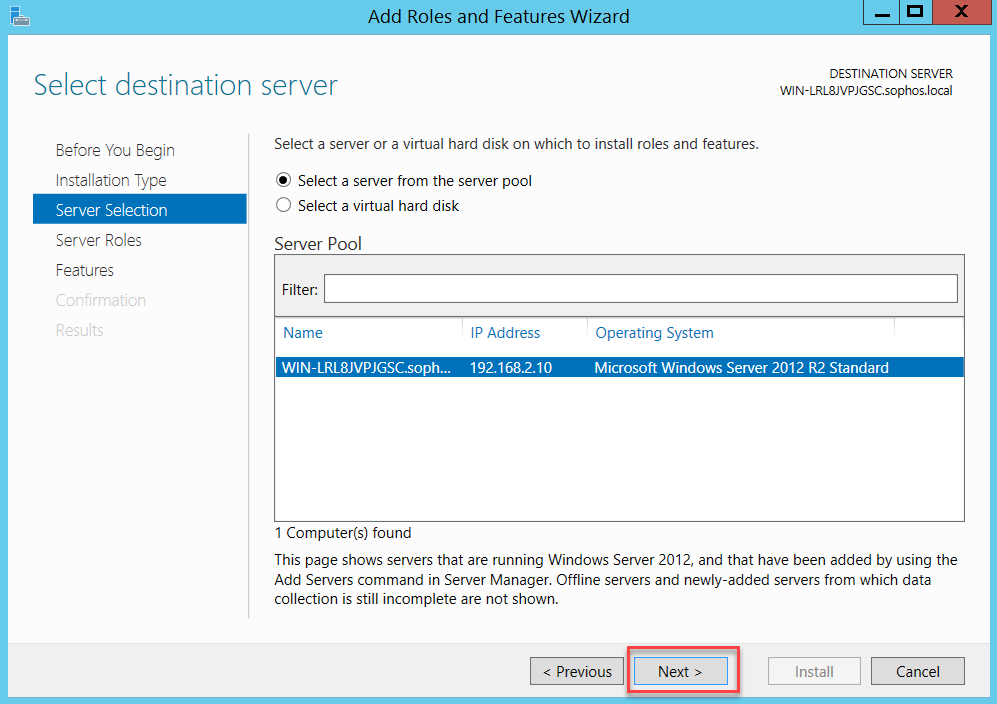
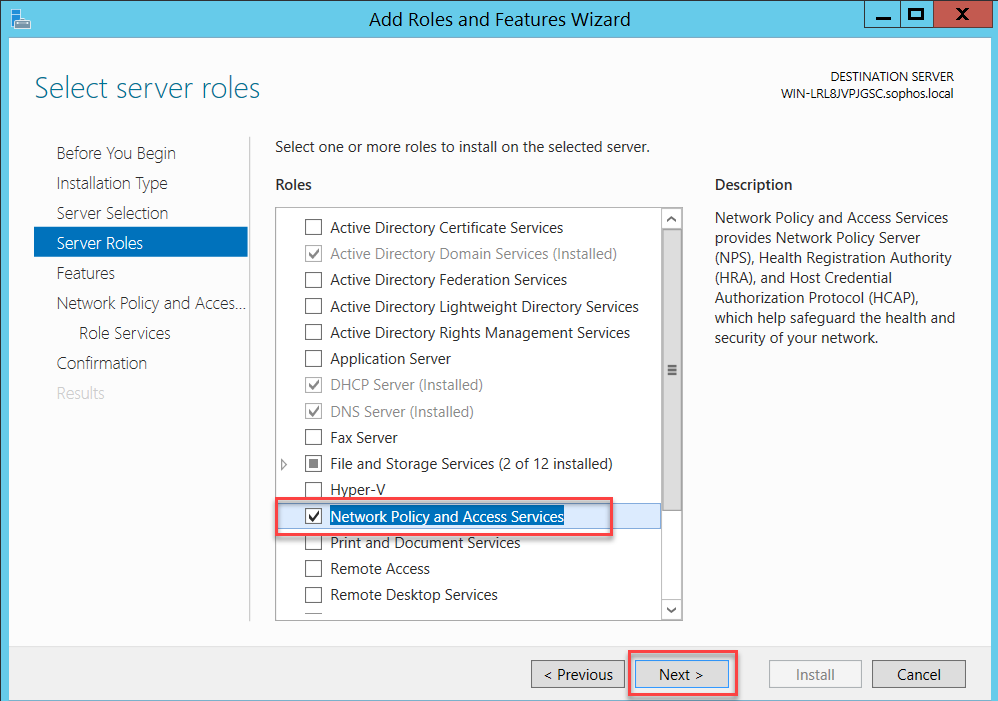
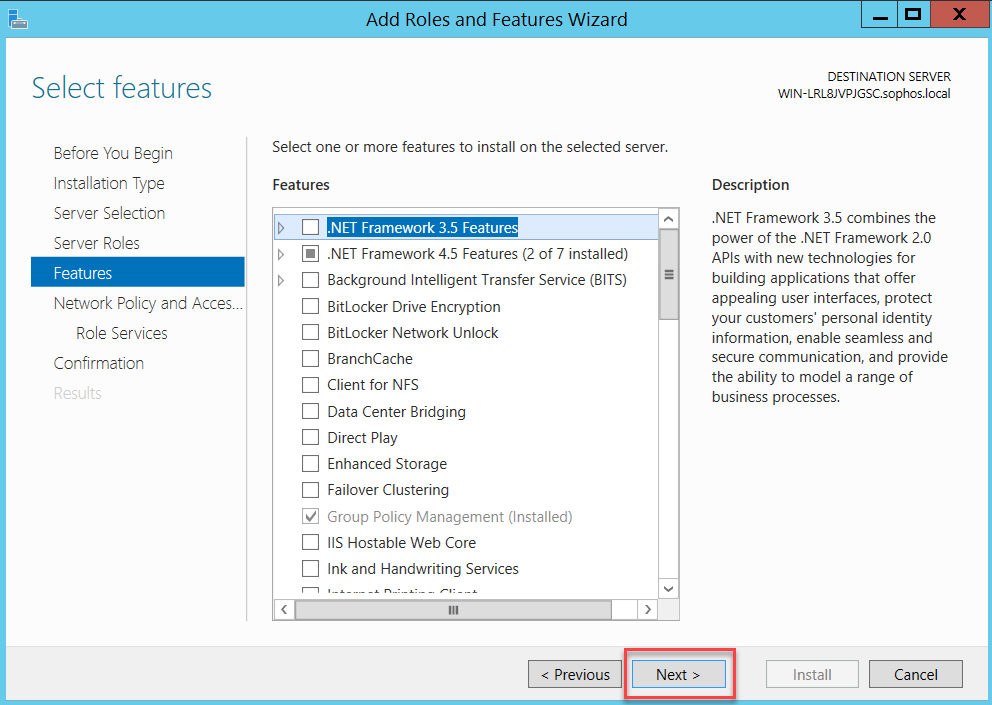
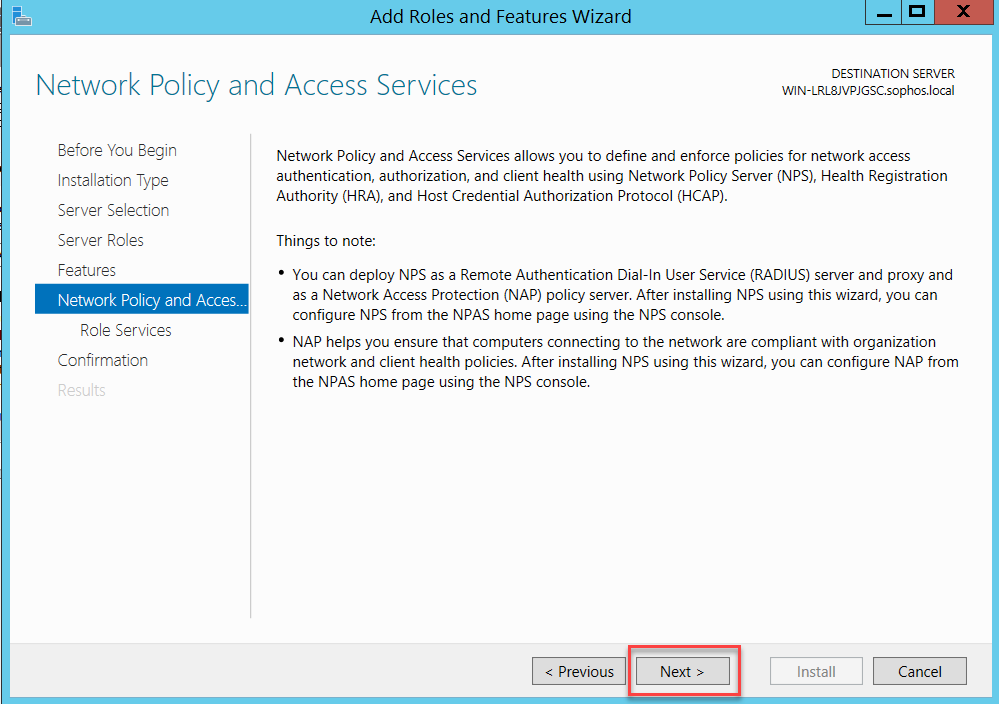
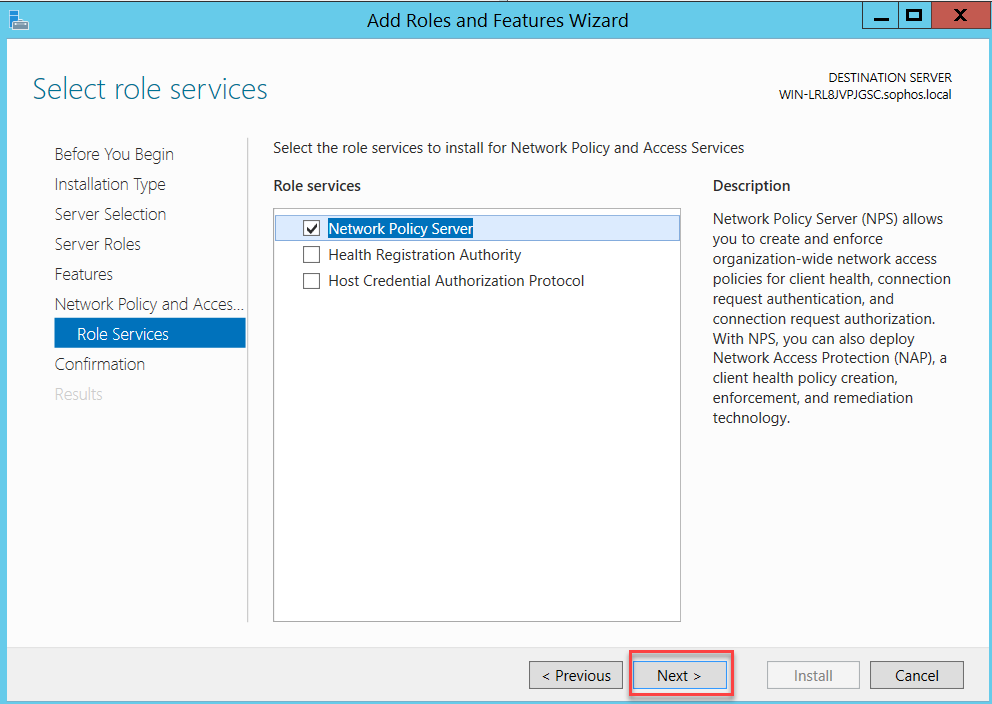
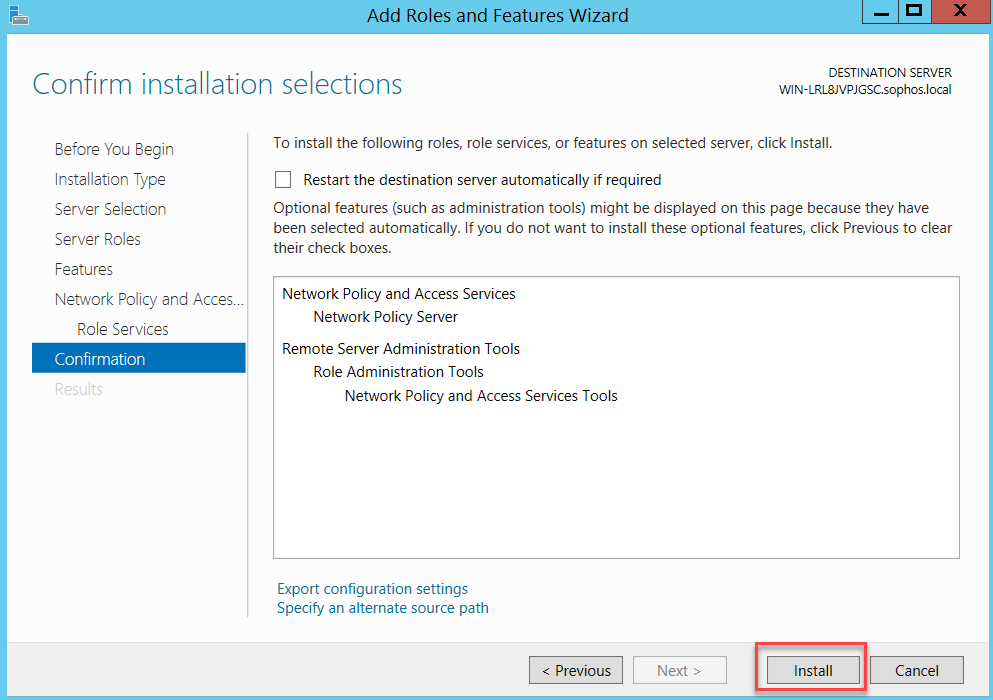
The RADIUS Server is located under the Network Policy Server (NPS) panel. On Windows Server 2012, the Network Policy and Access Services role can be added from Server Manager > Add Roles and Features.
Follow the assistant as below:

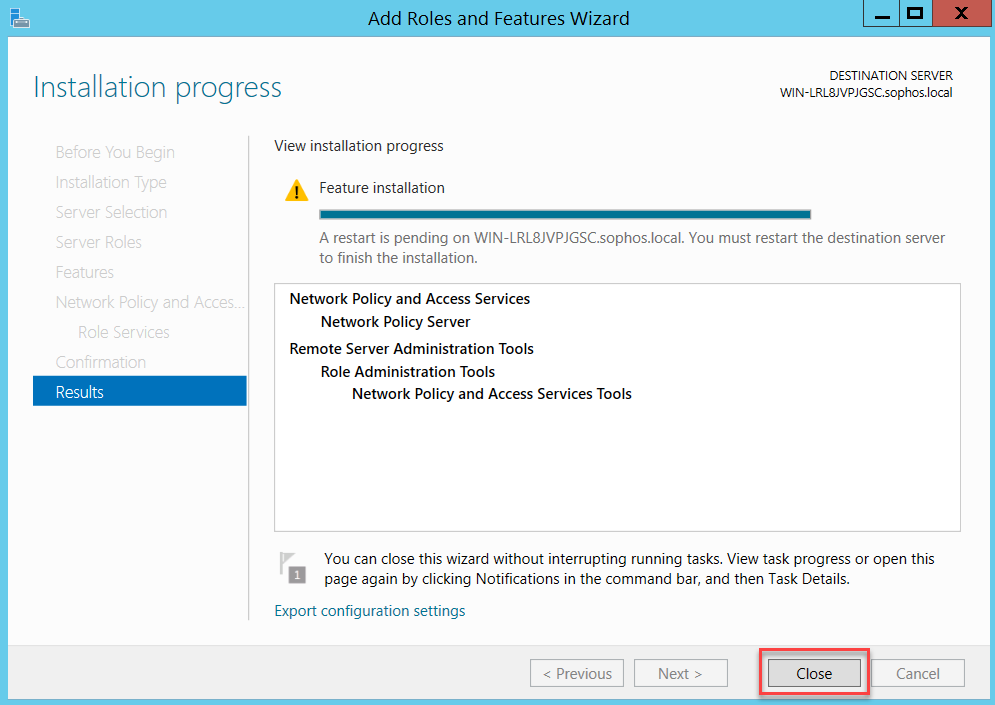
Click Close and restart your server.
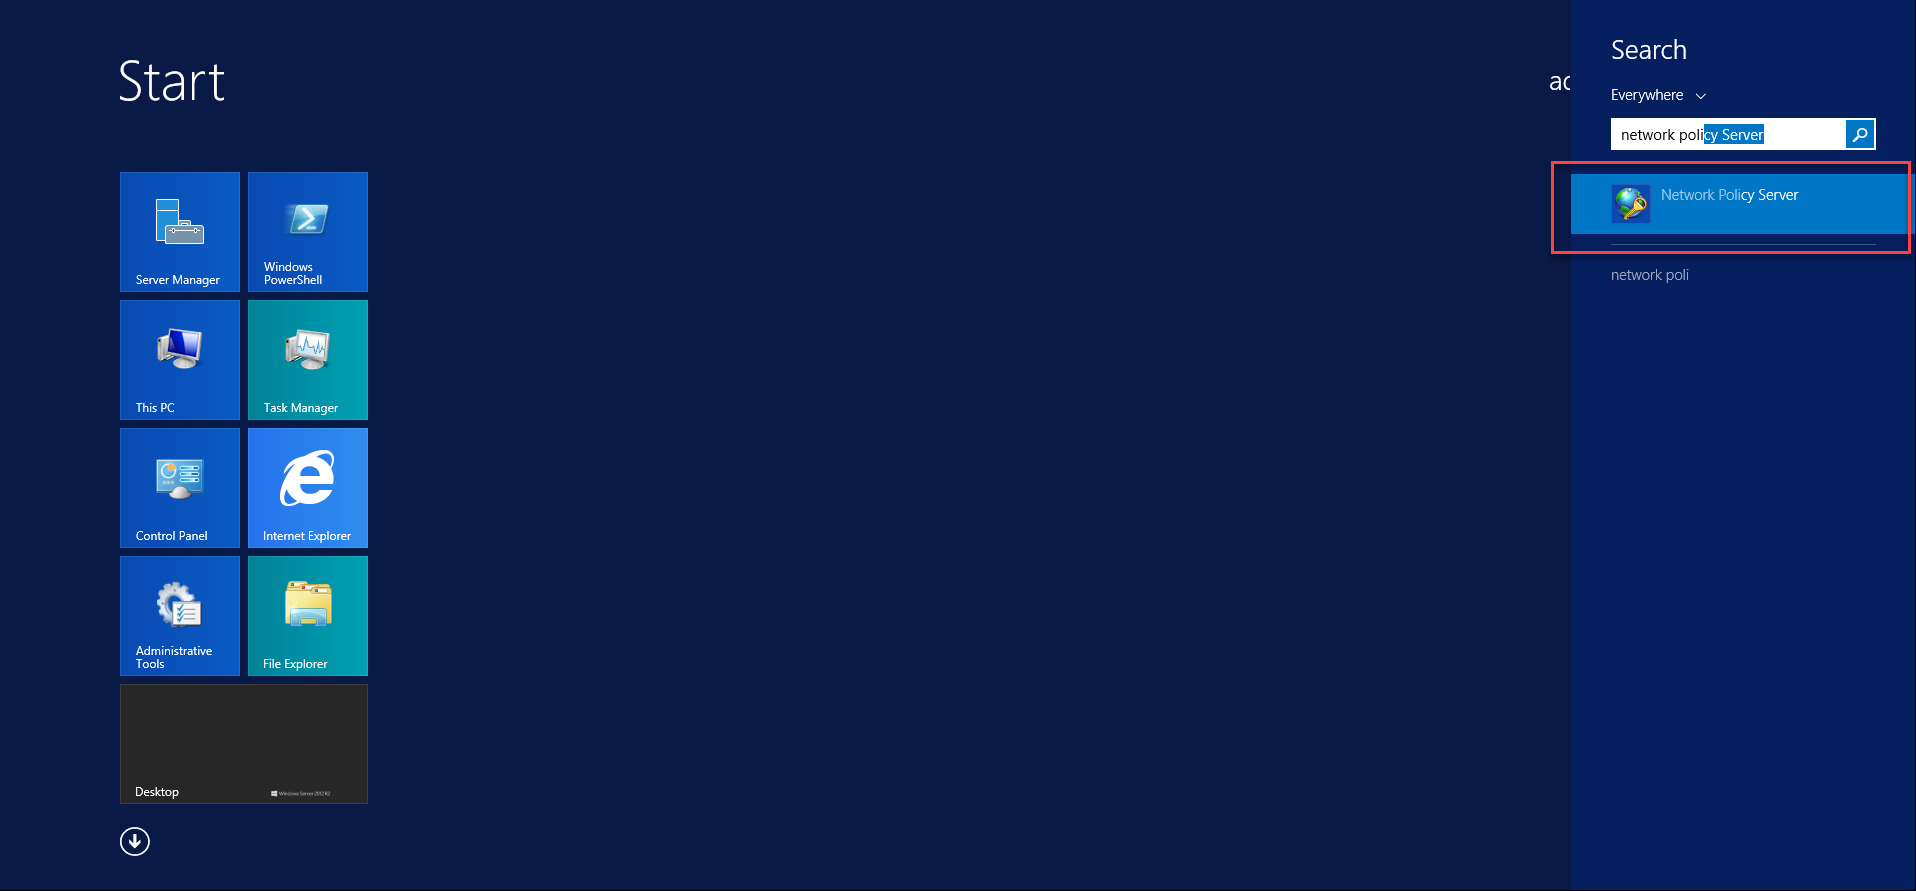
Look for Network Policy Server.
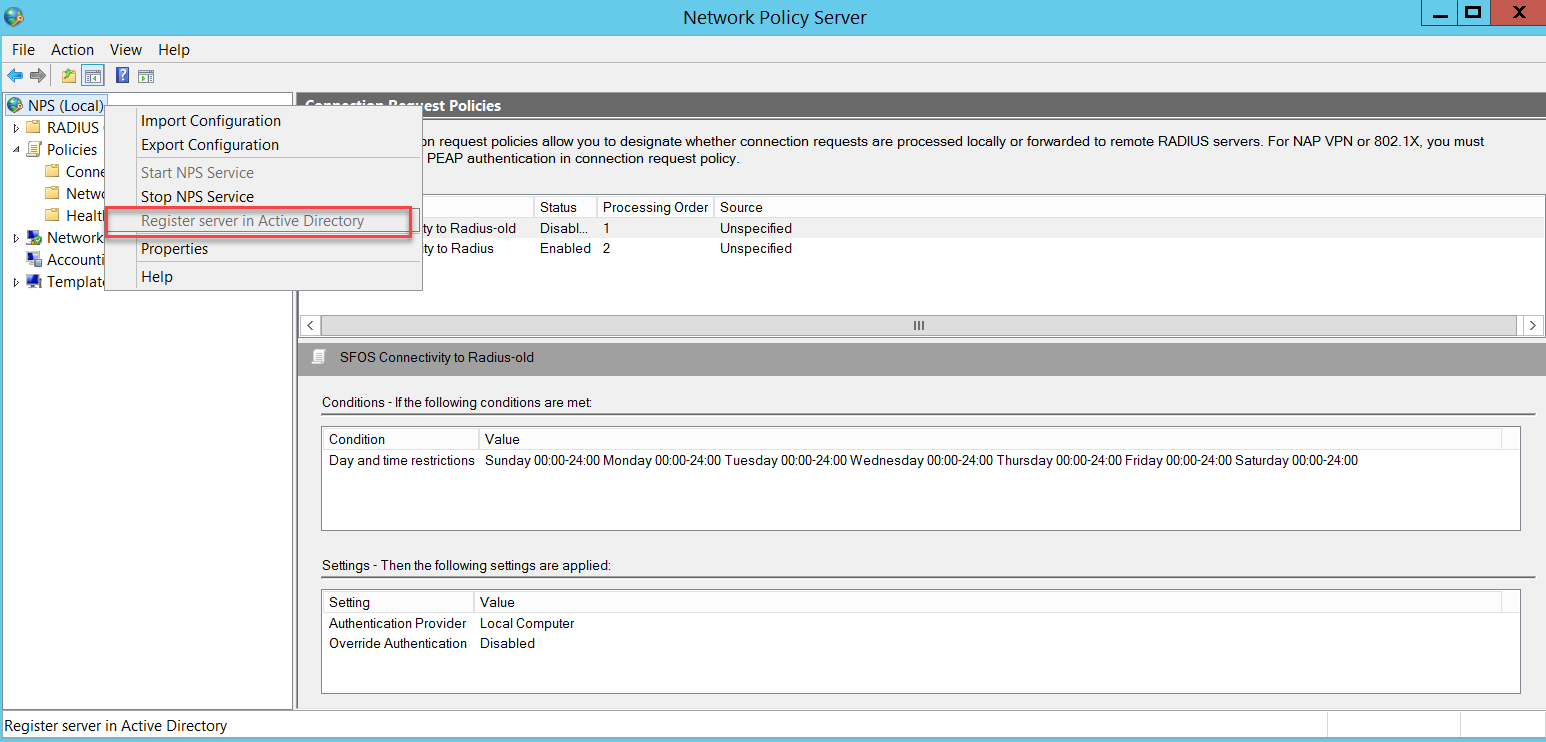
Go to NPS (Local) and right-click to select Register server in Active Directory.
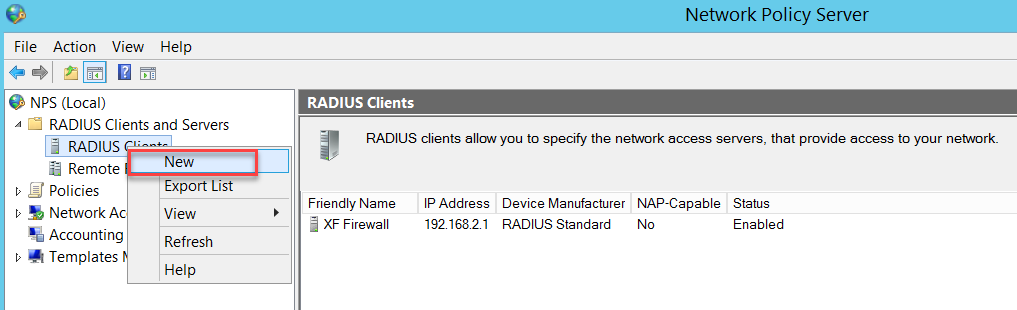
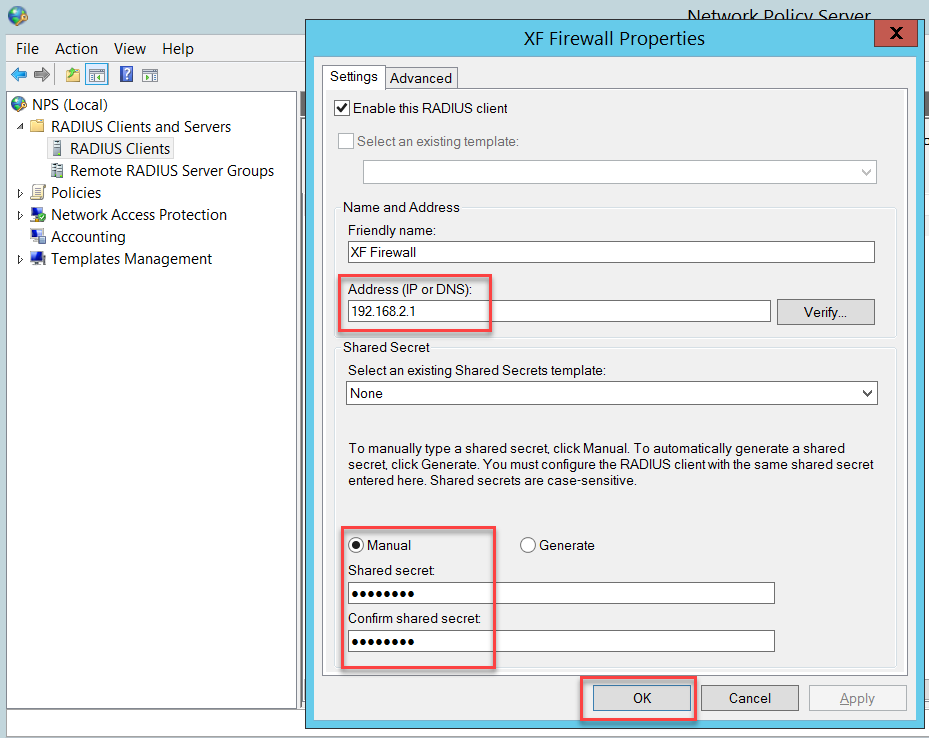
Go to NPS (Local) > RADIUS Clients and Servers > RADIUS Clients and right-click to select New.
Set the Sophos Firewall's IP address and the Shared secret. Note this shared secret for use when configuring the Sophos Firewall later.
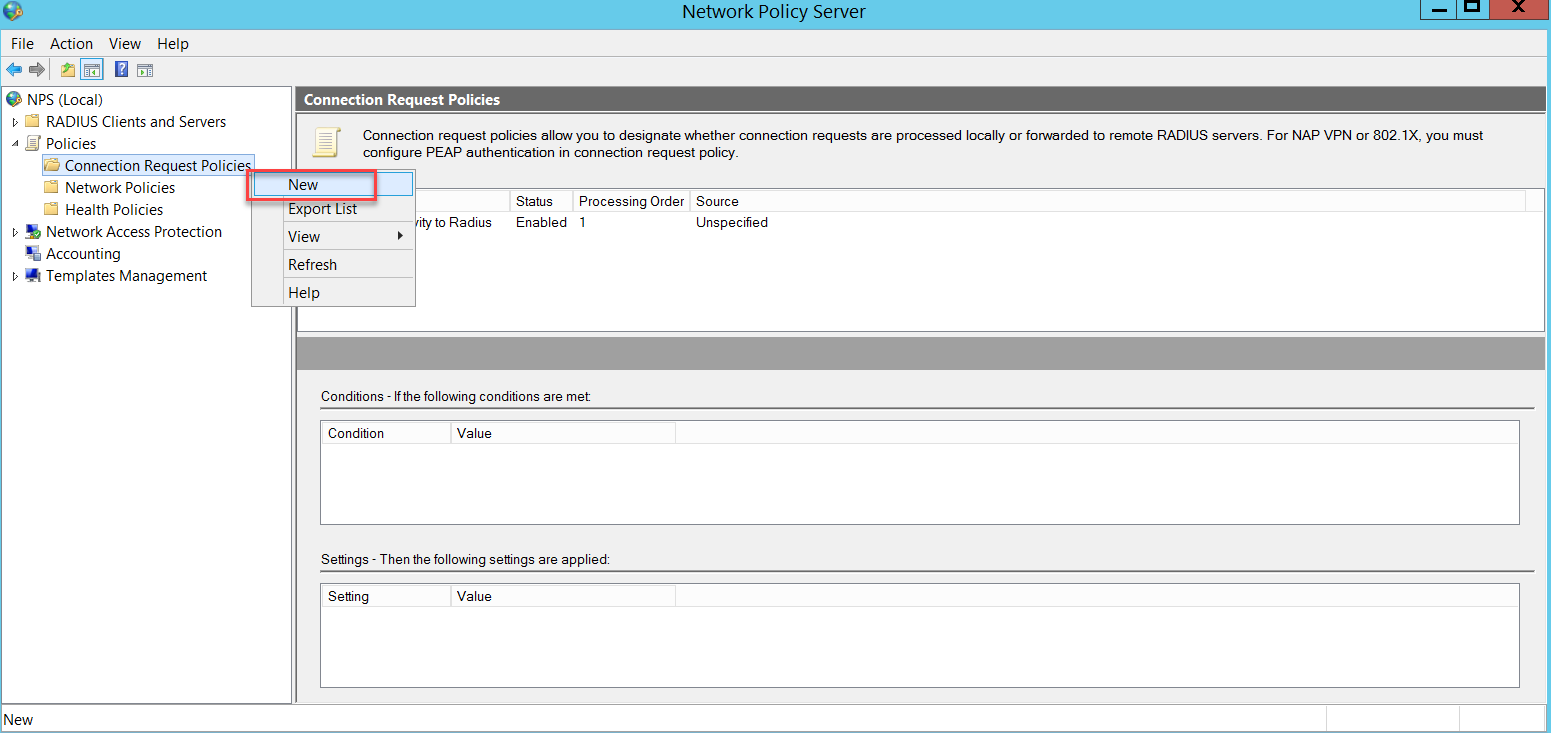
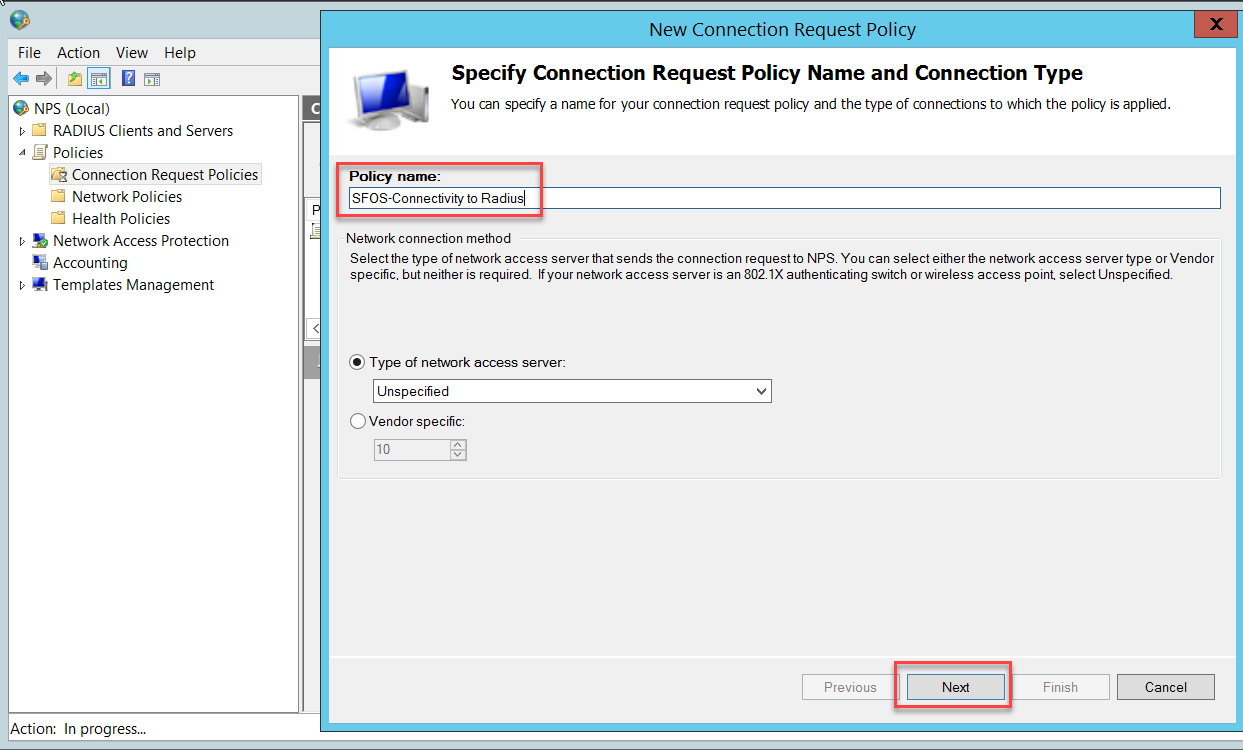
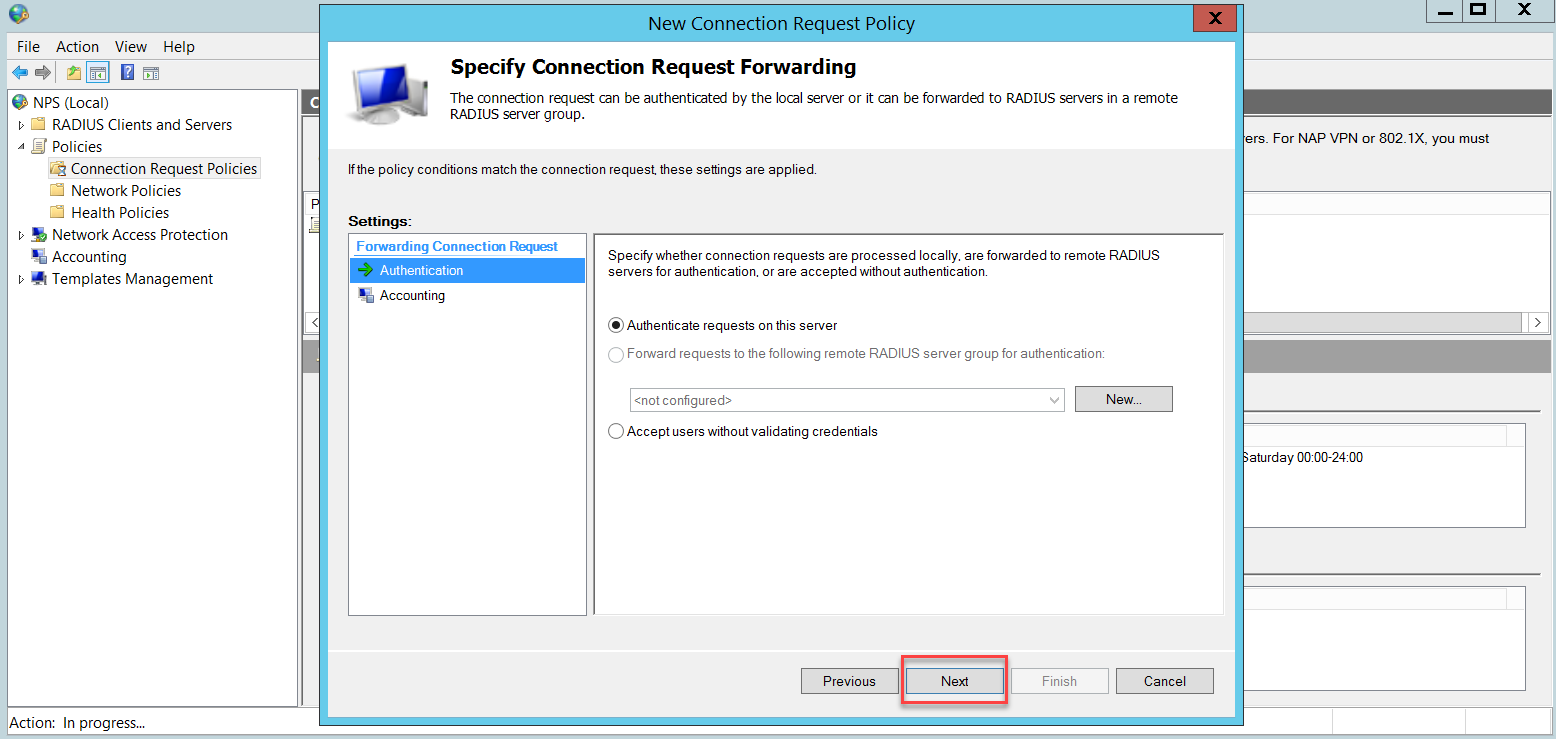
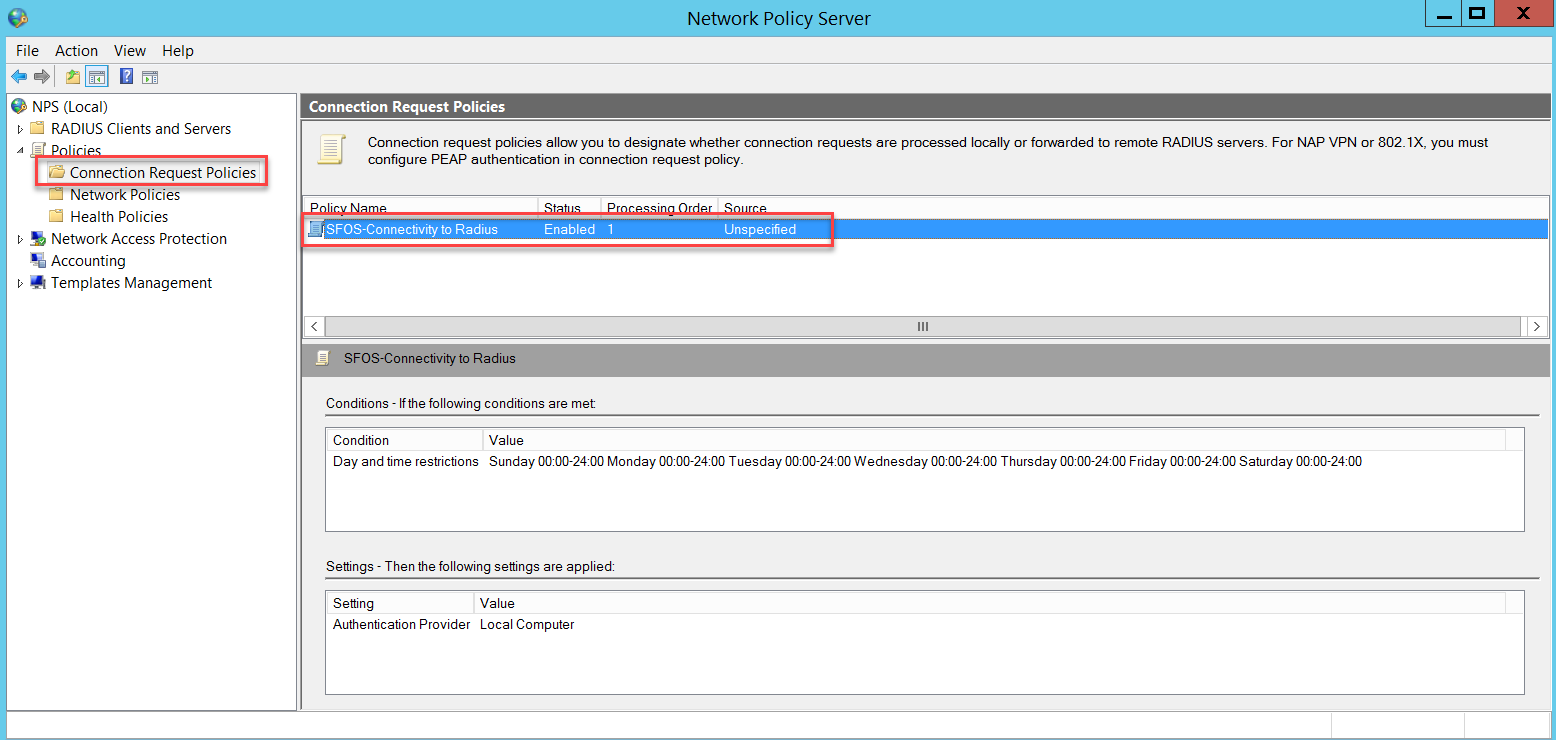
We need a connection request policy. To get one, go to NPS (Local) > Policies > Connection Request Policies and right-click to select New.
Follow the assistant below.
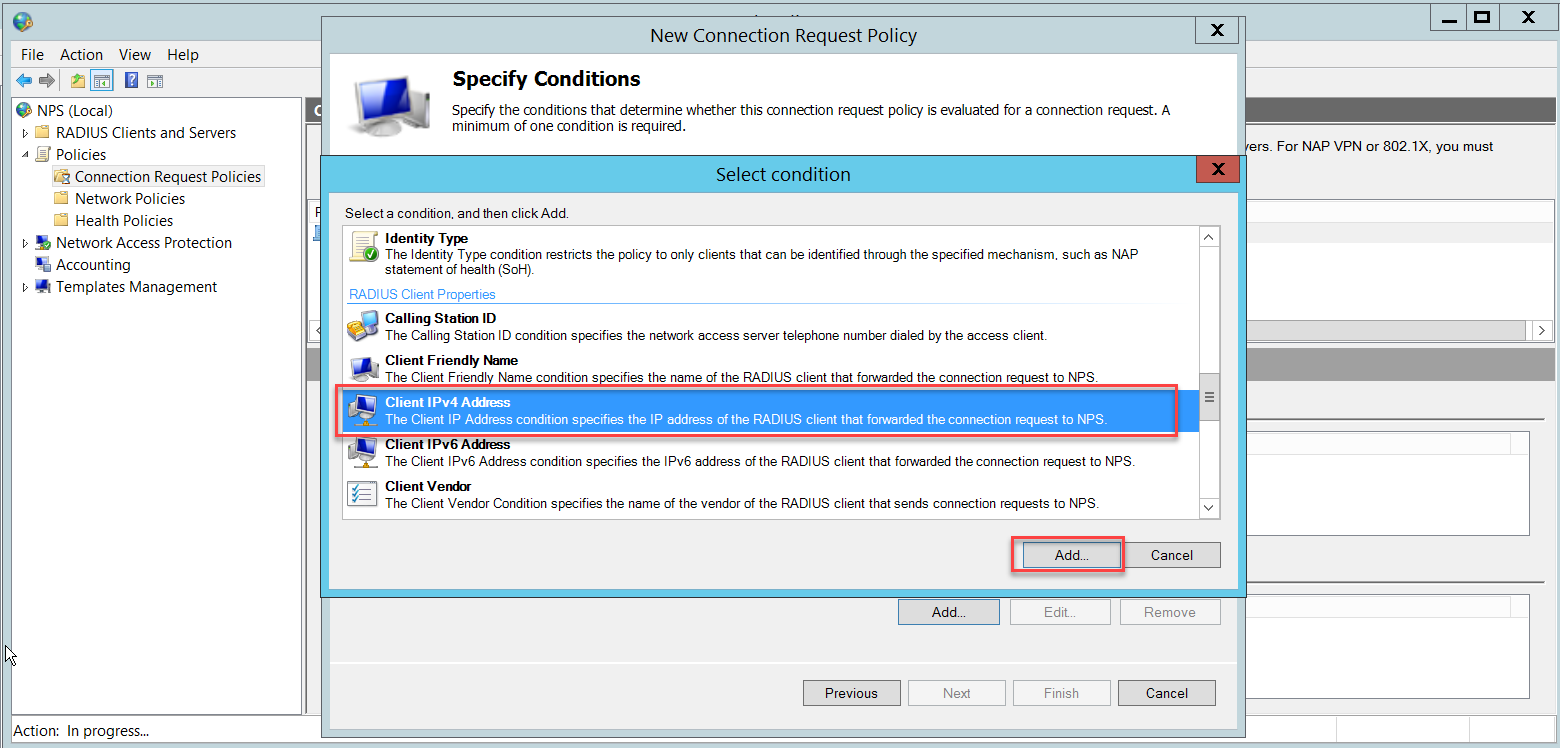
In the Specify Conditions page, click Add to add a condition.
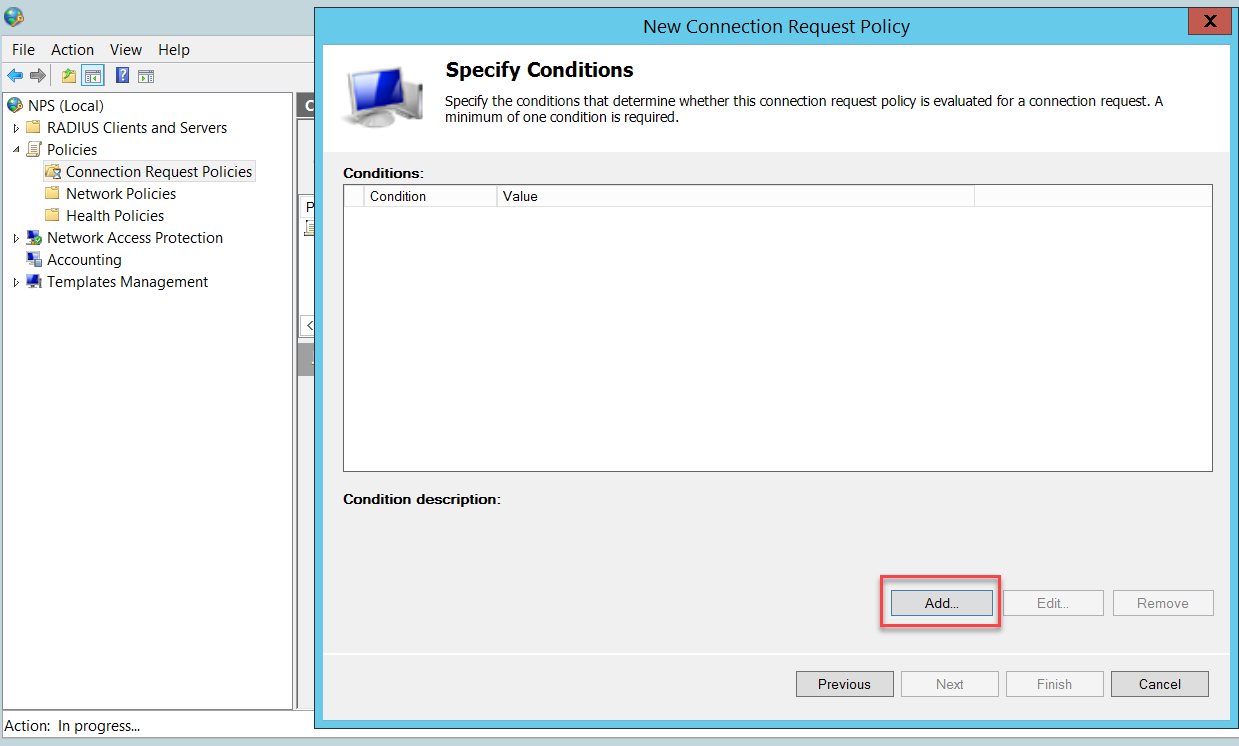
Select Client IPv4 Address and click Add.
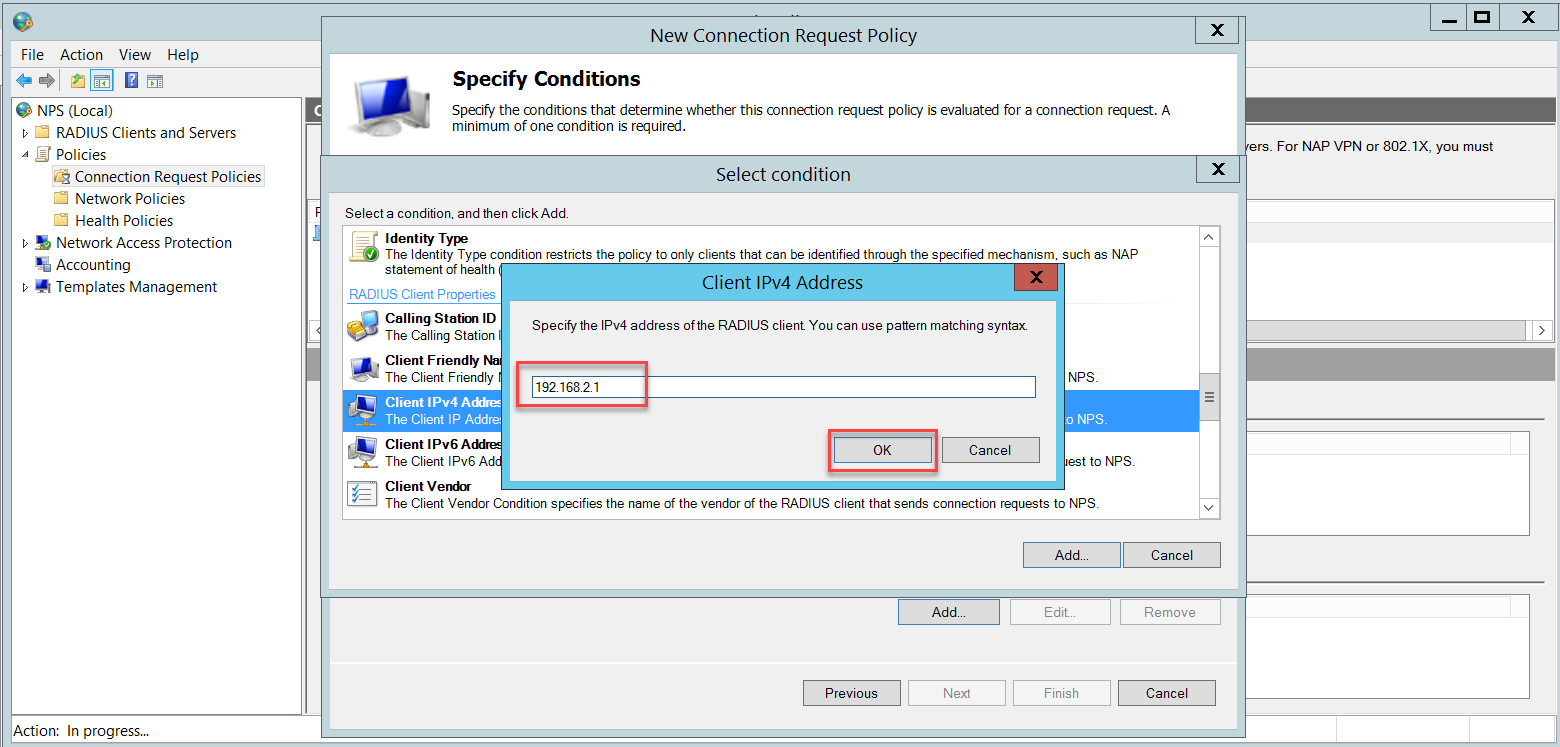
Insert the Sophos Firewall's IP address and click OK.
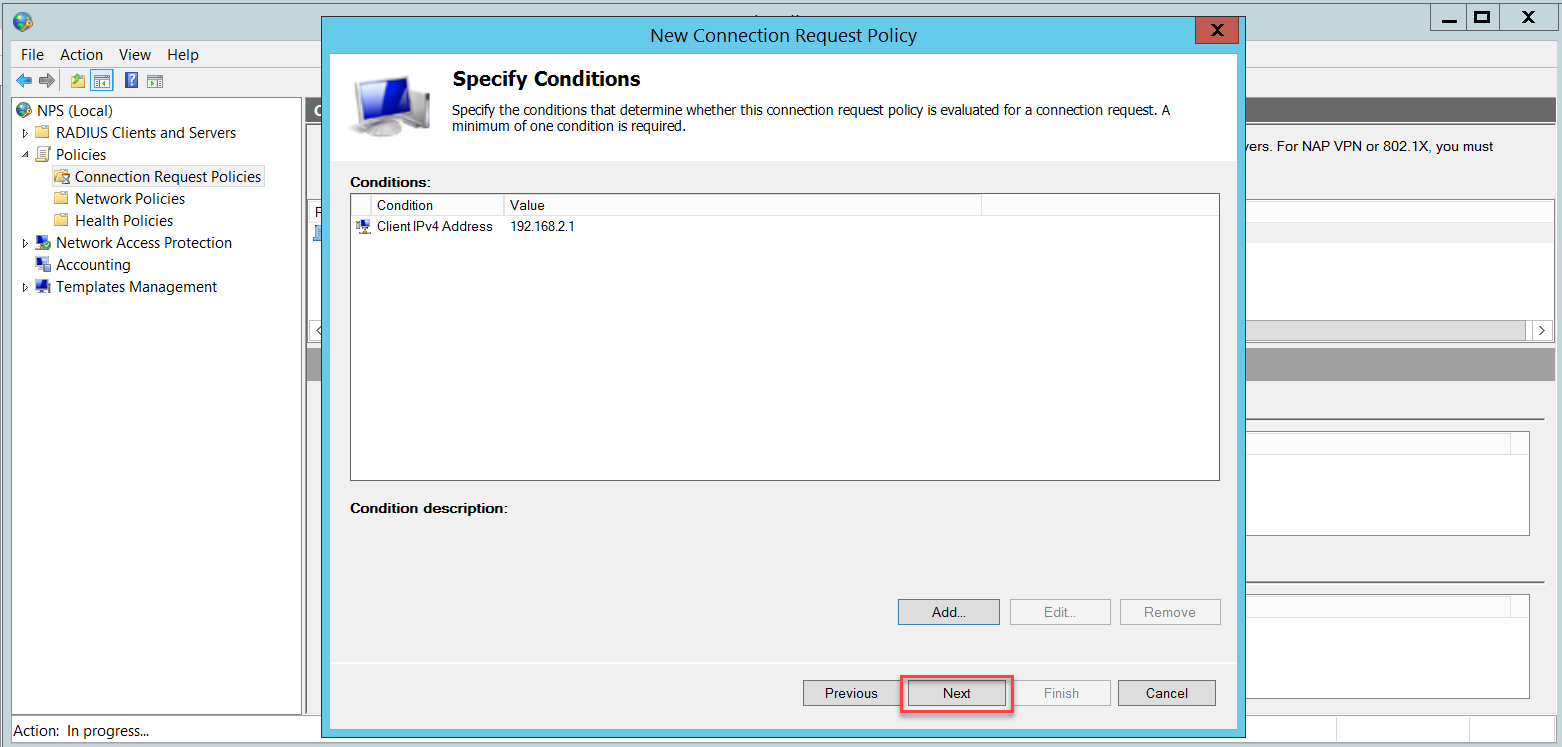
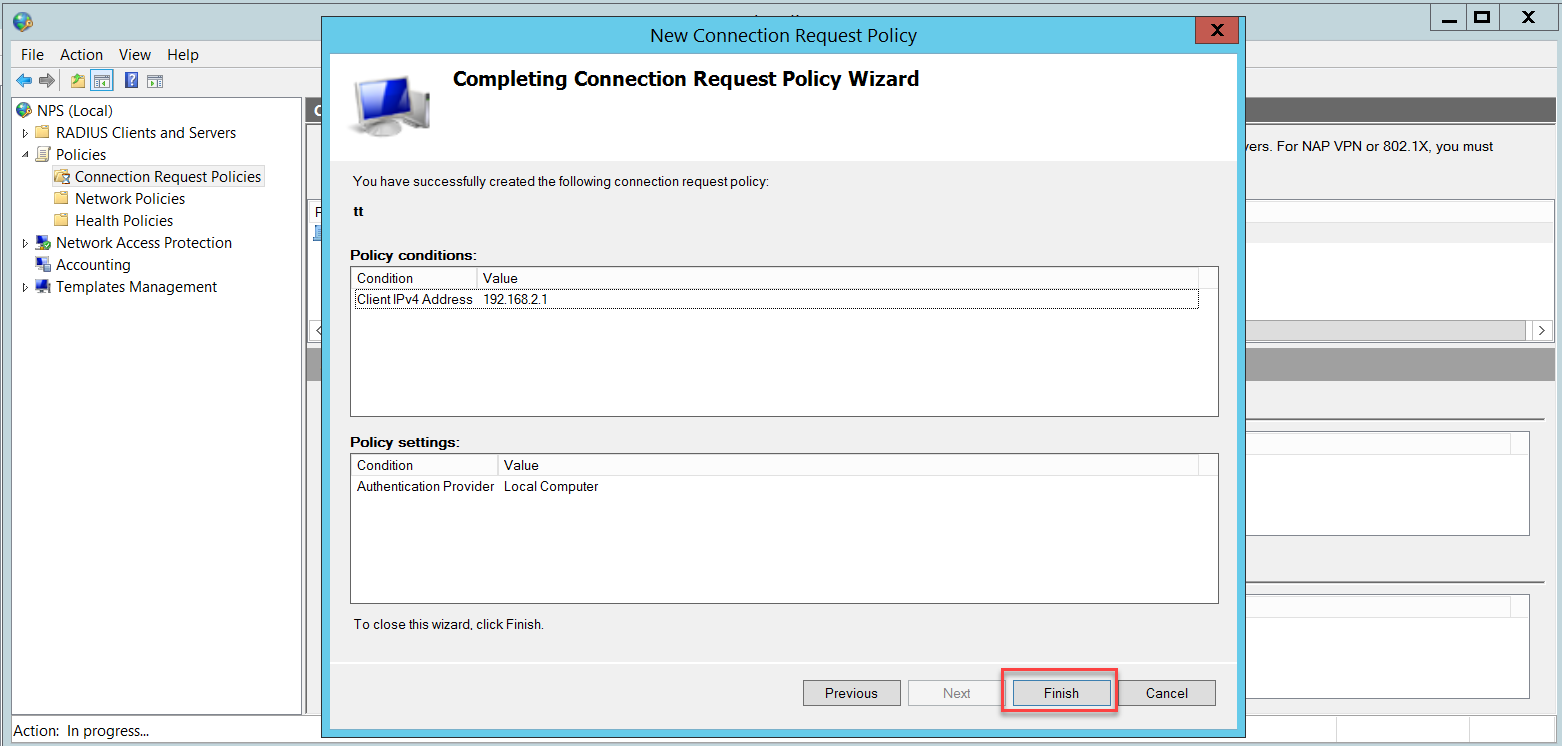
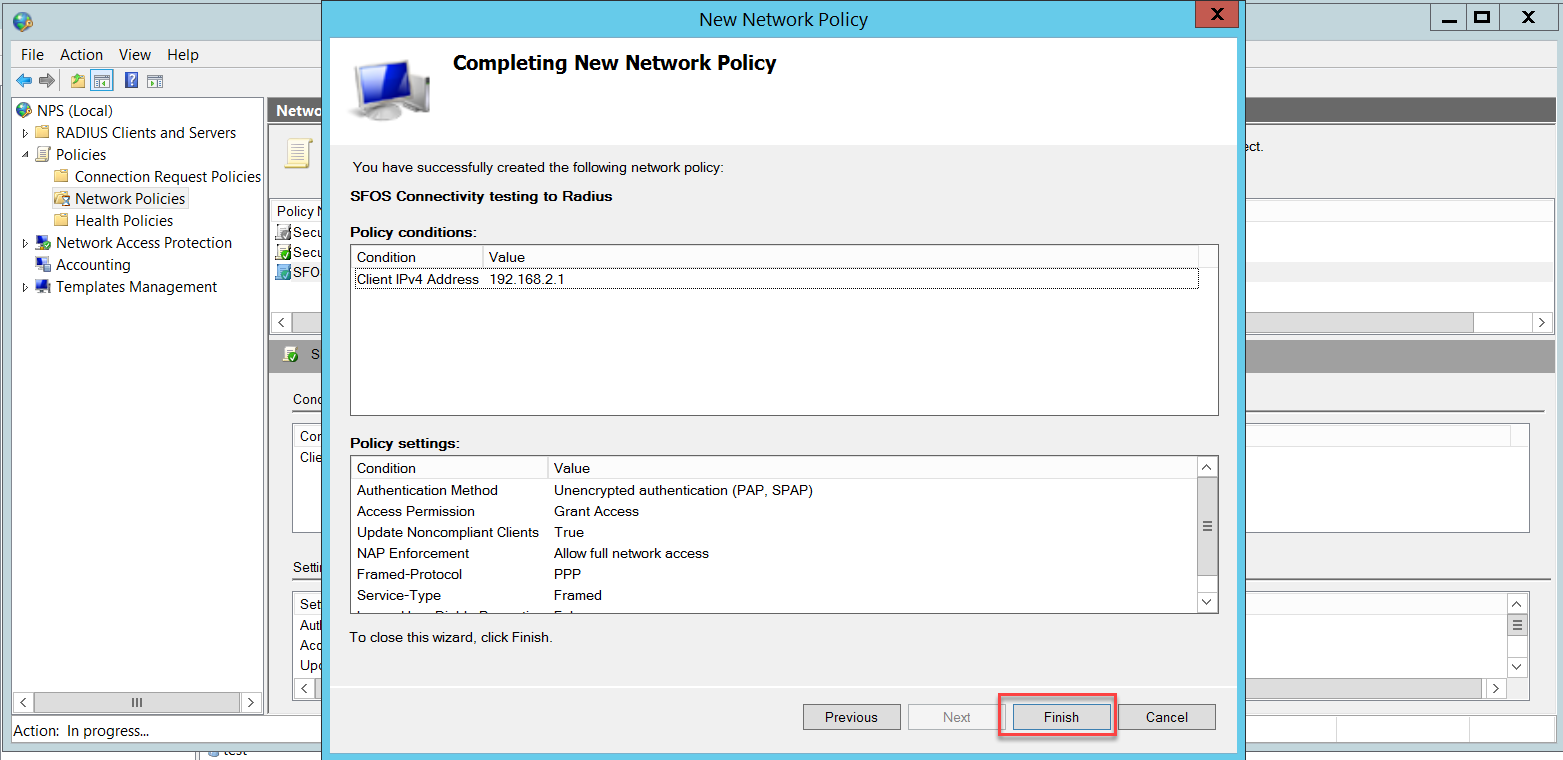
Once you click Finish, the Connection Request Policy will look like this:
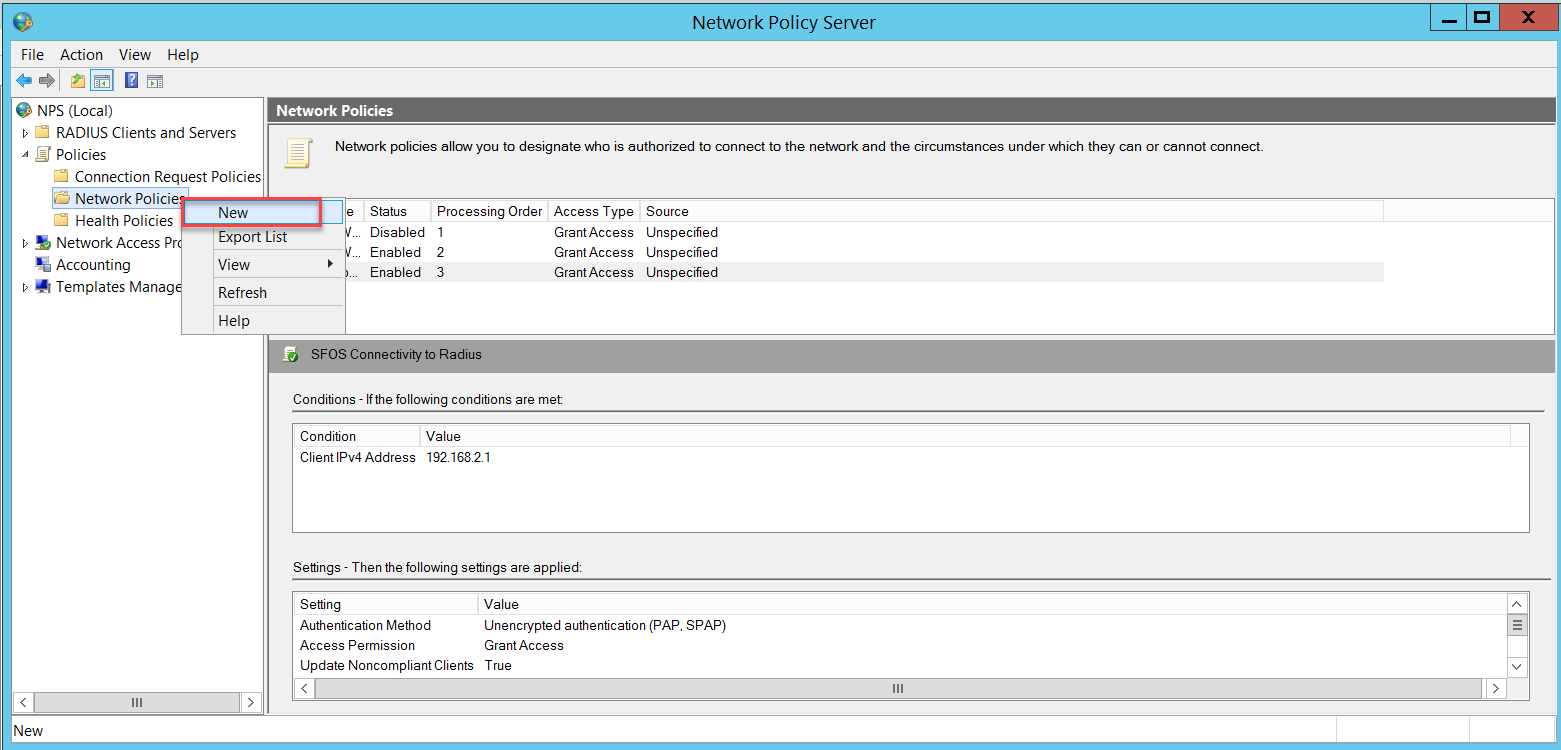
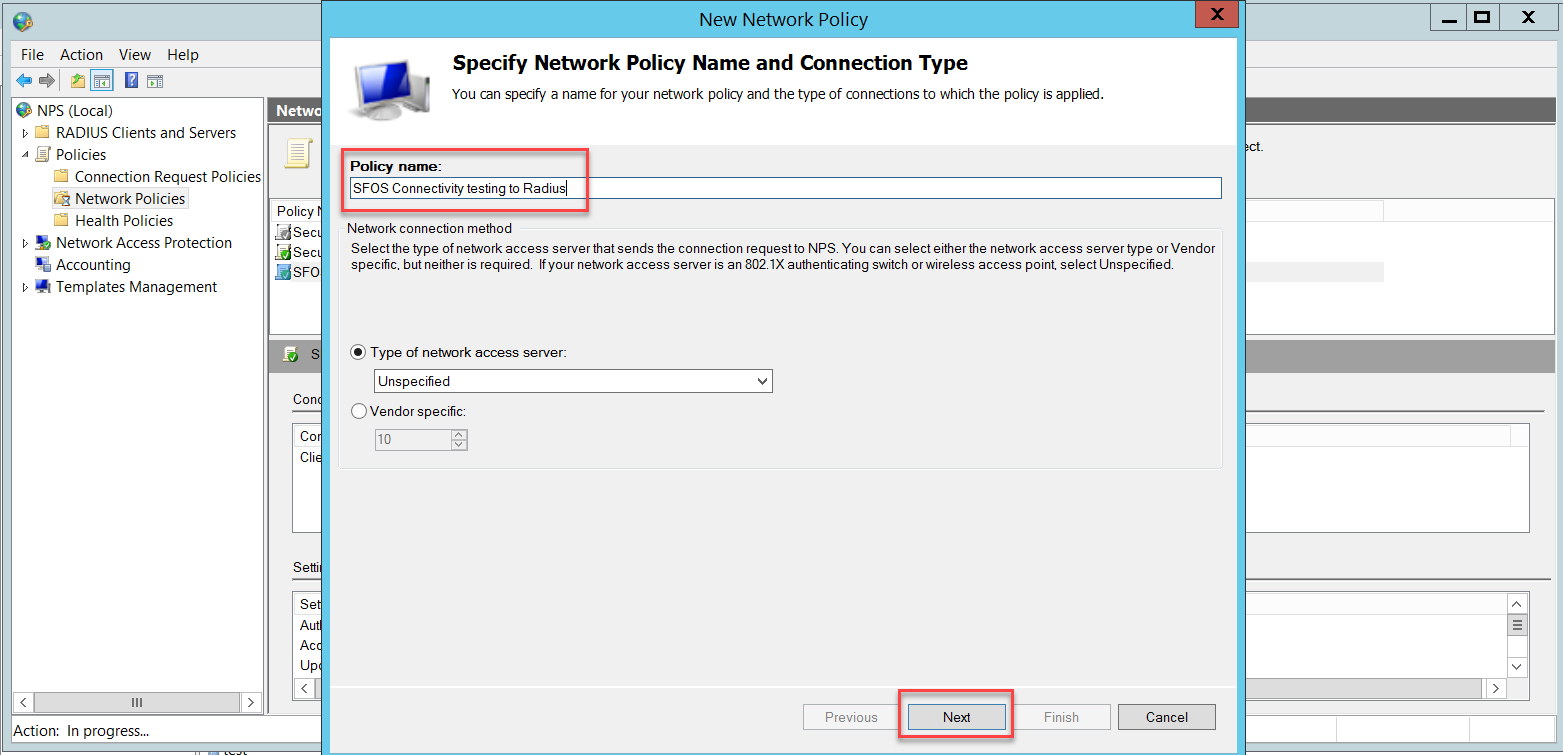
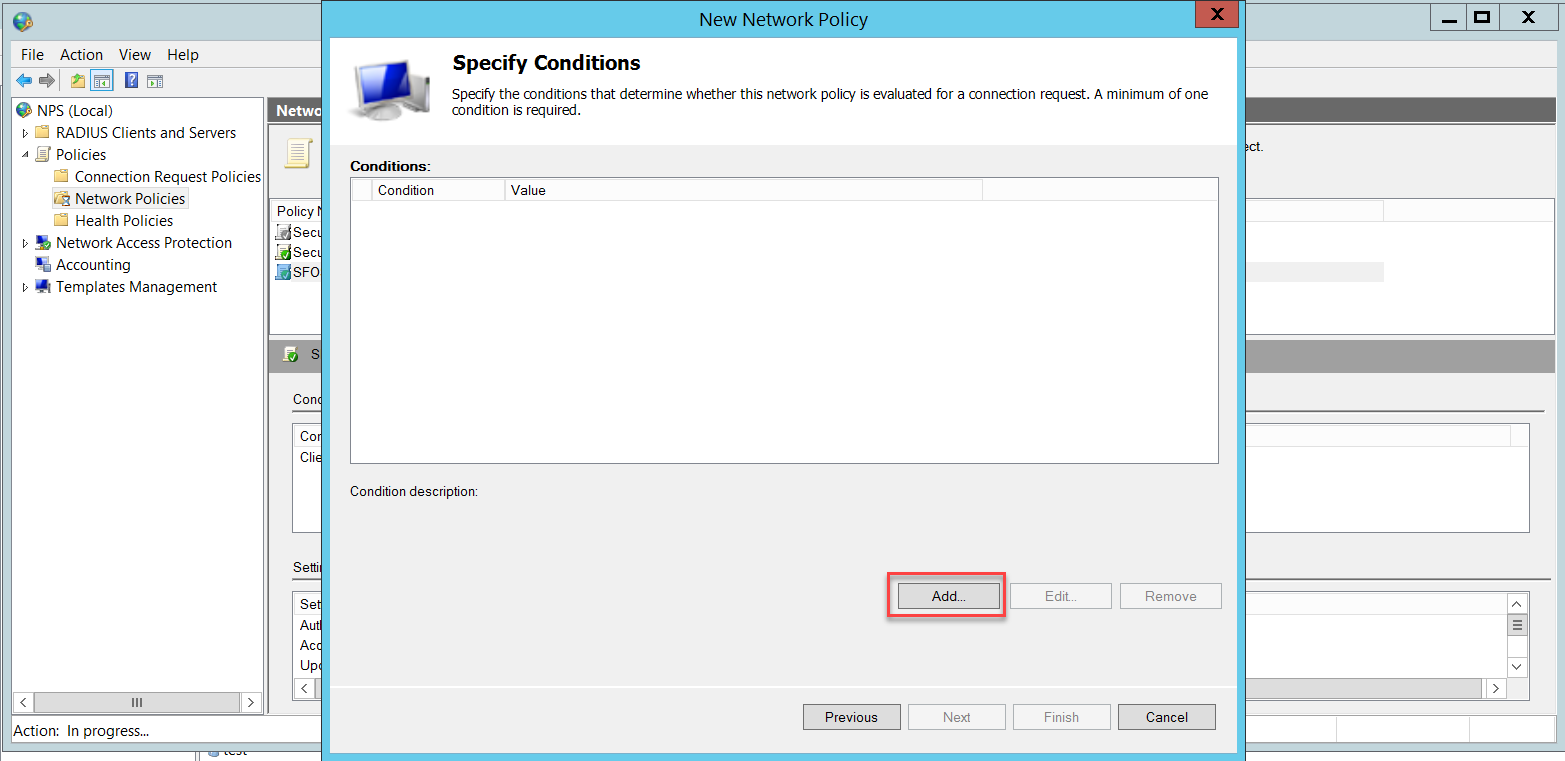
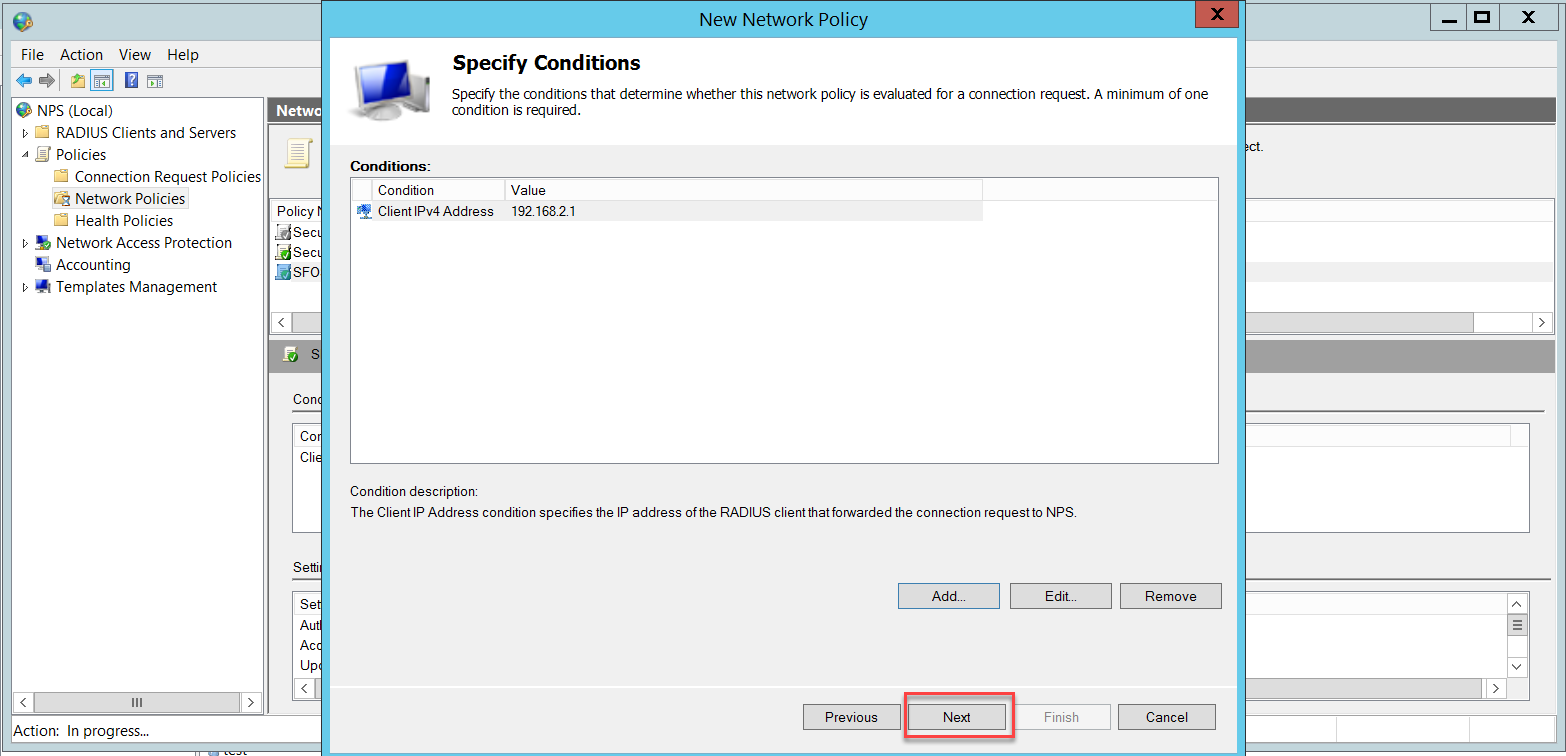
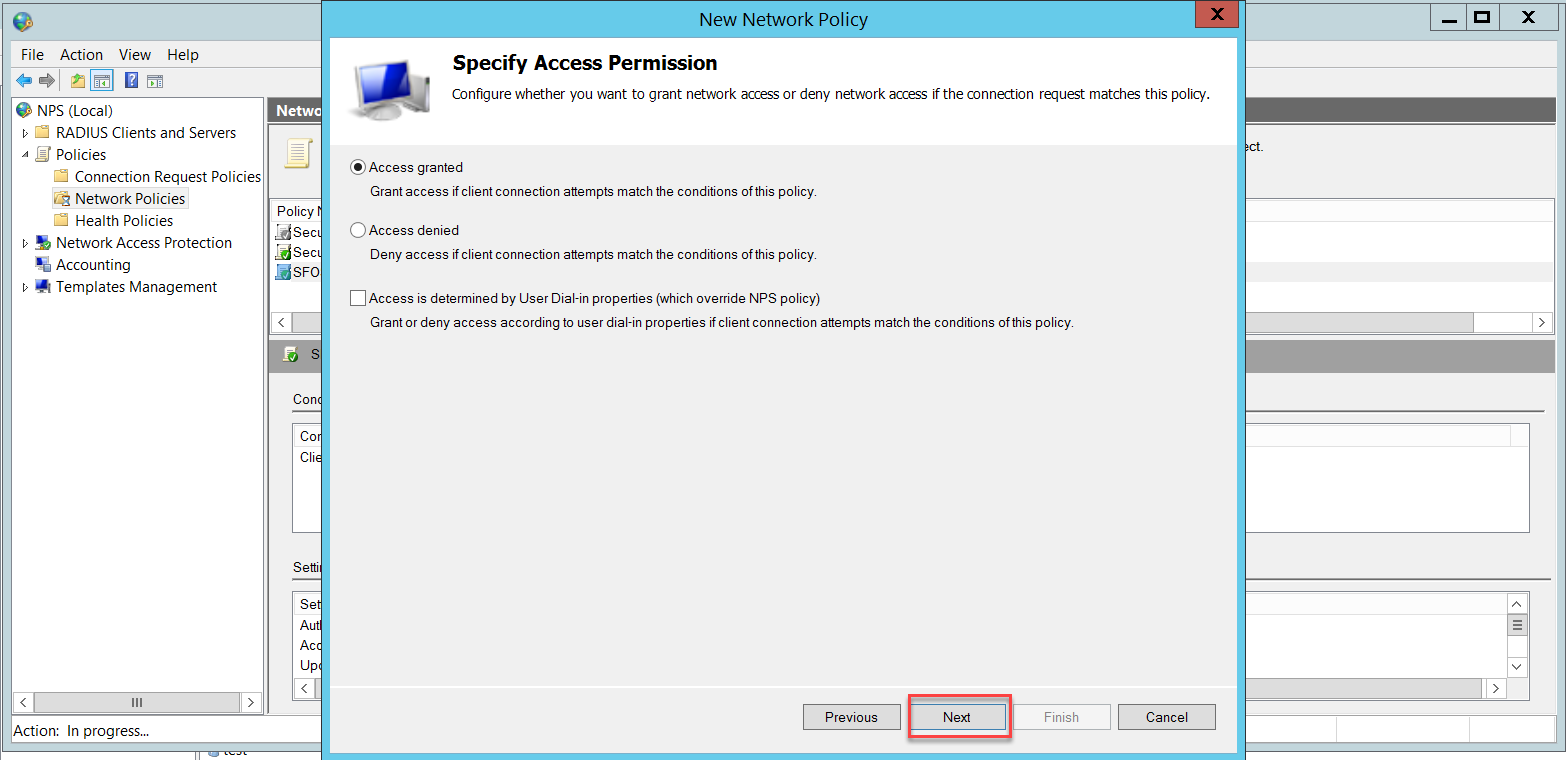
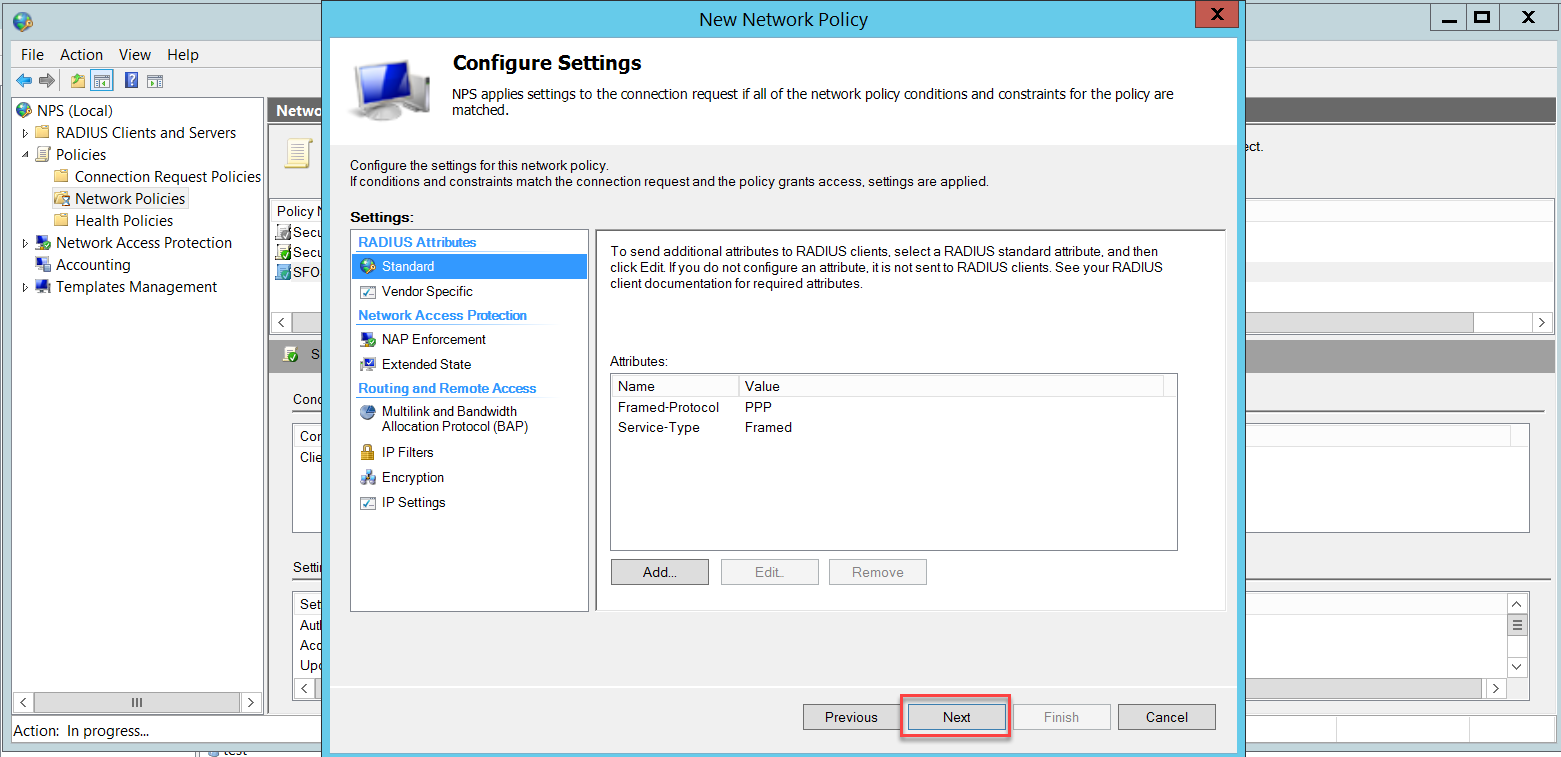
We also need a Network Policy for connectivity testing between the Sophos Firewall and the NPS. To access this policy, go to NPS (Local) > Policies > Network Policies and right-click to select New.

Insert the Sophos Firewall's IP address and click OK.

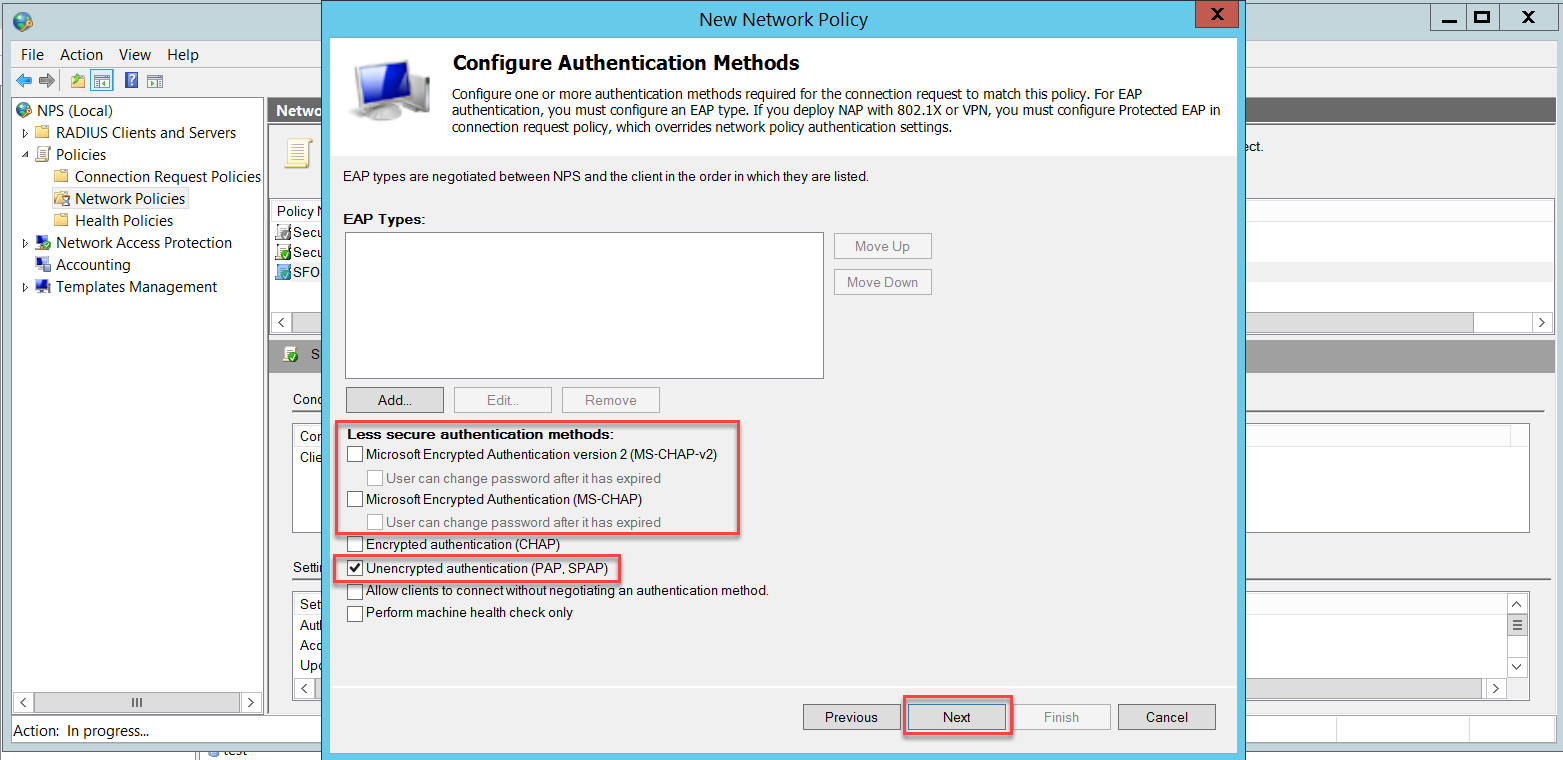
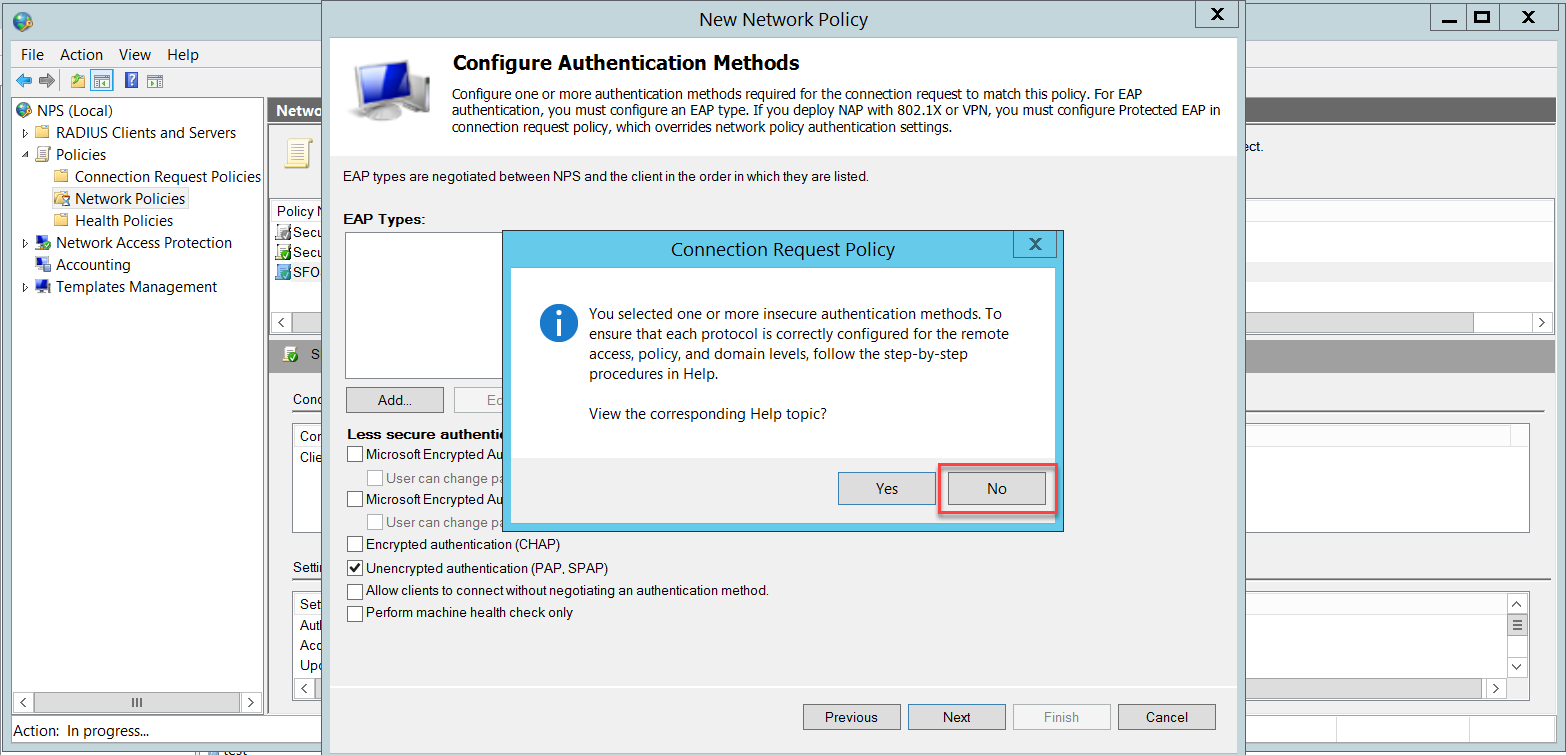
Disable the less secure authentication methods already enabled by default and enable Unencrypted authentication (PAP, SPAP). This will be used only when testing the connectivity between Sophos Firewall and the NPS, as we will see later. All wireless users' authentication will be through a different Network Policy using Microsoft Protected EAP (PEAP), as we will see later.
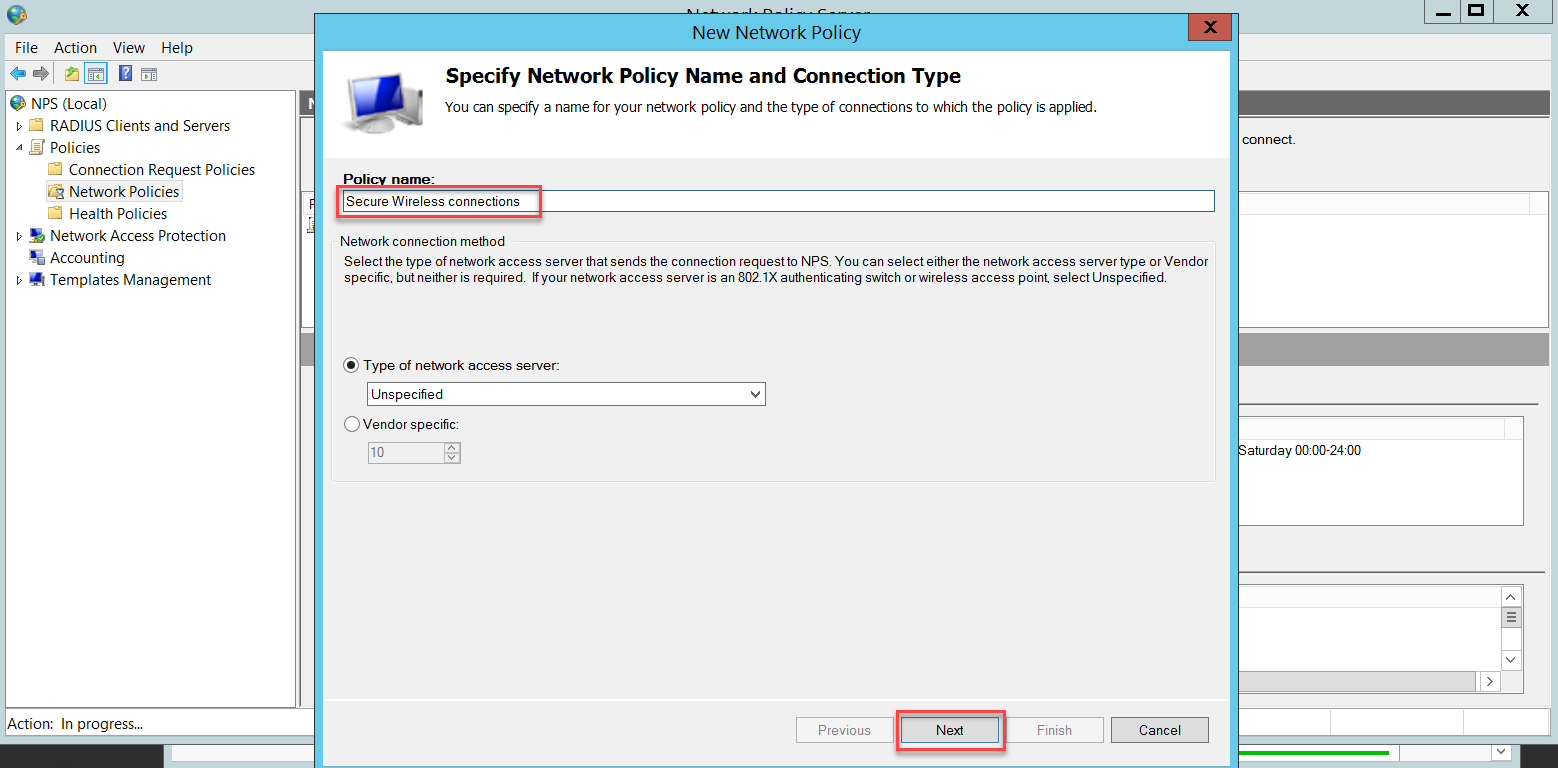
Finally, we need a Network Policy for Wireless users authentication, go to NPS (Local) > Policies > Network Policies and right-click to select New.

Follow the assistant below.
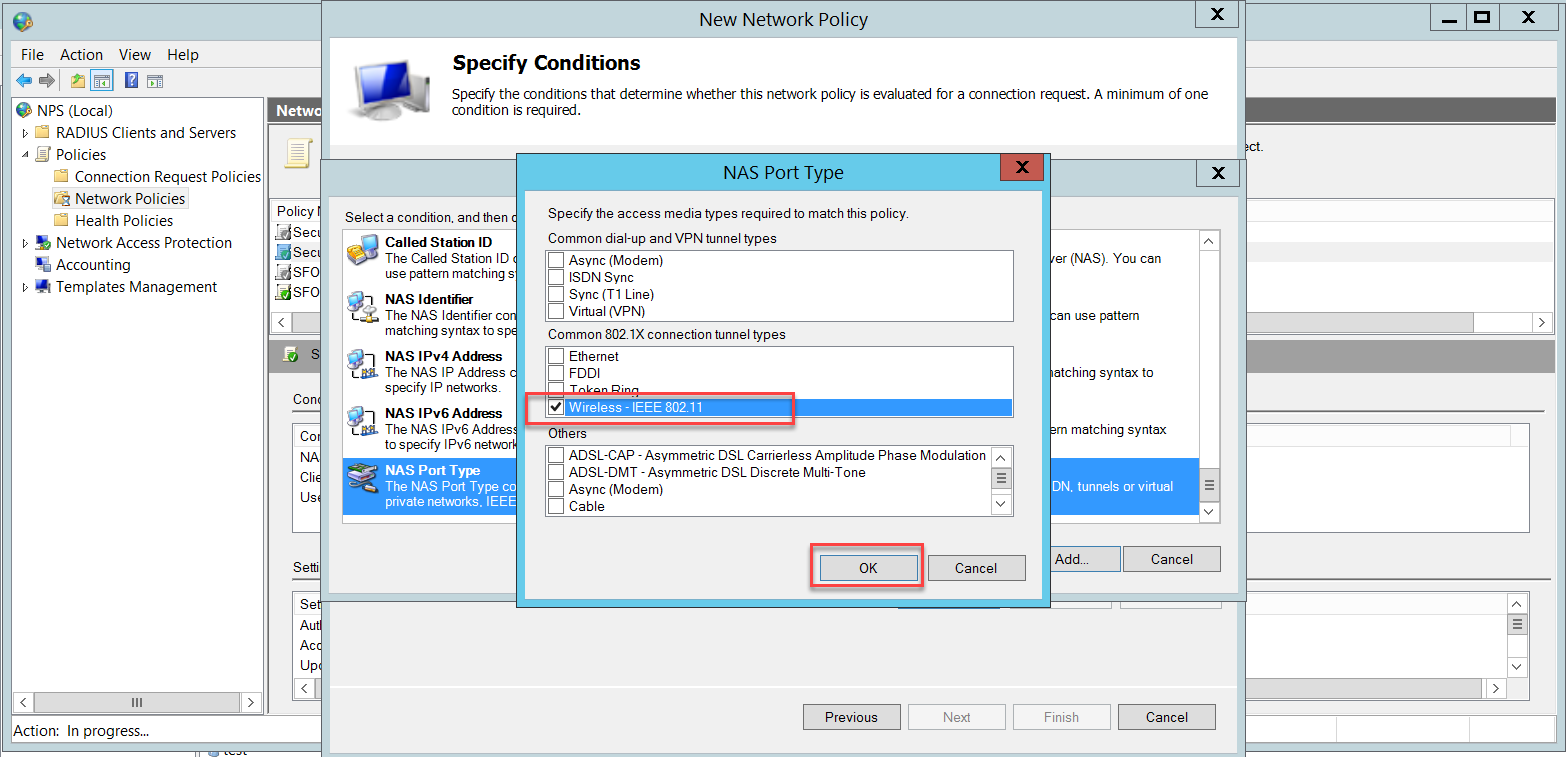
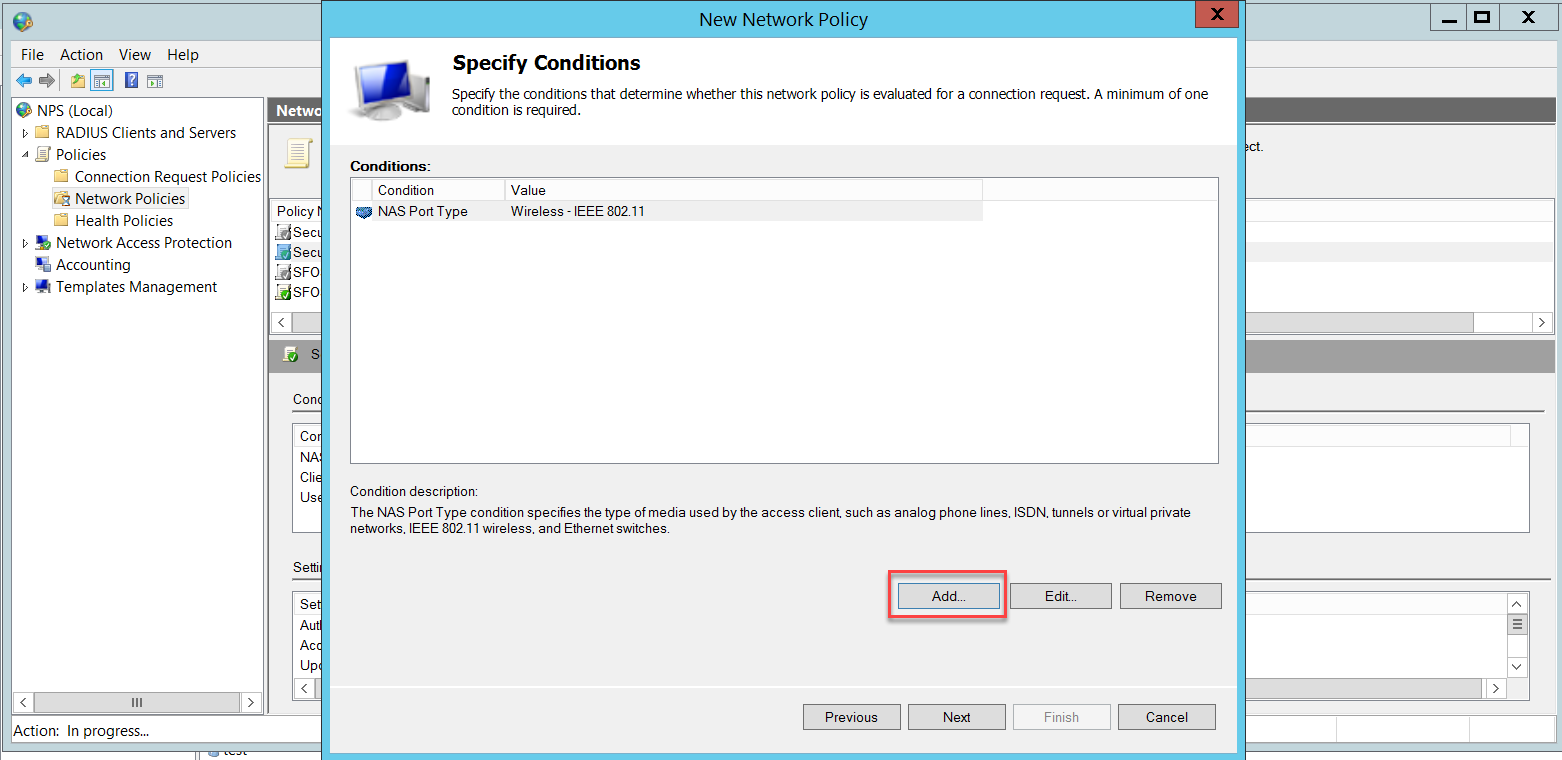
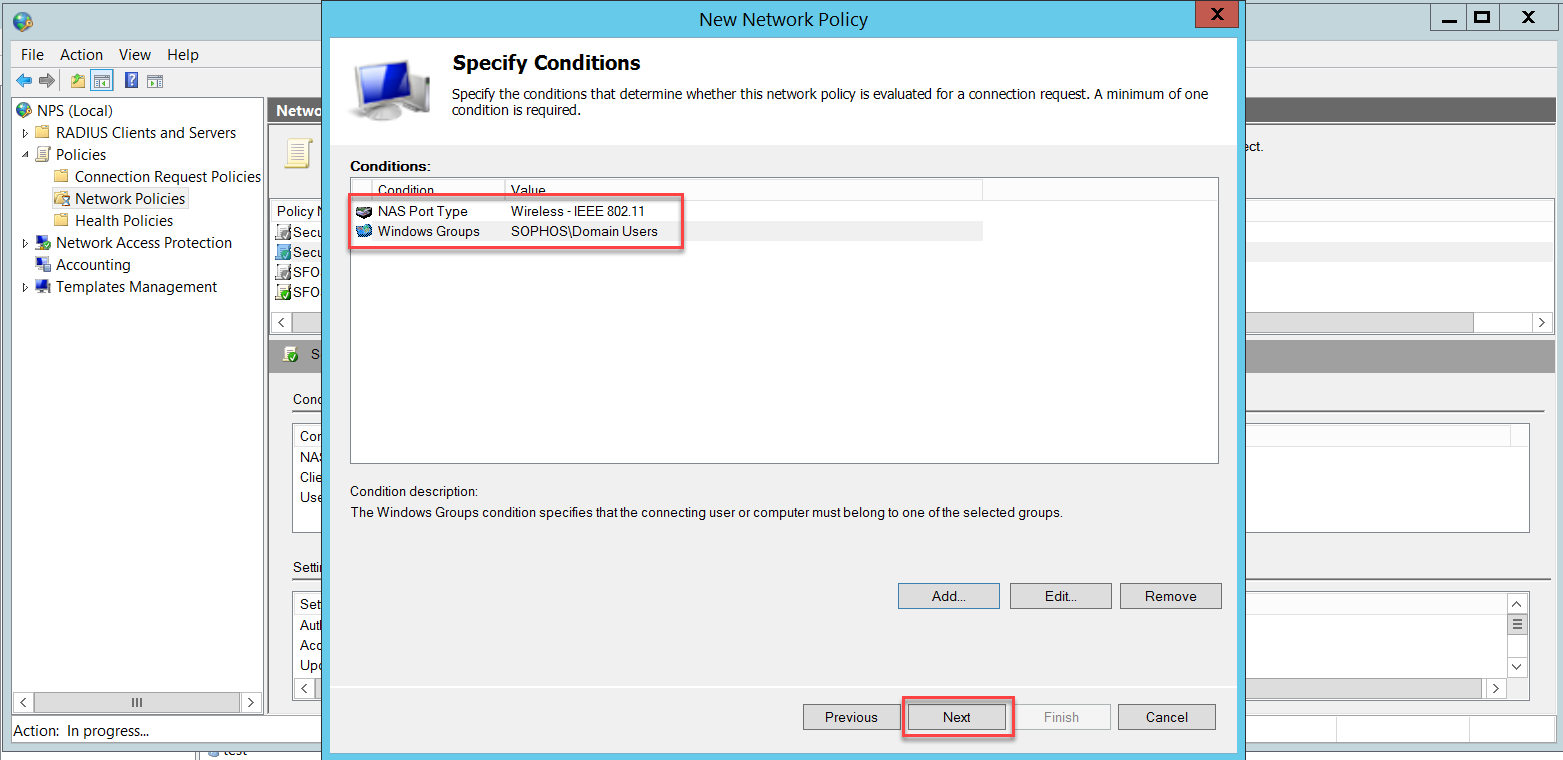
In the Specify Conditions page, click Add to add a condition.

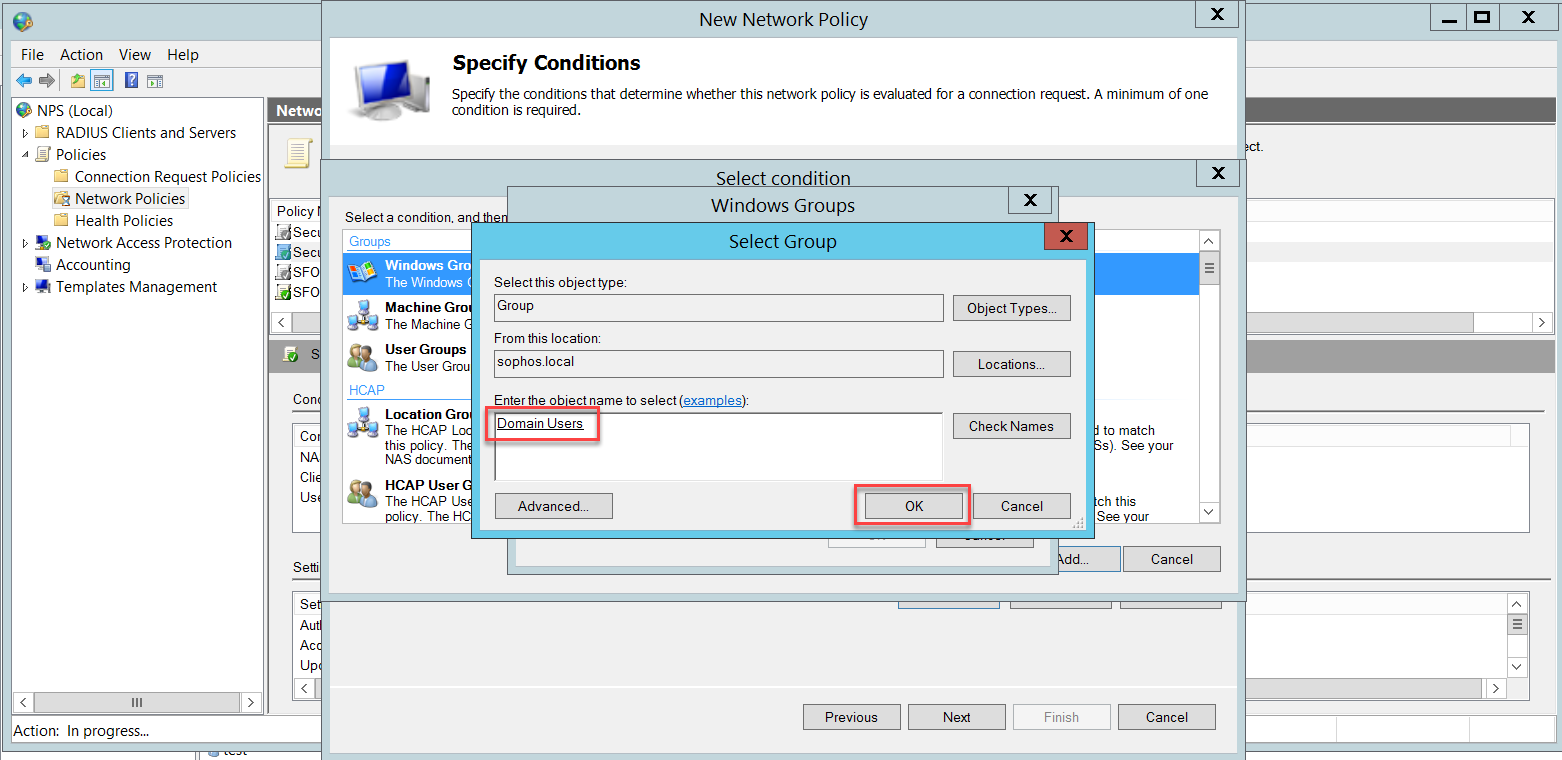
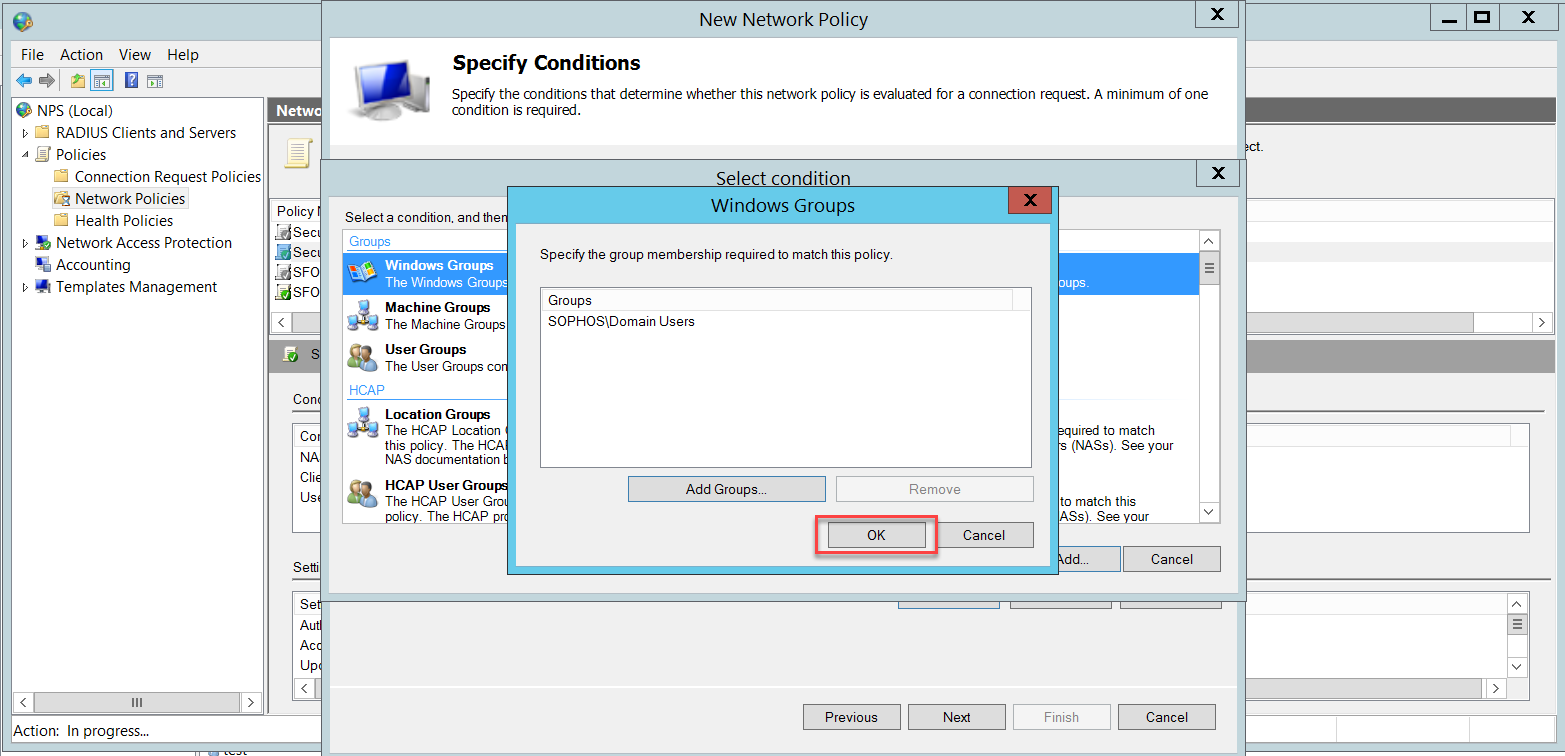
We need to add two conditions: NAS Port Type and User Groups.

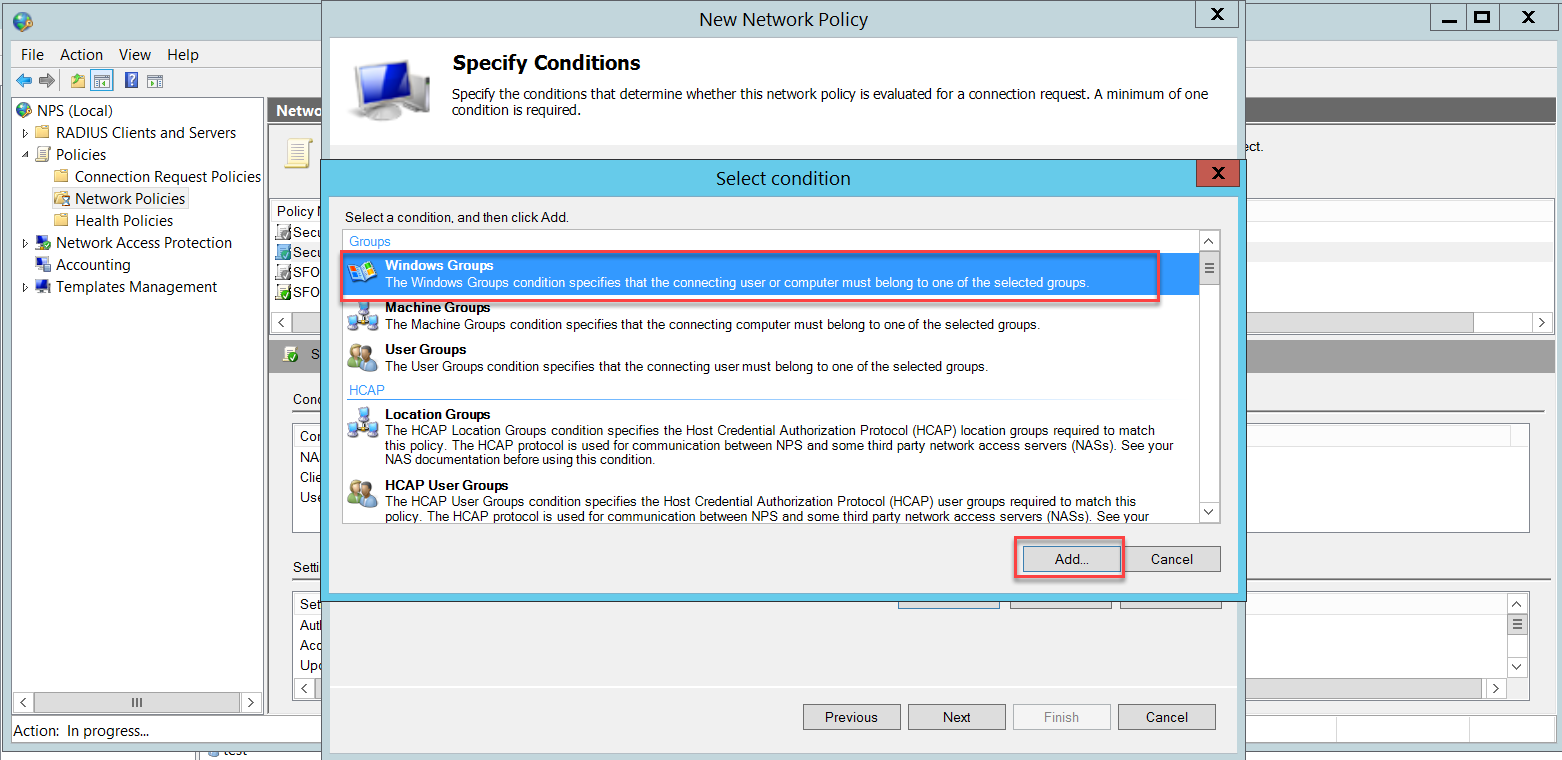
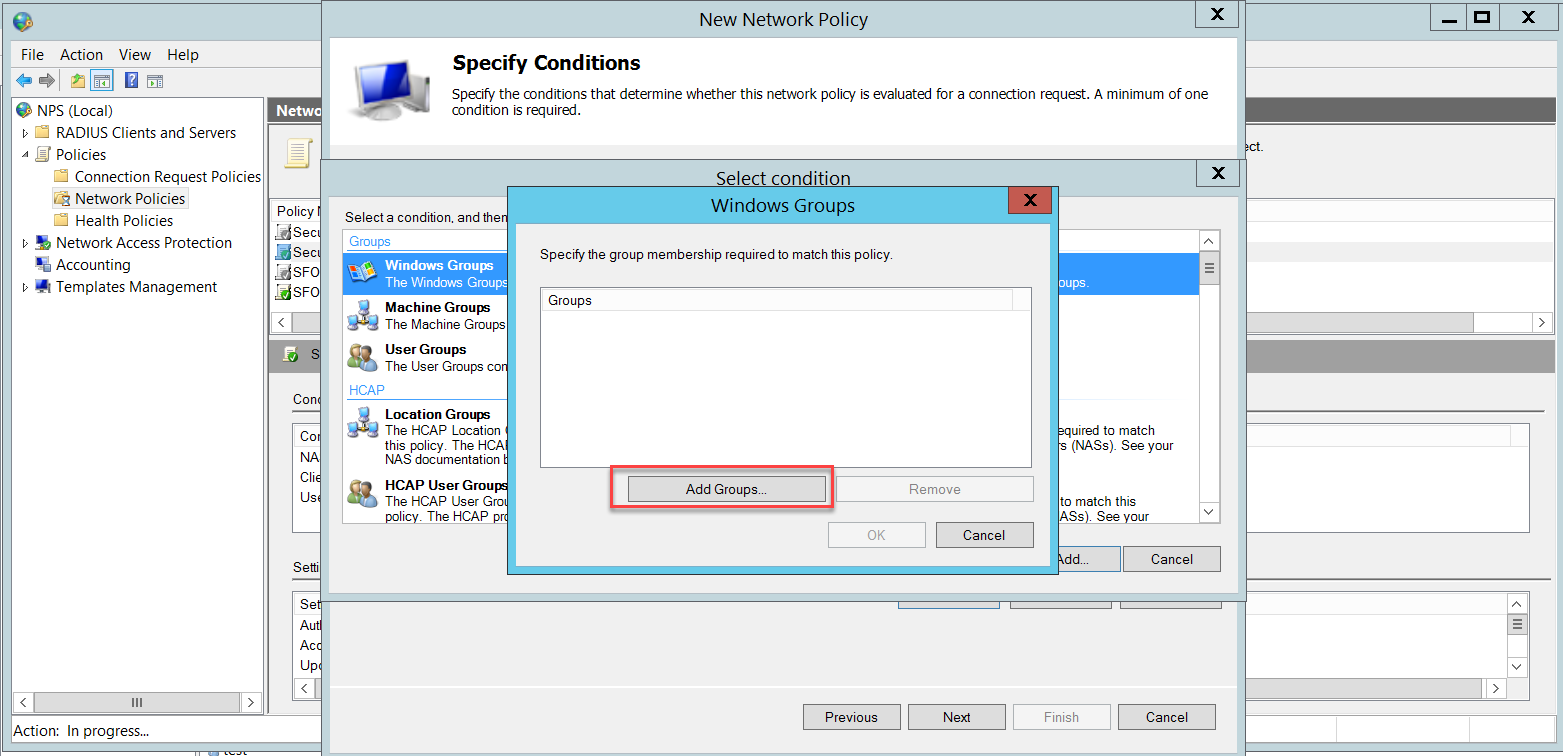
In this example, we added the Domain Users group, which includes all domain users. You can restrict the wireless users' group according to your business needs.
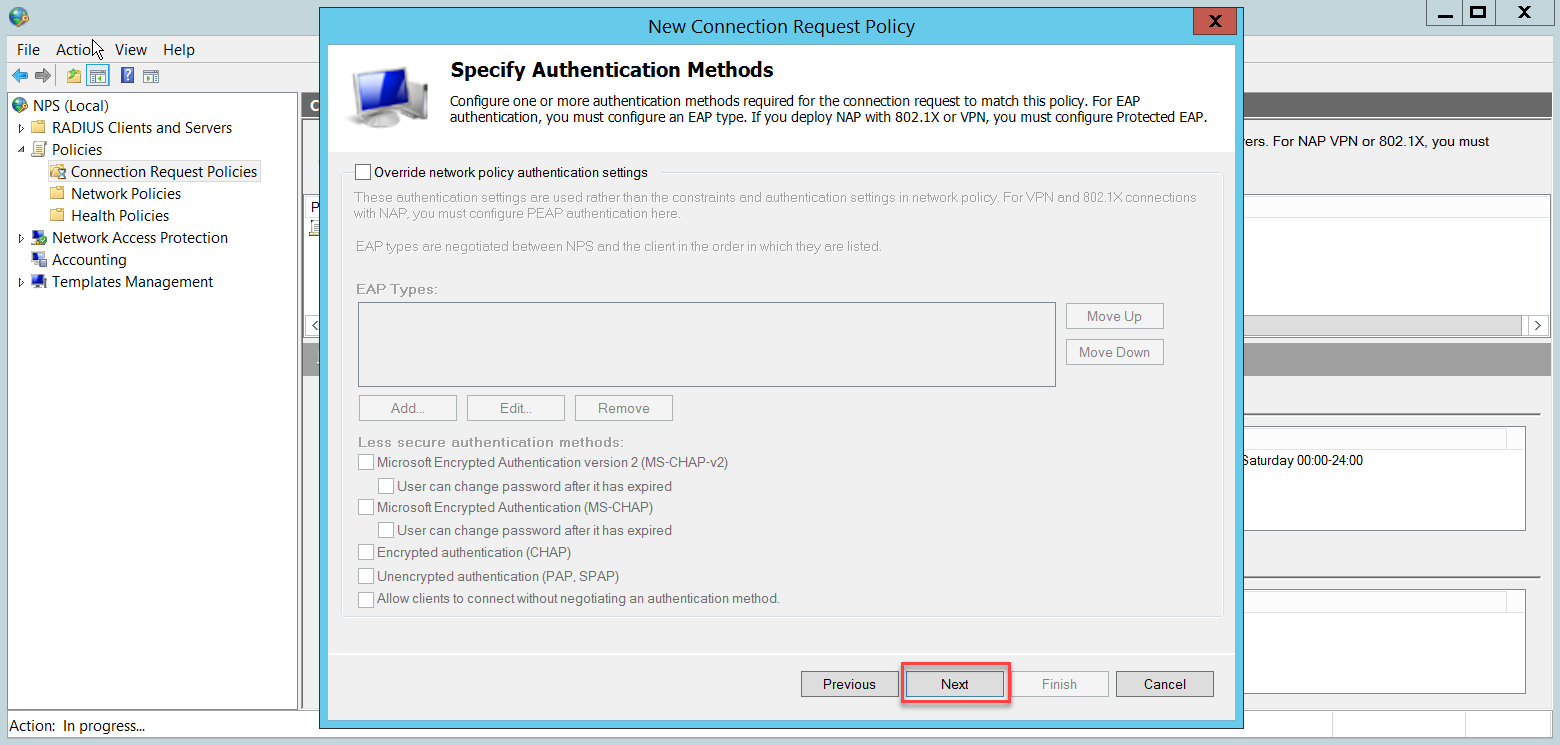
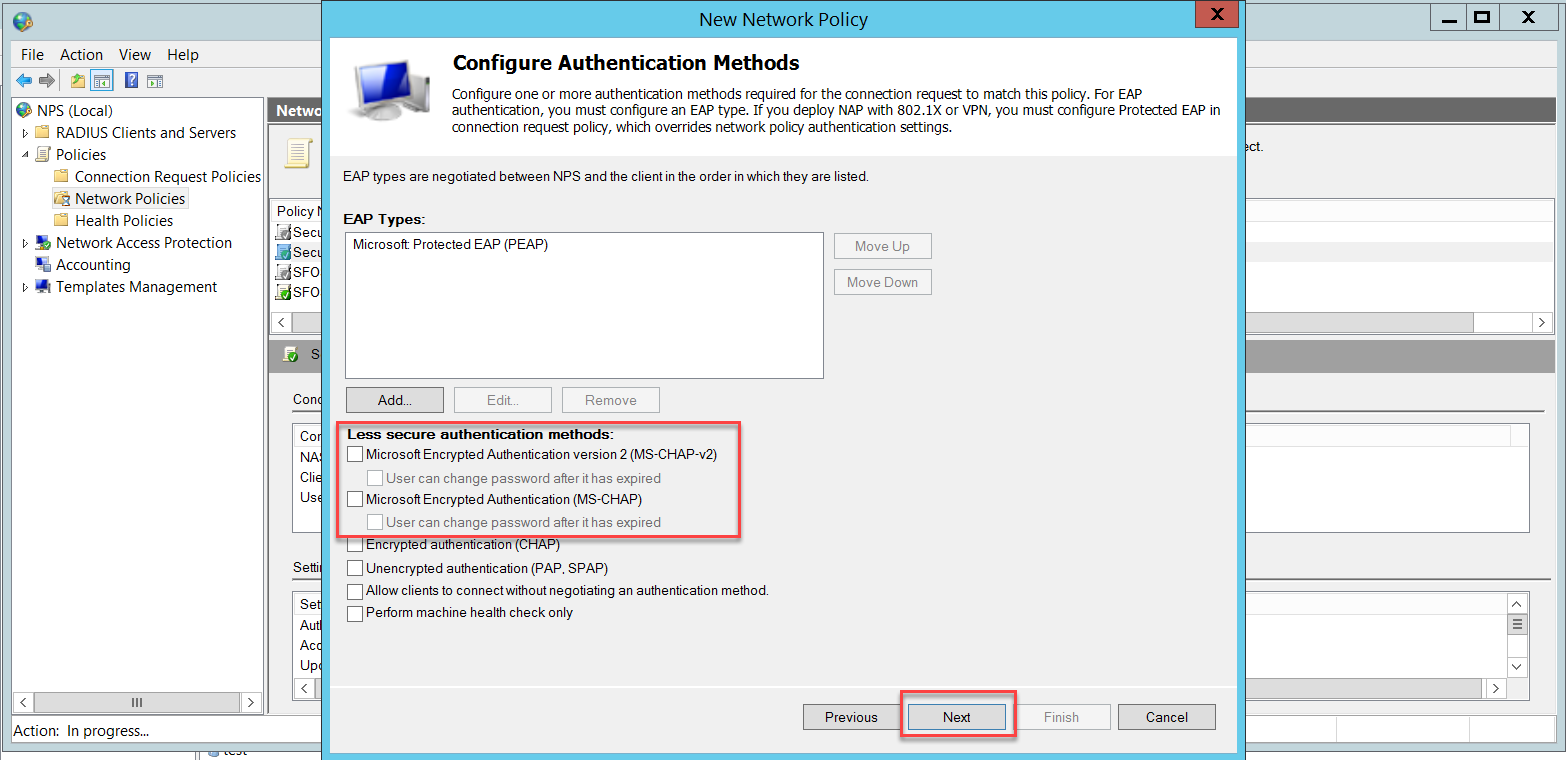
In the Configure Authentication Methods page, click Add to select Microsoft Protected EAP (PEAP) and OK. This PEAP authentication method will be used to authenticate wireless users.
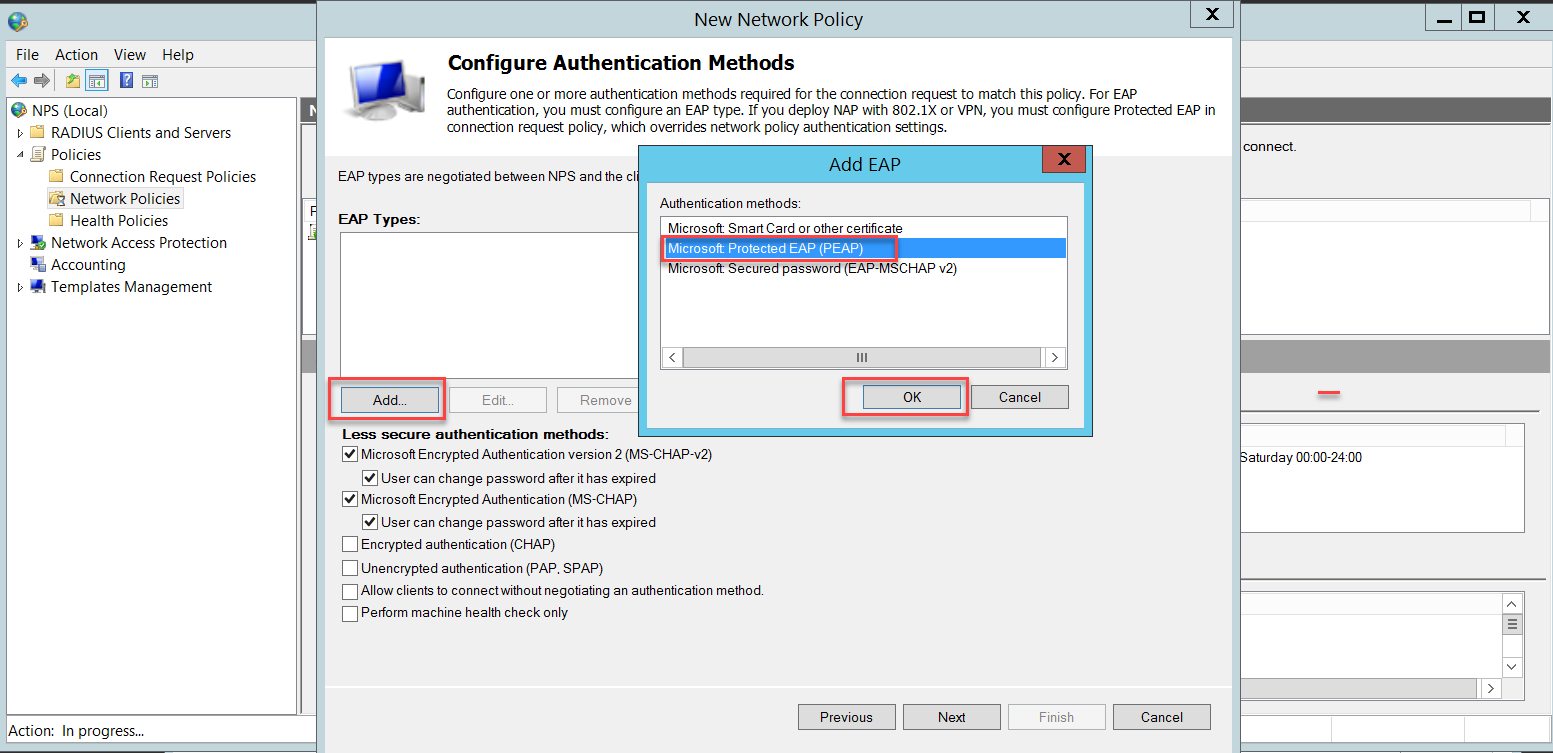
Disable the less secure authentication methods that are already turned on by default.
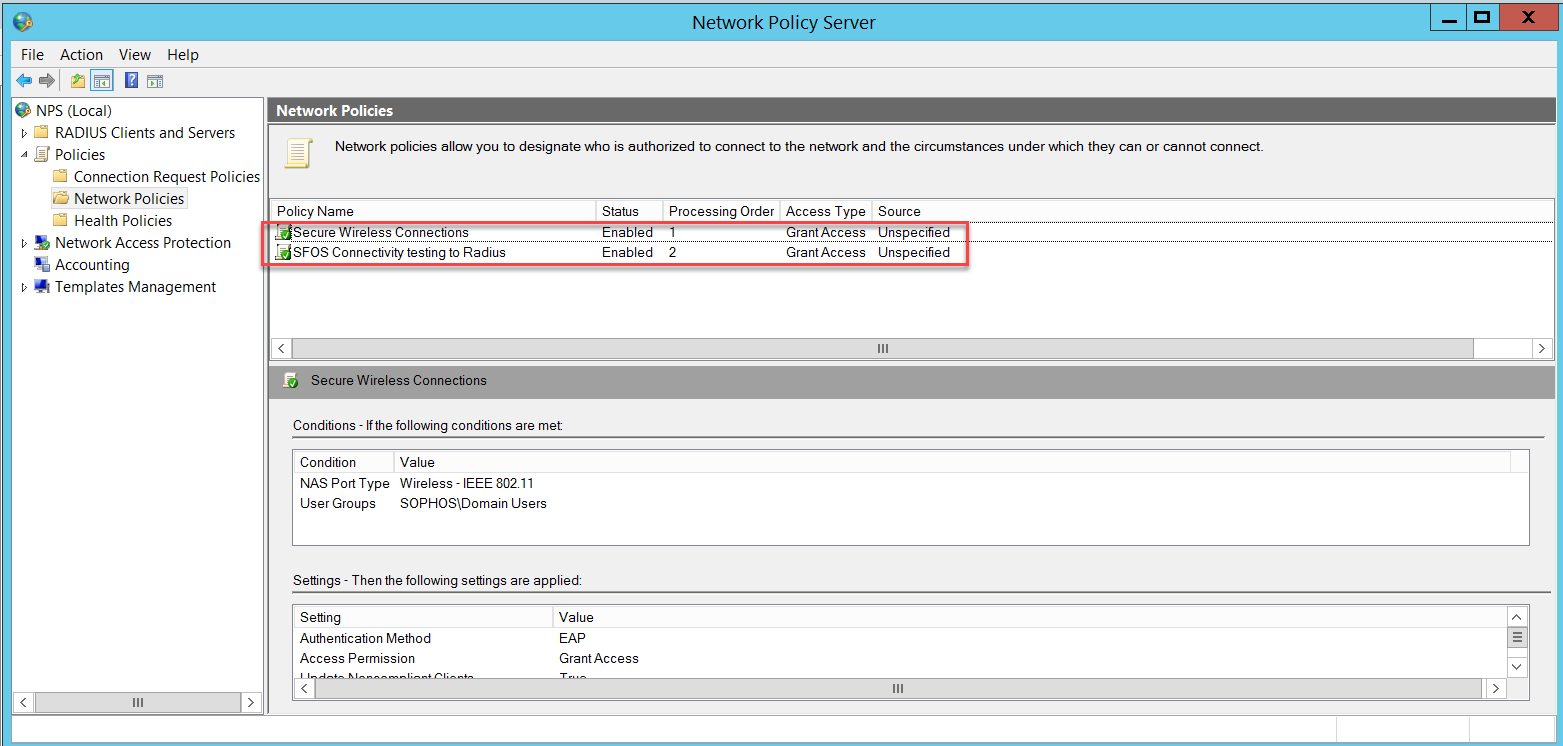
Make sure that the Secure Wireless Connections policy is above the SFOS Connectivity testing to Radius policy, otherwise, wireless users will match the SFOS Connectivity testing to Radius policy and NPS will reject their access request.

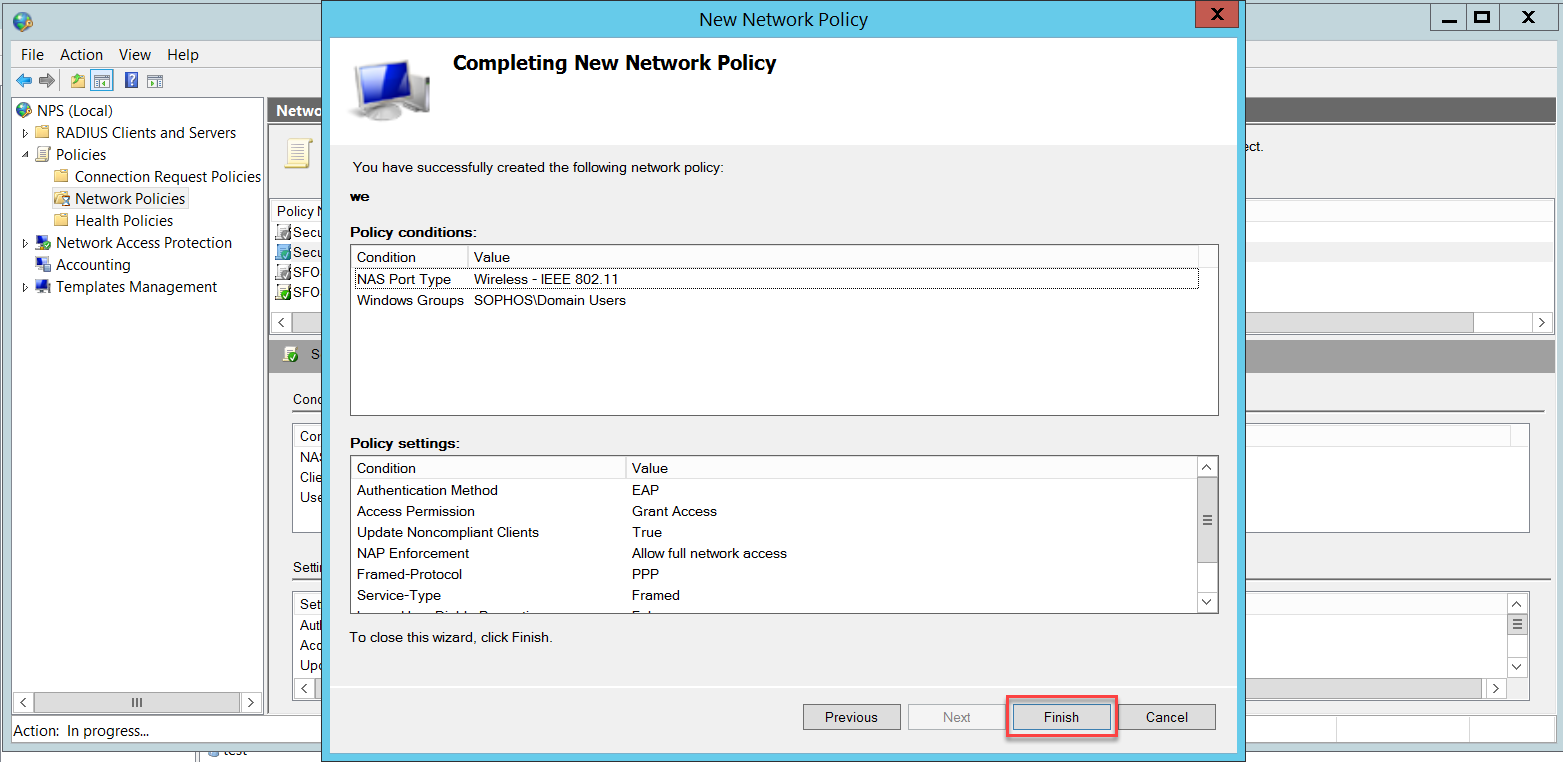
The Network Policies must look like this.
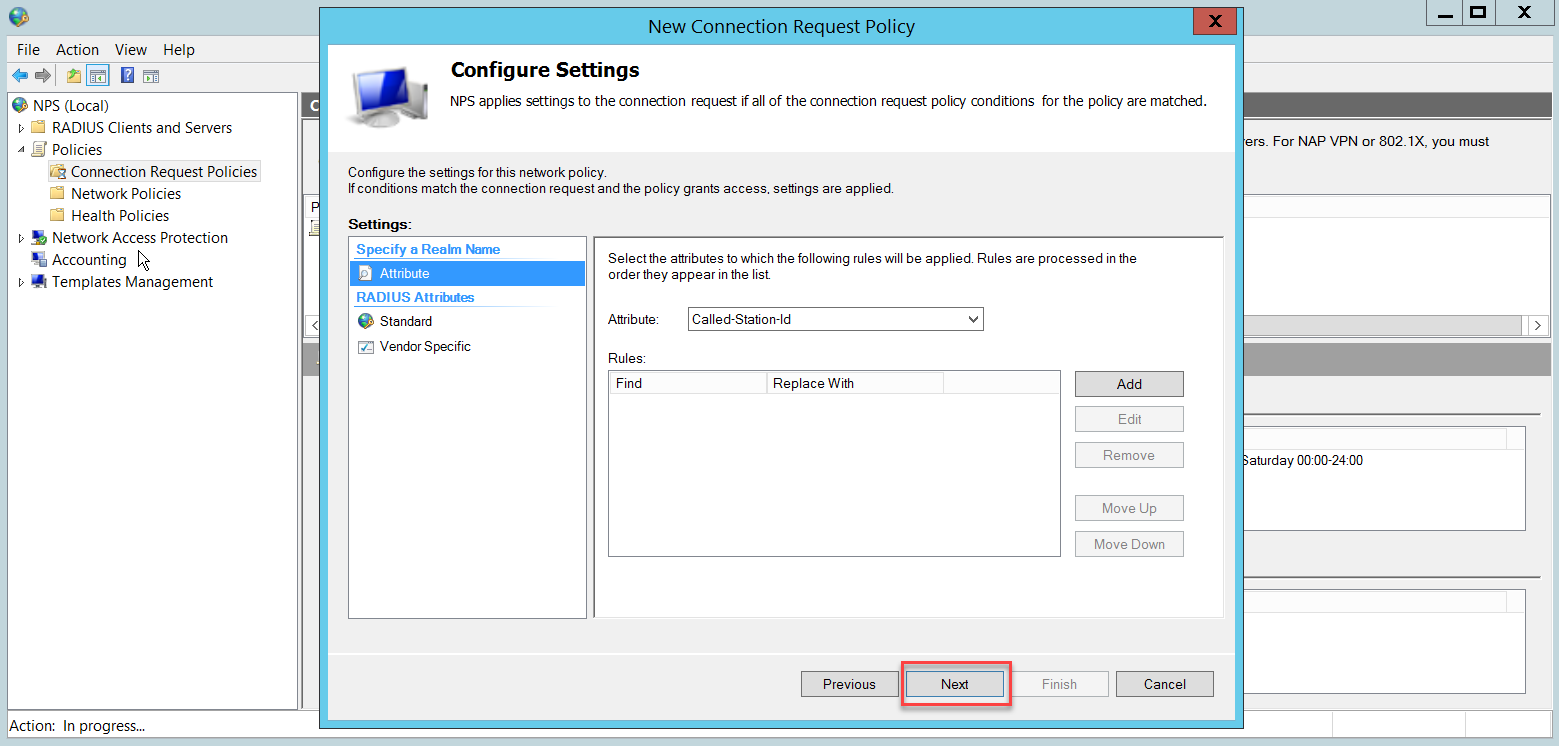
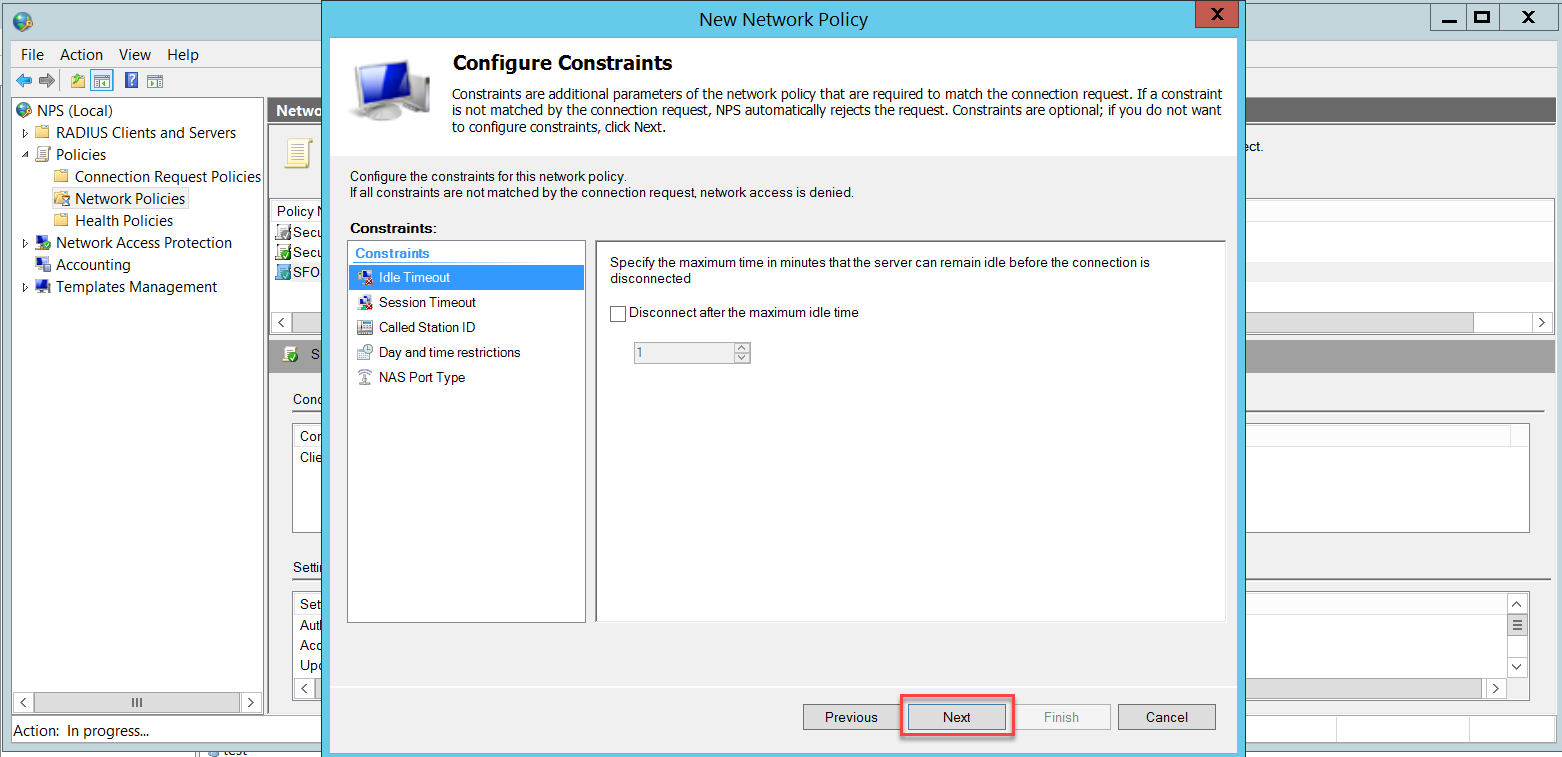
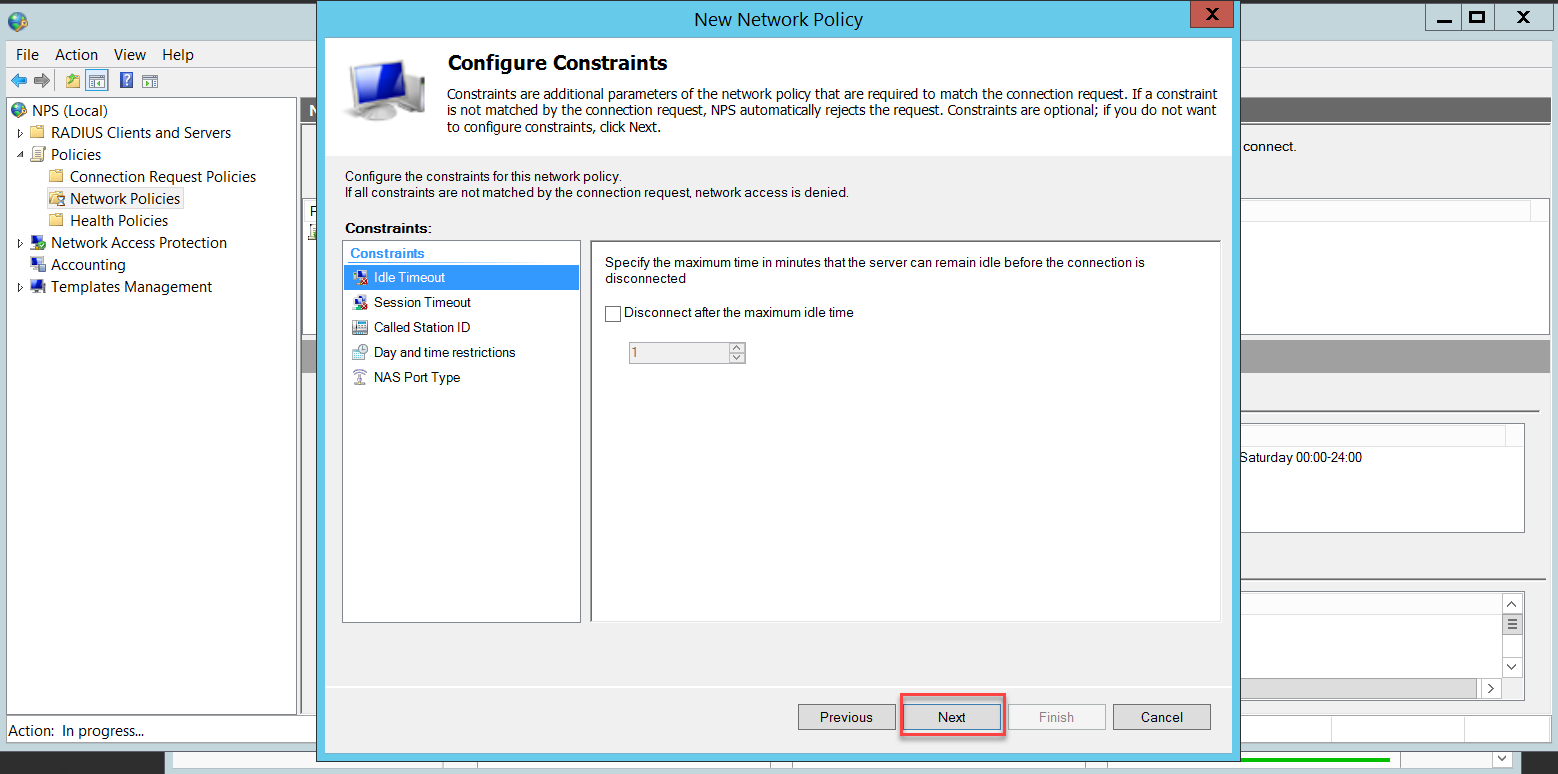
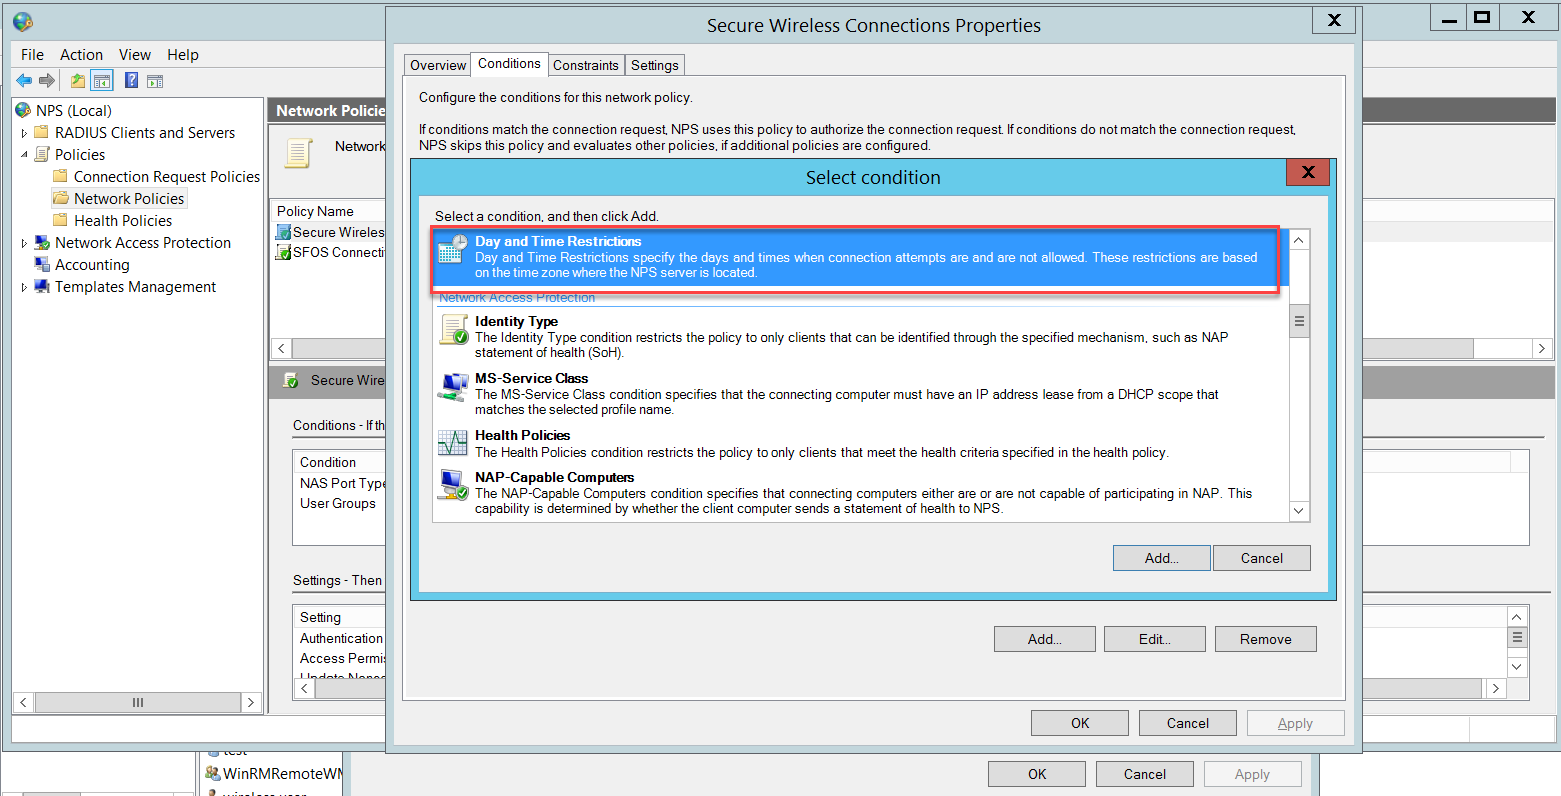
Note: You can add more conditions according to your business needs. For example, the Day and Time Restrictions condition can restrict access to certain days and times.
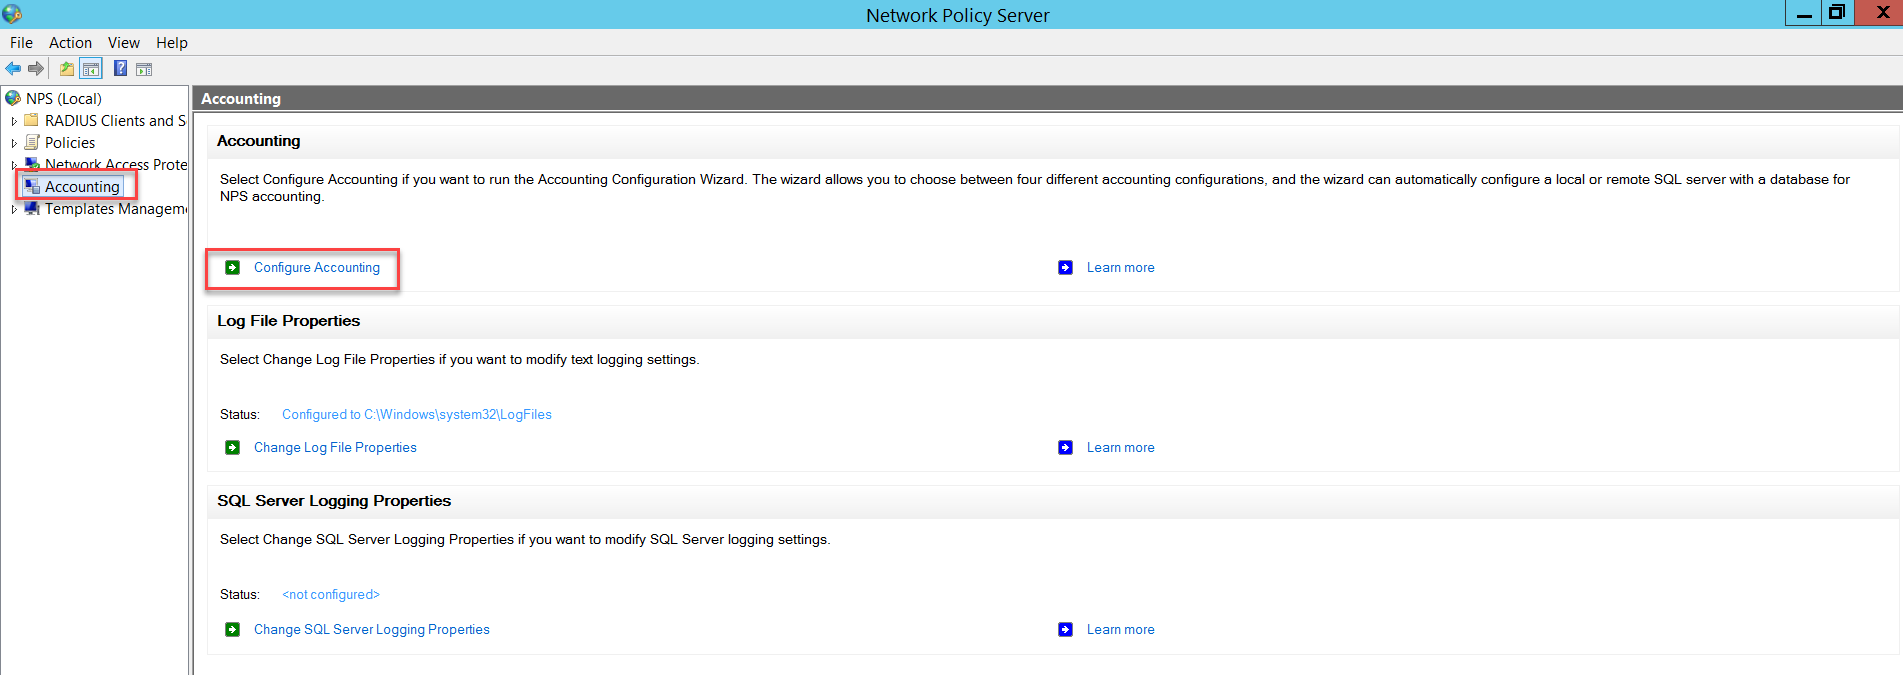
Go to Accounting and click Configure Accounting.
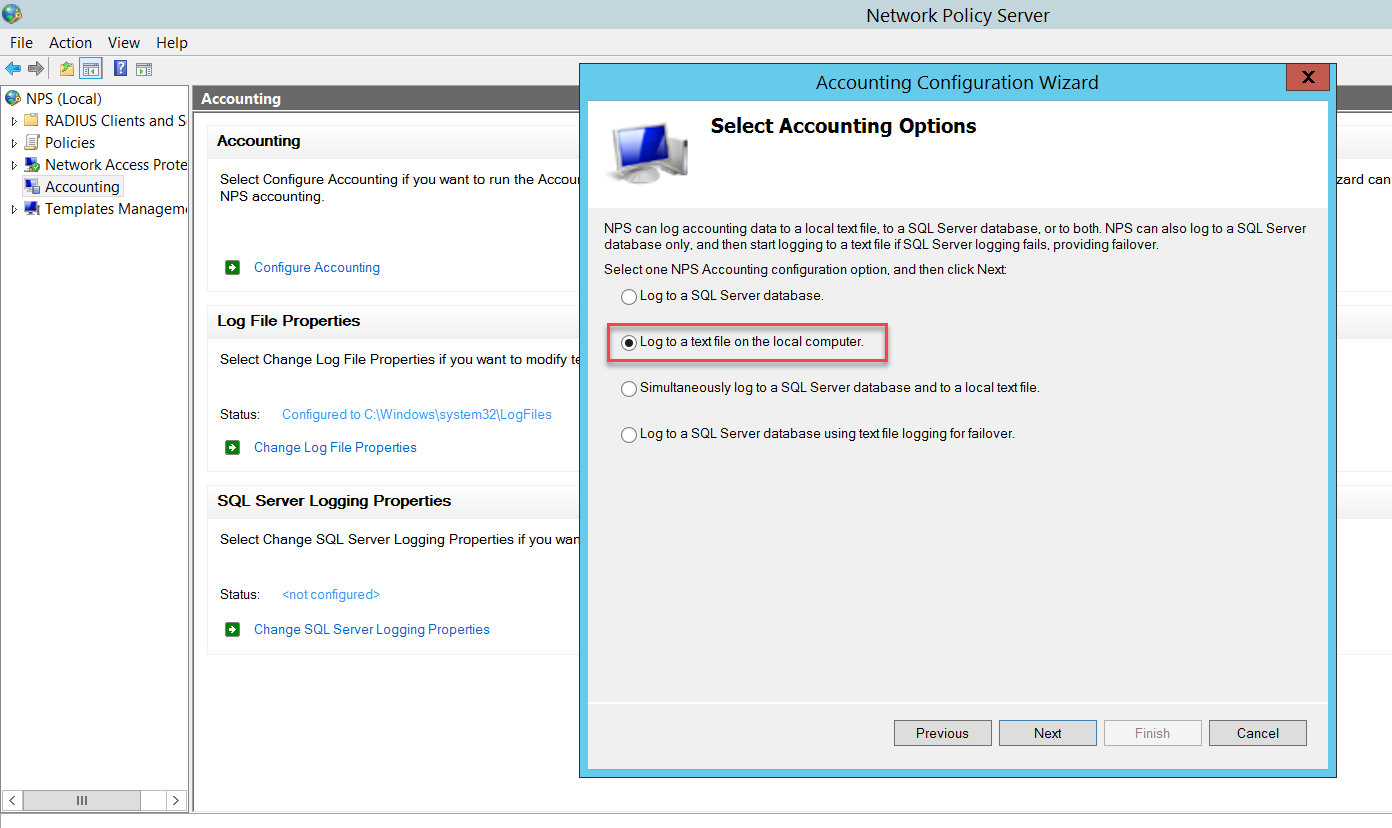
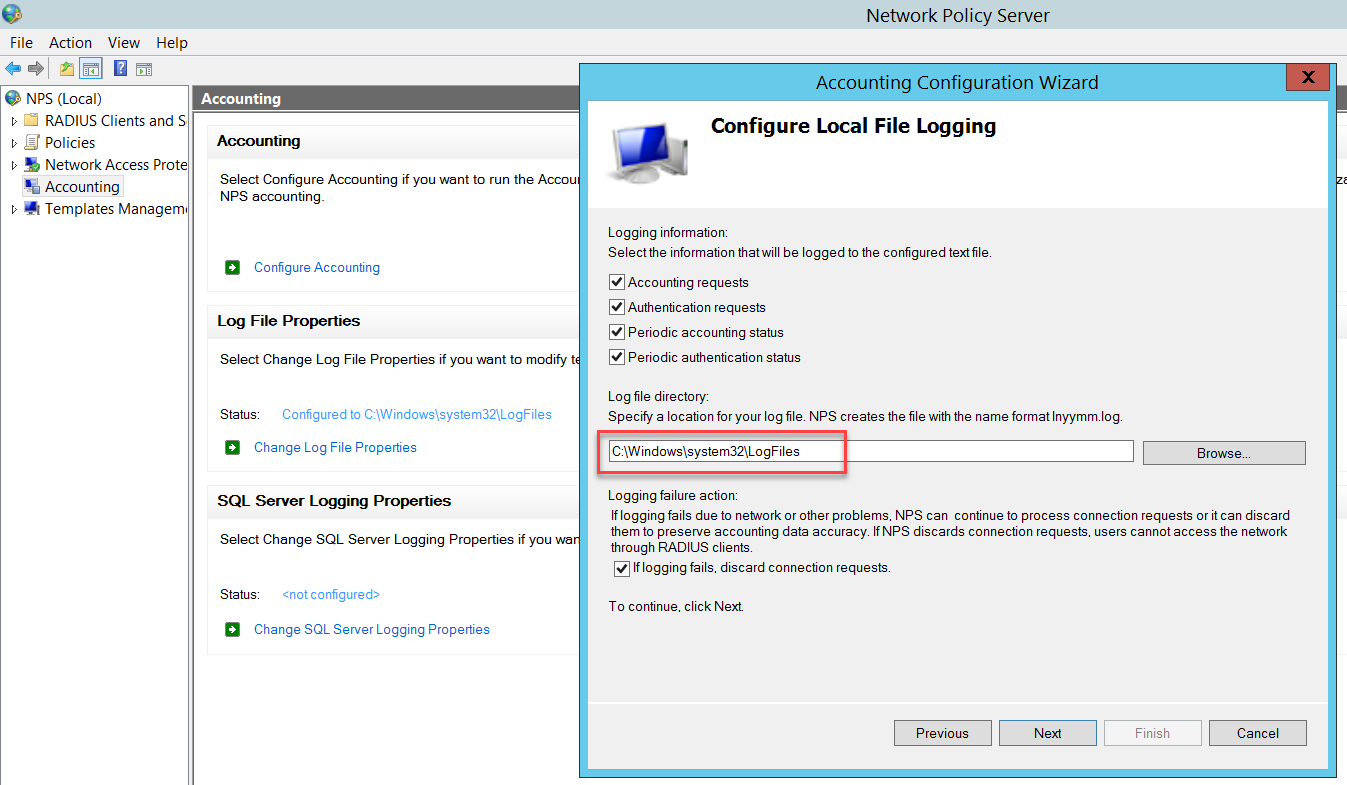
Follow the Wizard to configure one NPS accounting option. In this example, we used Log to a text file on the local computer.
Configure the Local File Logging as follows and click Next.
Verify the Summary and click Next.

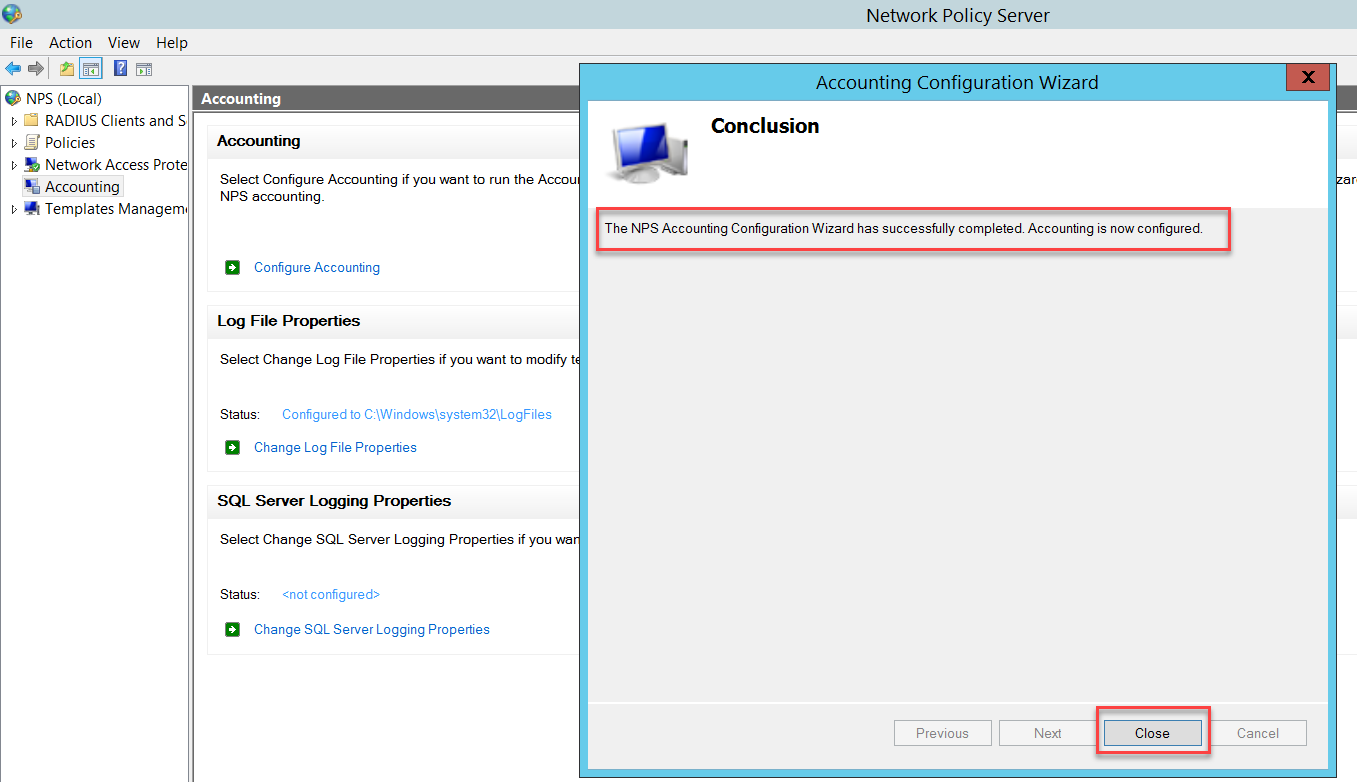
The accounting is now configured. Click Close to finish.
Configure Sophos Firewall
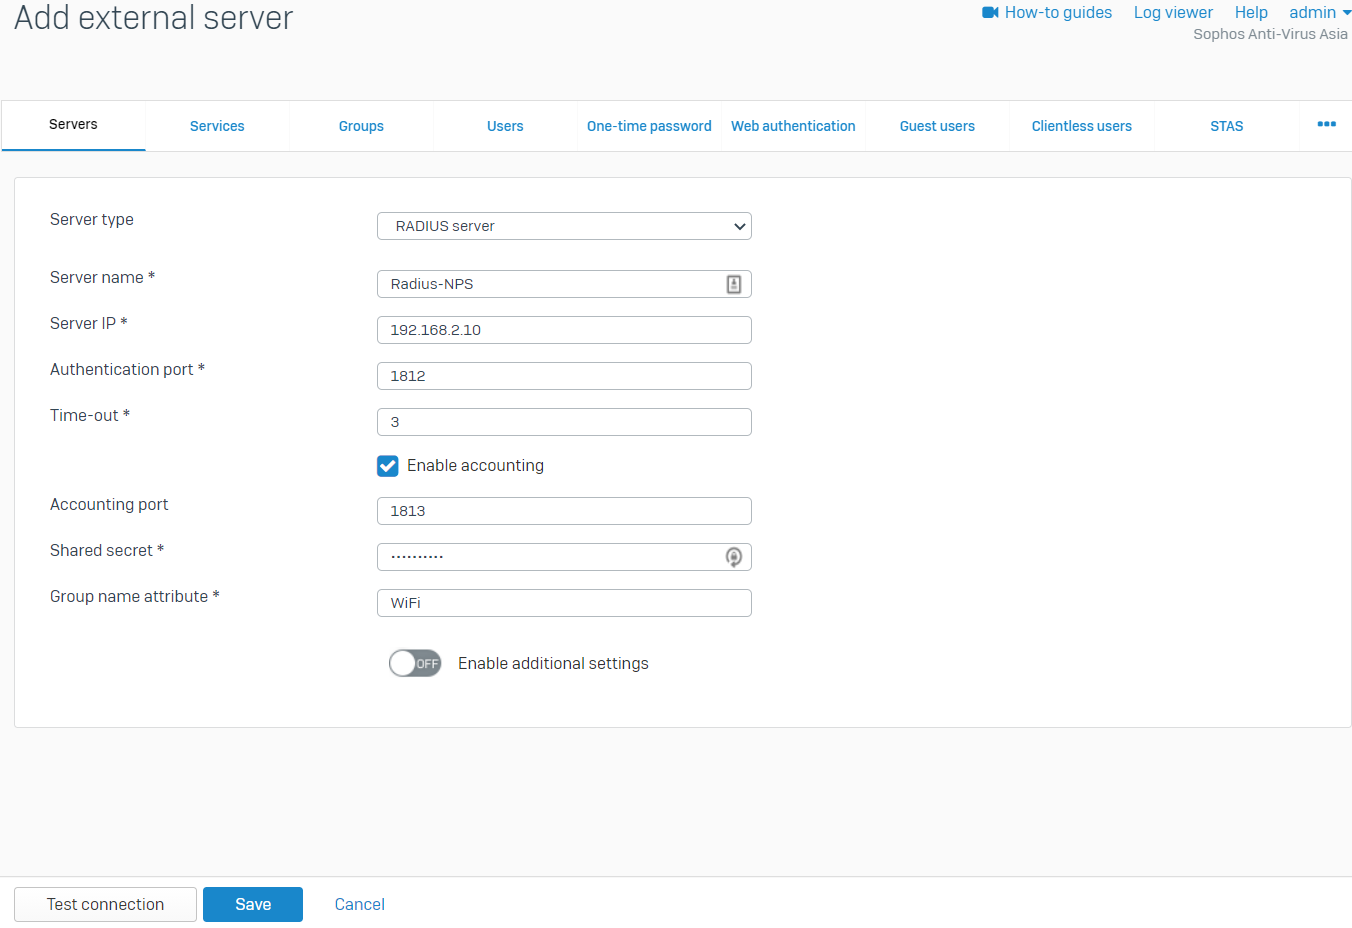
Go to Authentication > Servers and click Add. The Shared Secret is the same as configured earlier in NPS. The Group Name Attribute is a mandatory field but has no match in NPS in this example, so we can set it to anything. Turn on Enable Accounting so that Sophos Firewall will send login and logoff events to the NPS.
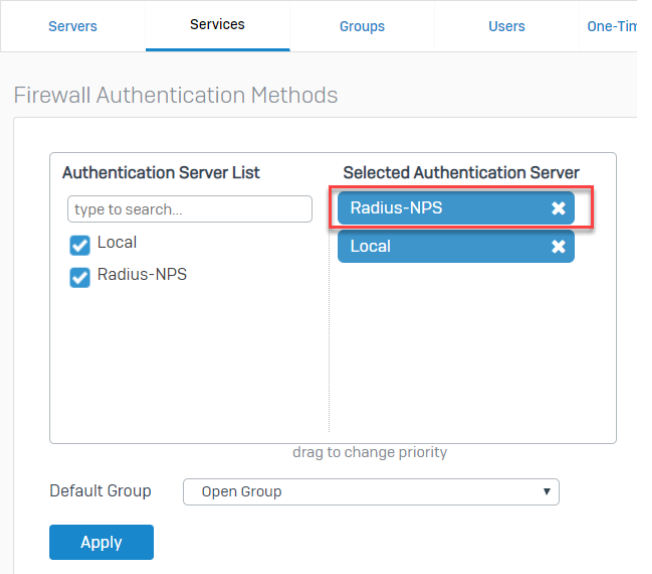
Go to Authentication > Services to set the radius server at the top of the list under Firewall authentication methods.
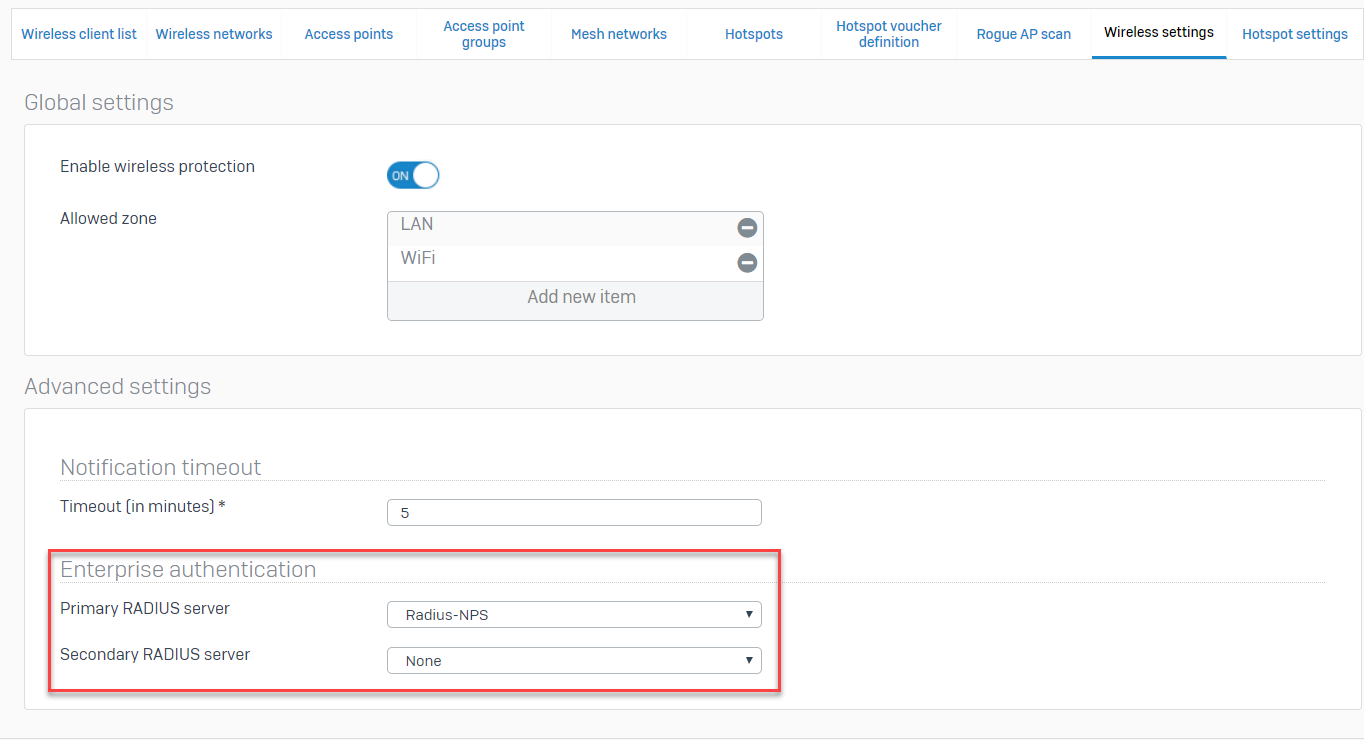
Go to Wireless > Wireless Settings.
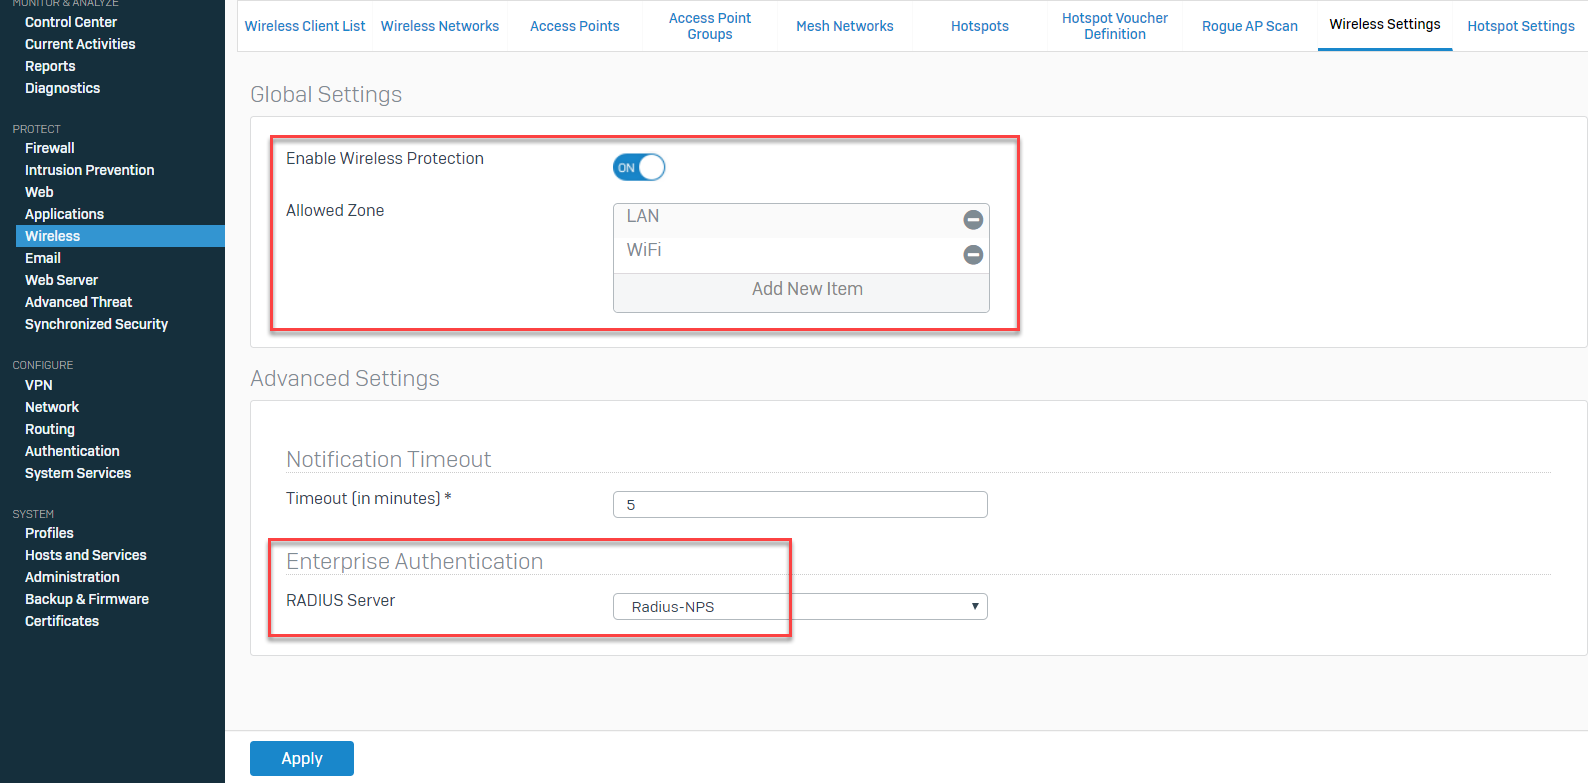
Note: In SFOS he ability to add a secondary RADIUS server as a fallback for Enterprise Authentication has been added. The primary RADIUS server fail, the secondary server will be used, granting zero downtime to authenticate.
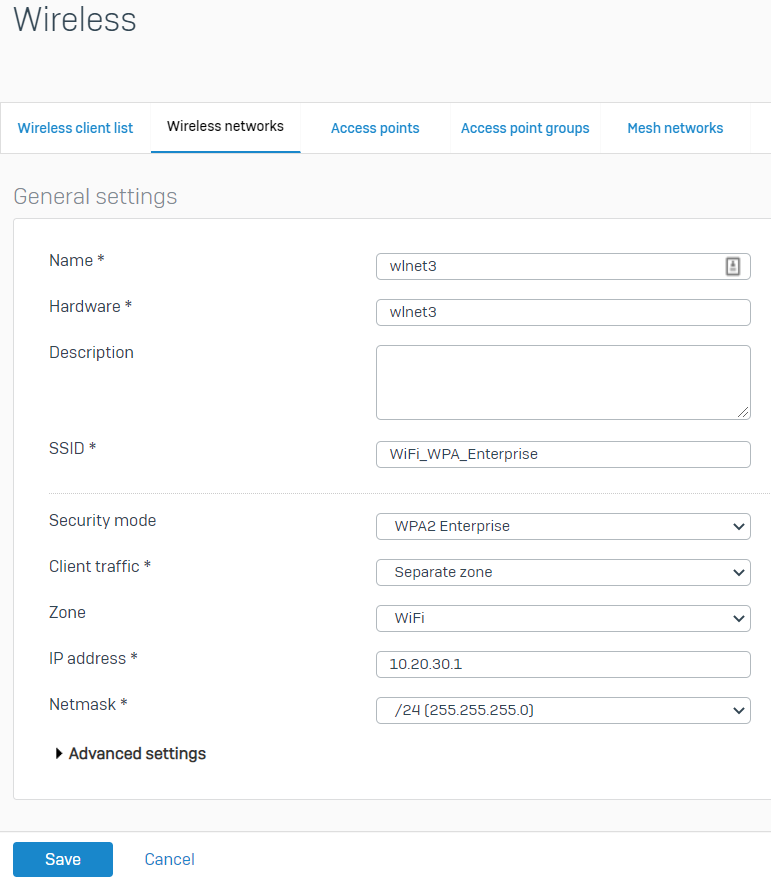
Go to Wireless > Wireless Networks and click Add.
Go to Rules and policies > Firewall rules > Add firewall rule and select New firewall rule to create a rule allowing traffic for wireless users from WiFi to WAN zones. Also, apply security profiles and controls according to your business needs.
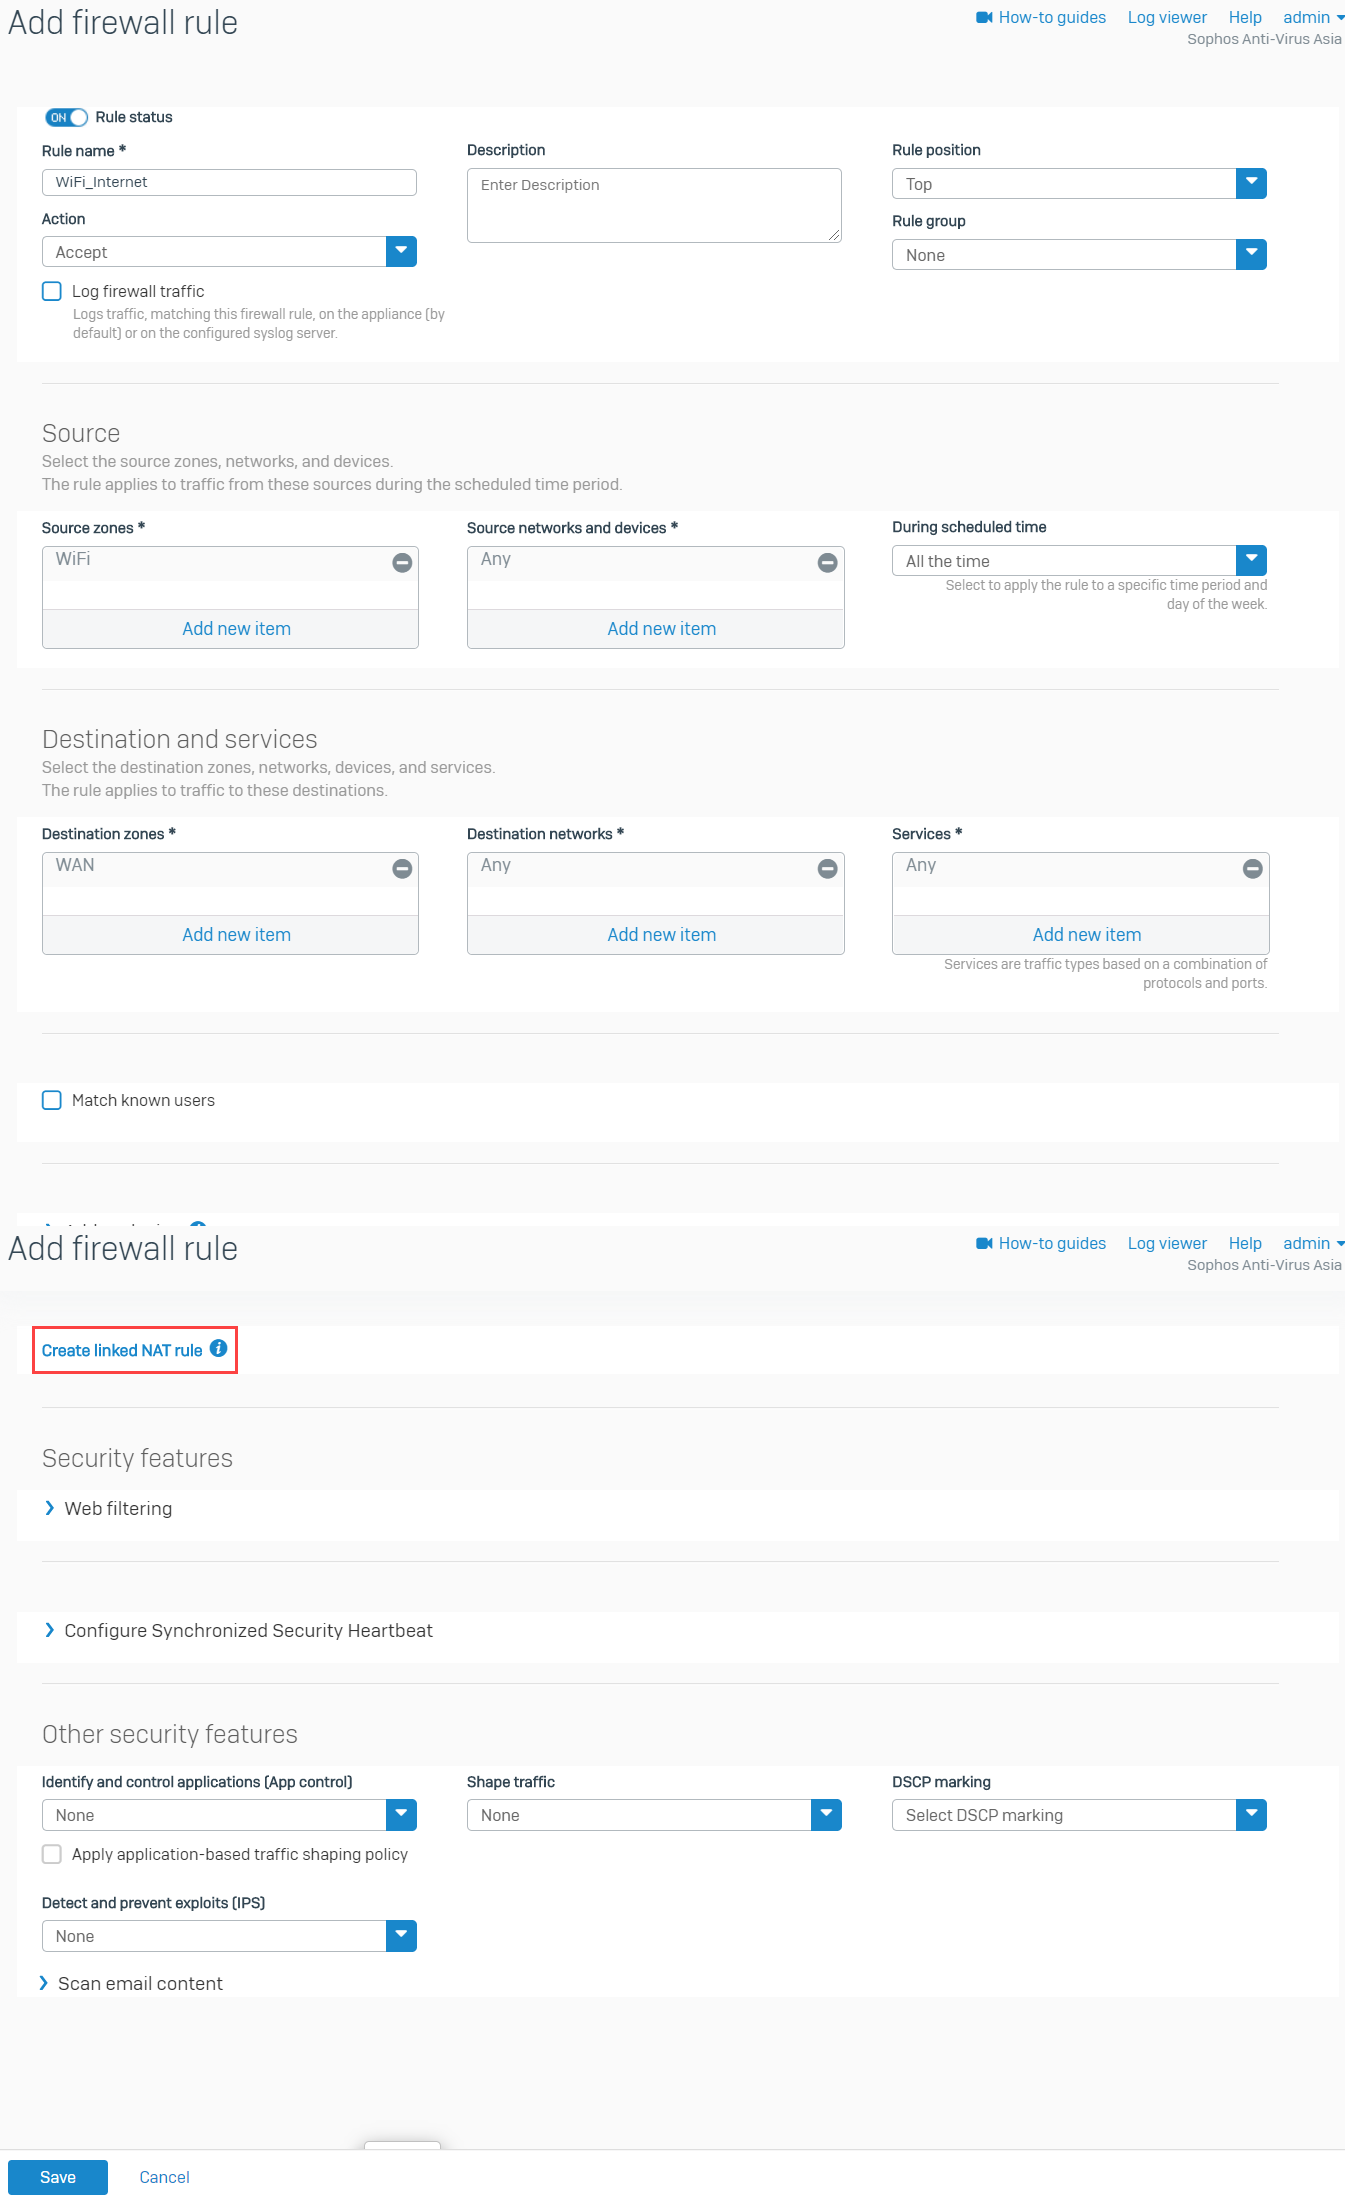
Click Create linked NAT rule and configure according to the screenshot below.
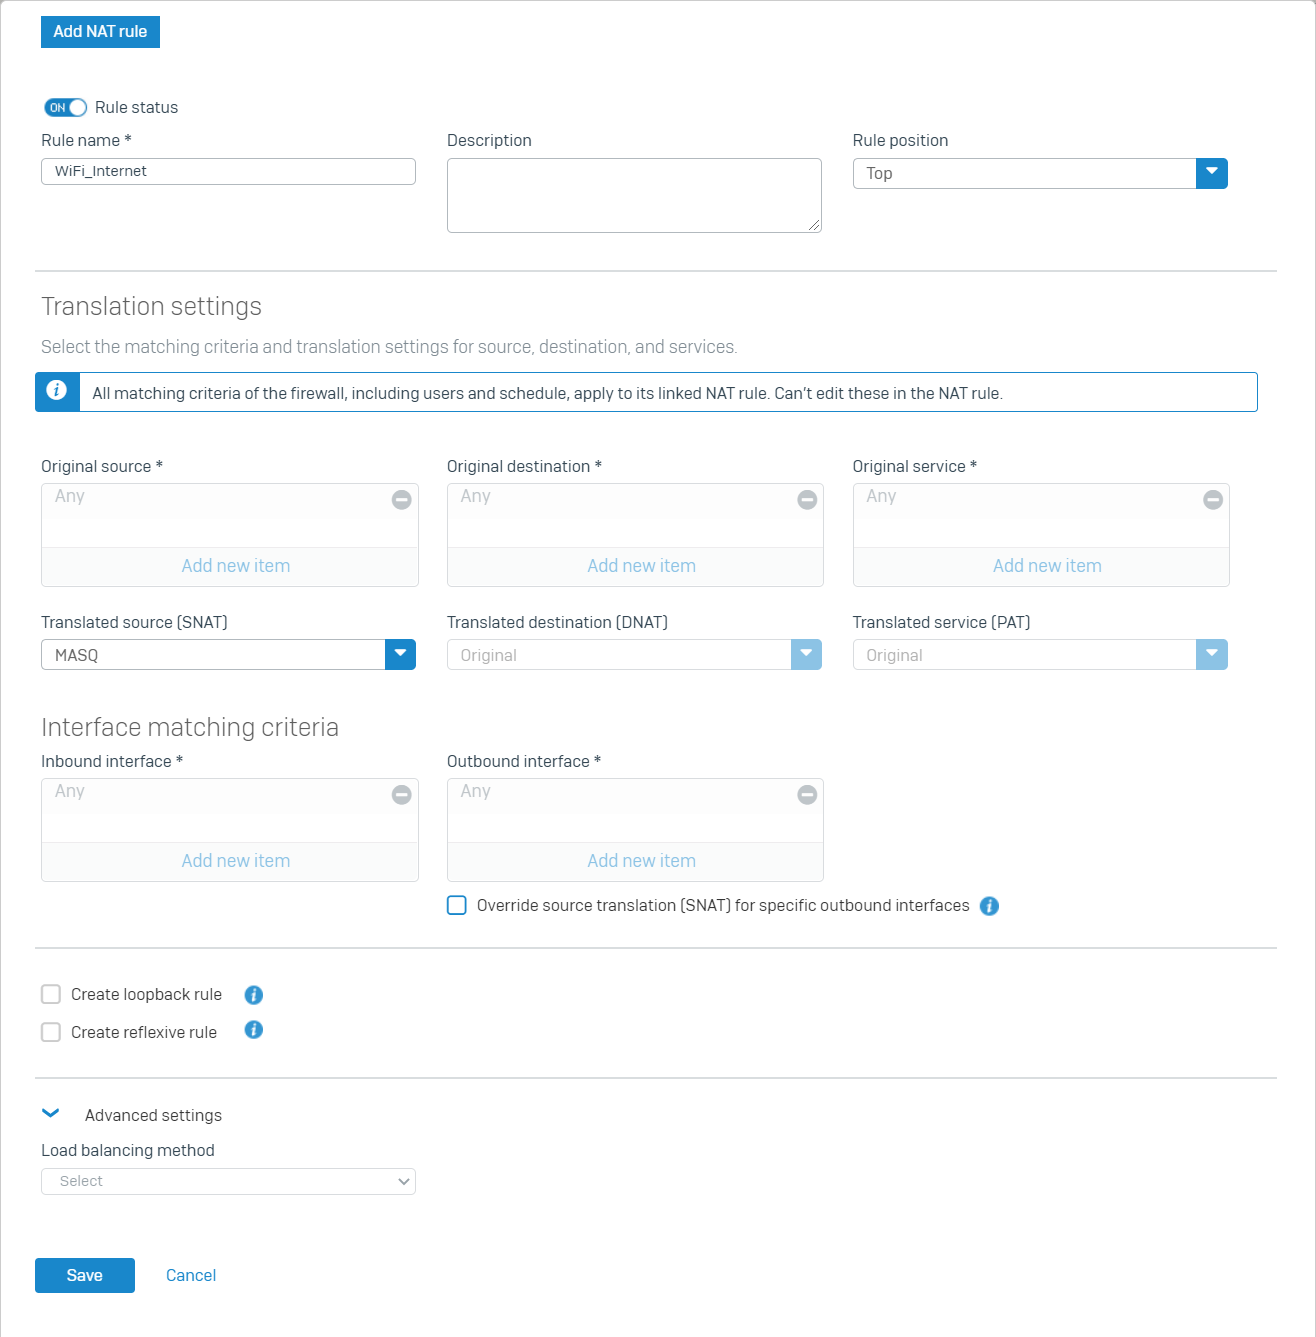
Click Save and then Save, as well as the firewall rule.
Results
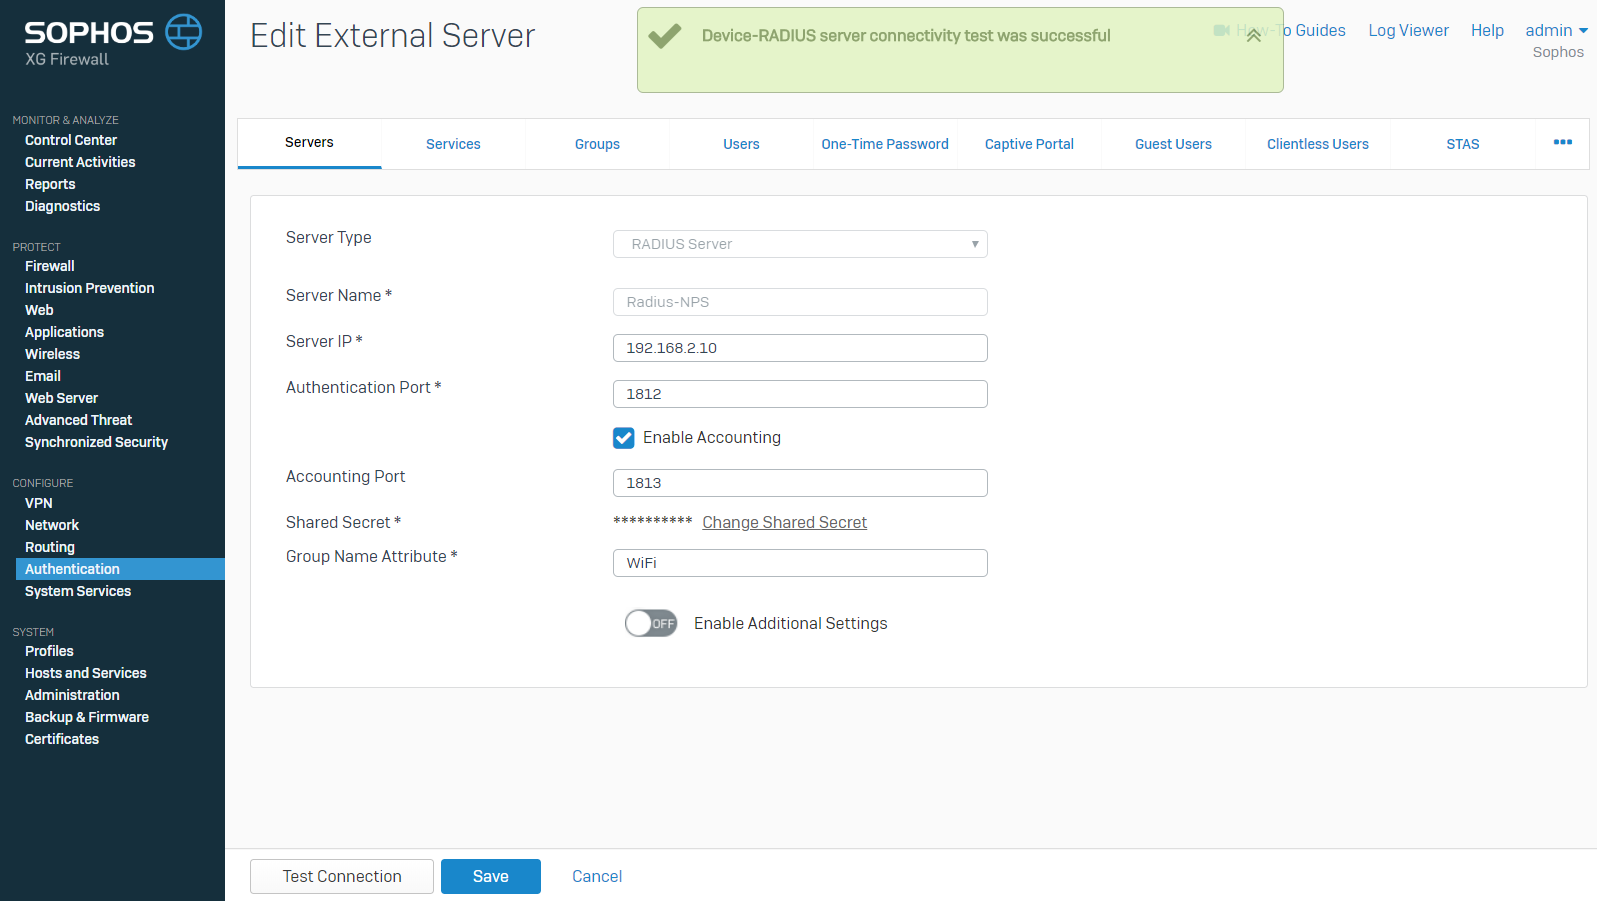
Go to Authentication > Servers to select the recently created RADIUS server and click Test Connection.Enter a username already in the Active Directory with its password and click Test Connection.
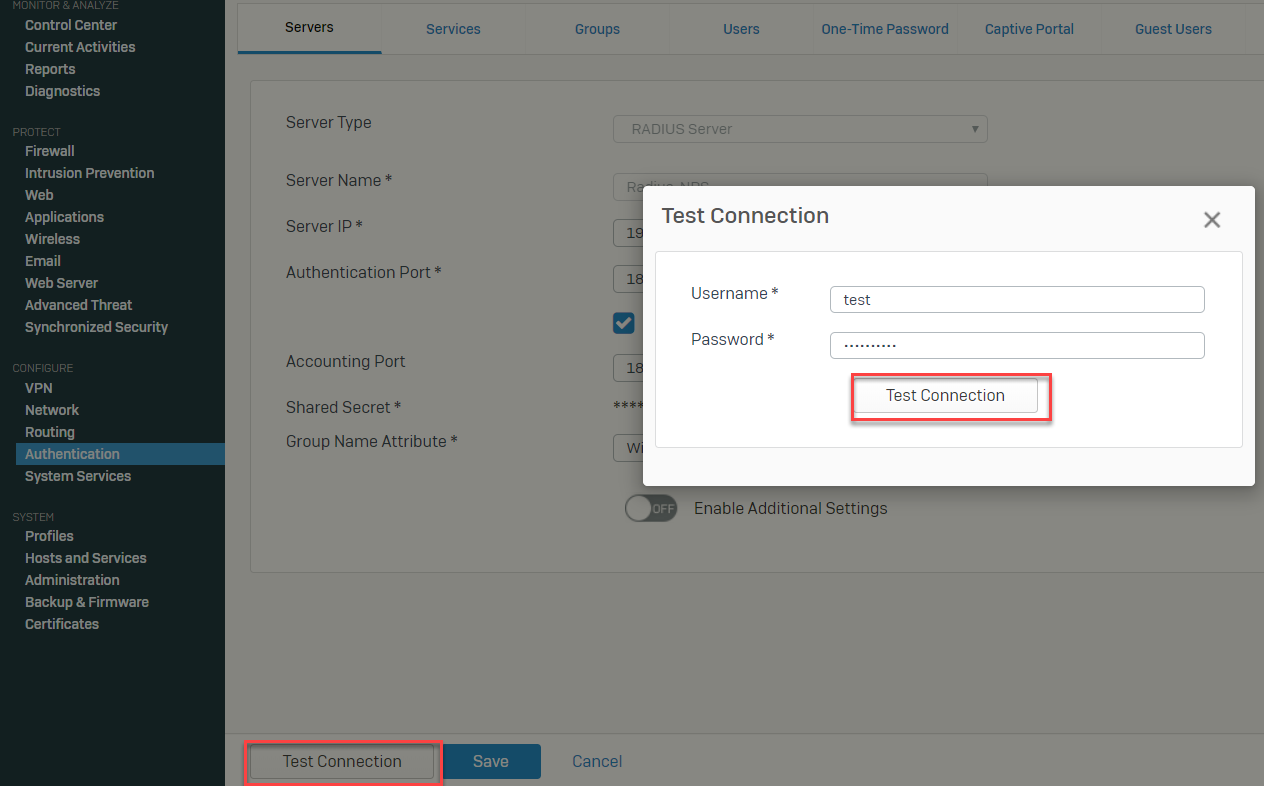
The Test Connection must be successful.
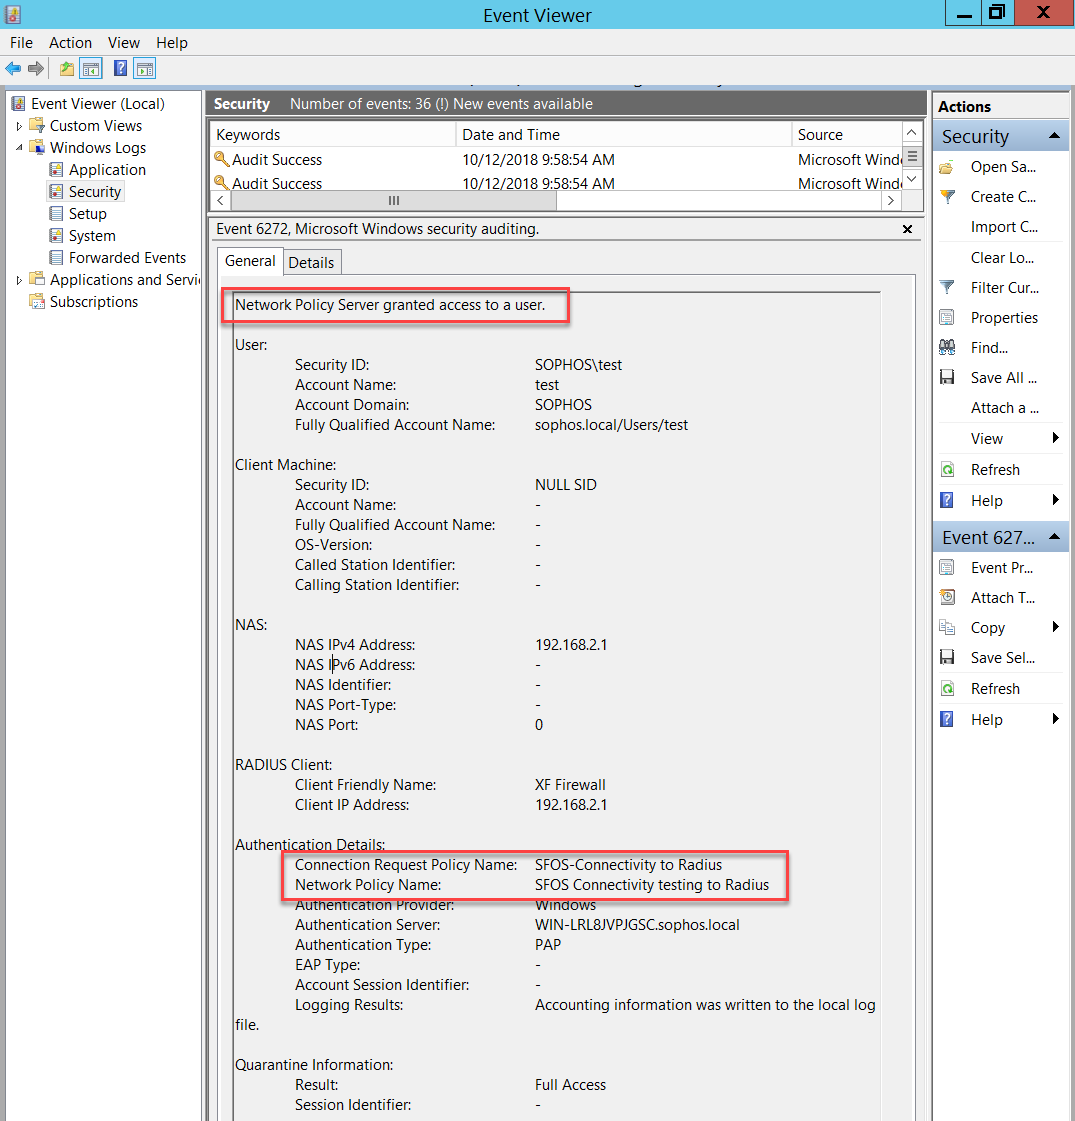
Optionally, check the Event Viewer in Windows Server to verify which Connection Request Policy and Network Policy has been applied.
Now, have a Wireless user connect to the recently created SSID.
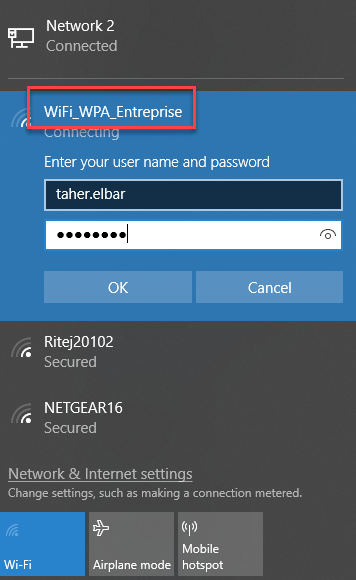
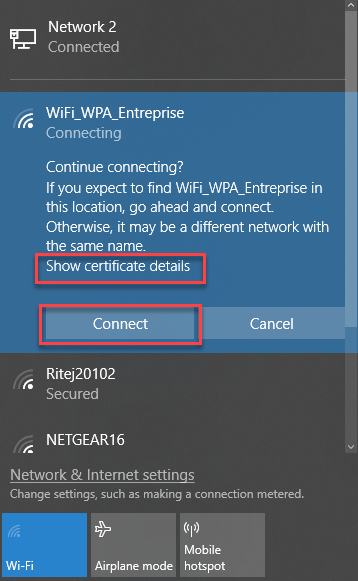
The user may ignore the certificate and click Connect.
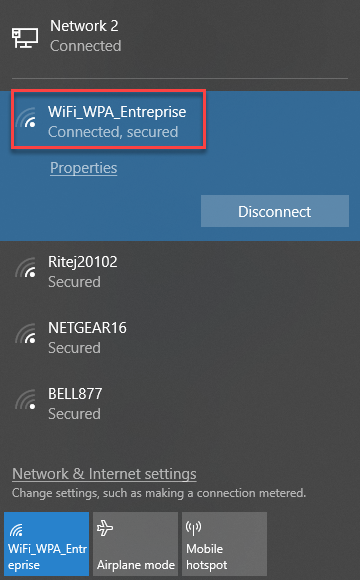
The user is now connected.
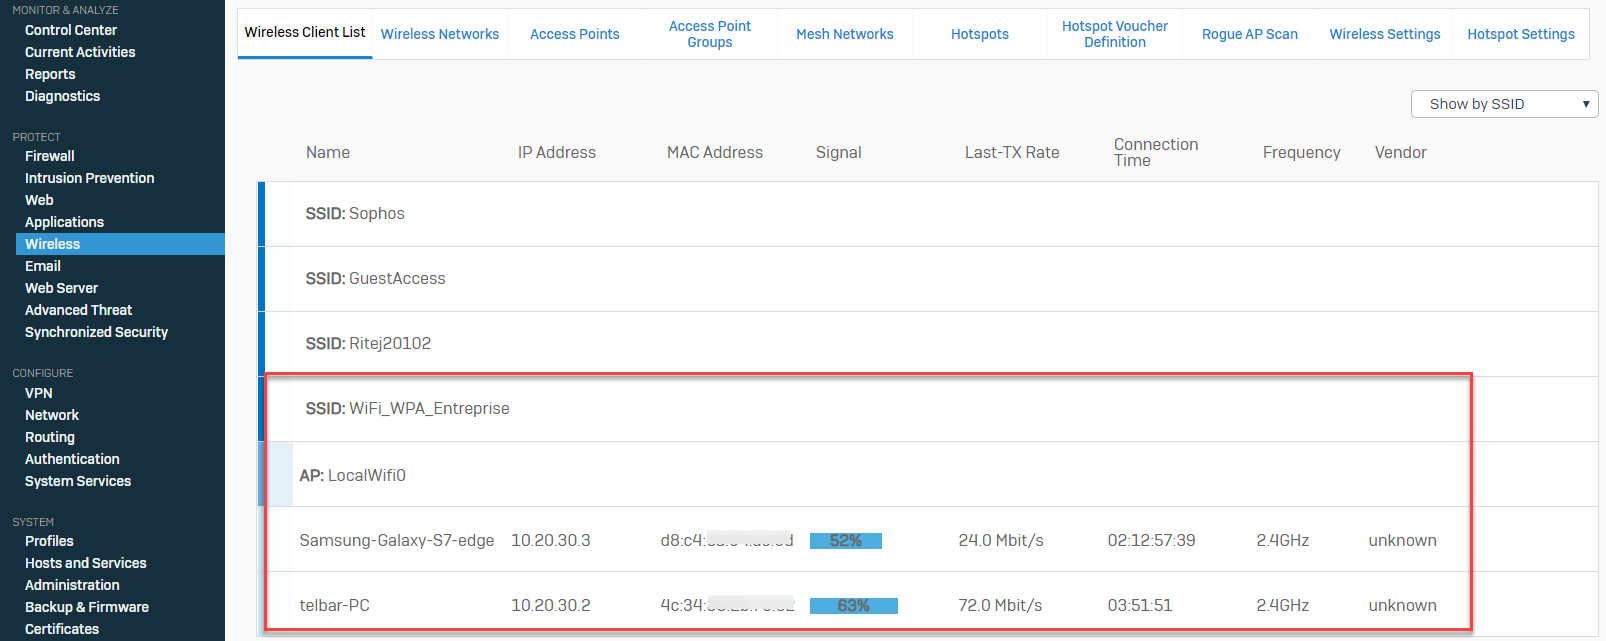
From the Sophos Firewall, go to Wireless > Wireless Client List to verify logged-on users.
Optionally, check the Event Viewer in Windows Server to verify which Connection Request Policy and Network Policy has been applied.

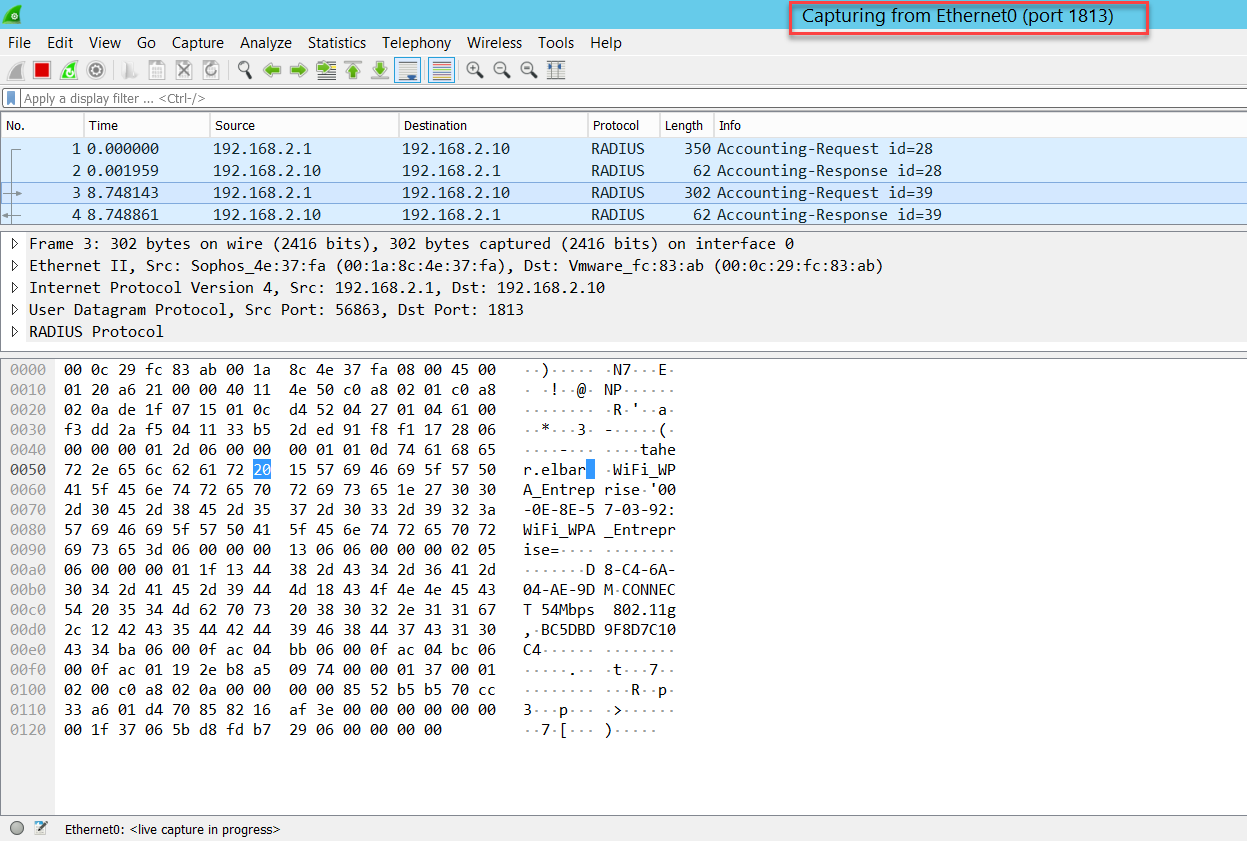
To verify logon and logoff accounting events, you can install Wireshark on the Windows Server and filter the traffic to the configured port for accounting in Sophos Firewall, port 1813, in our example.
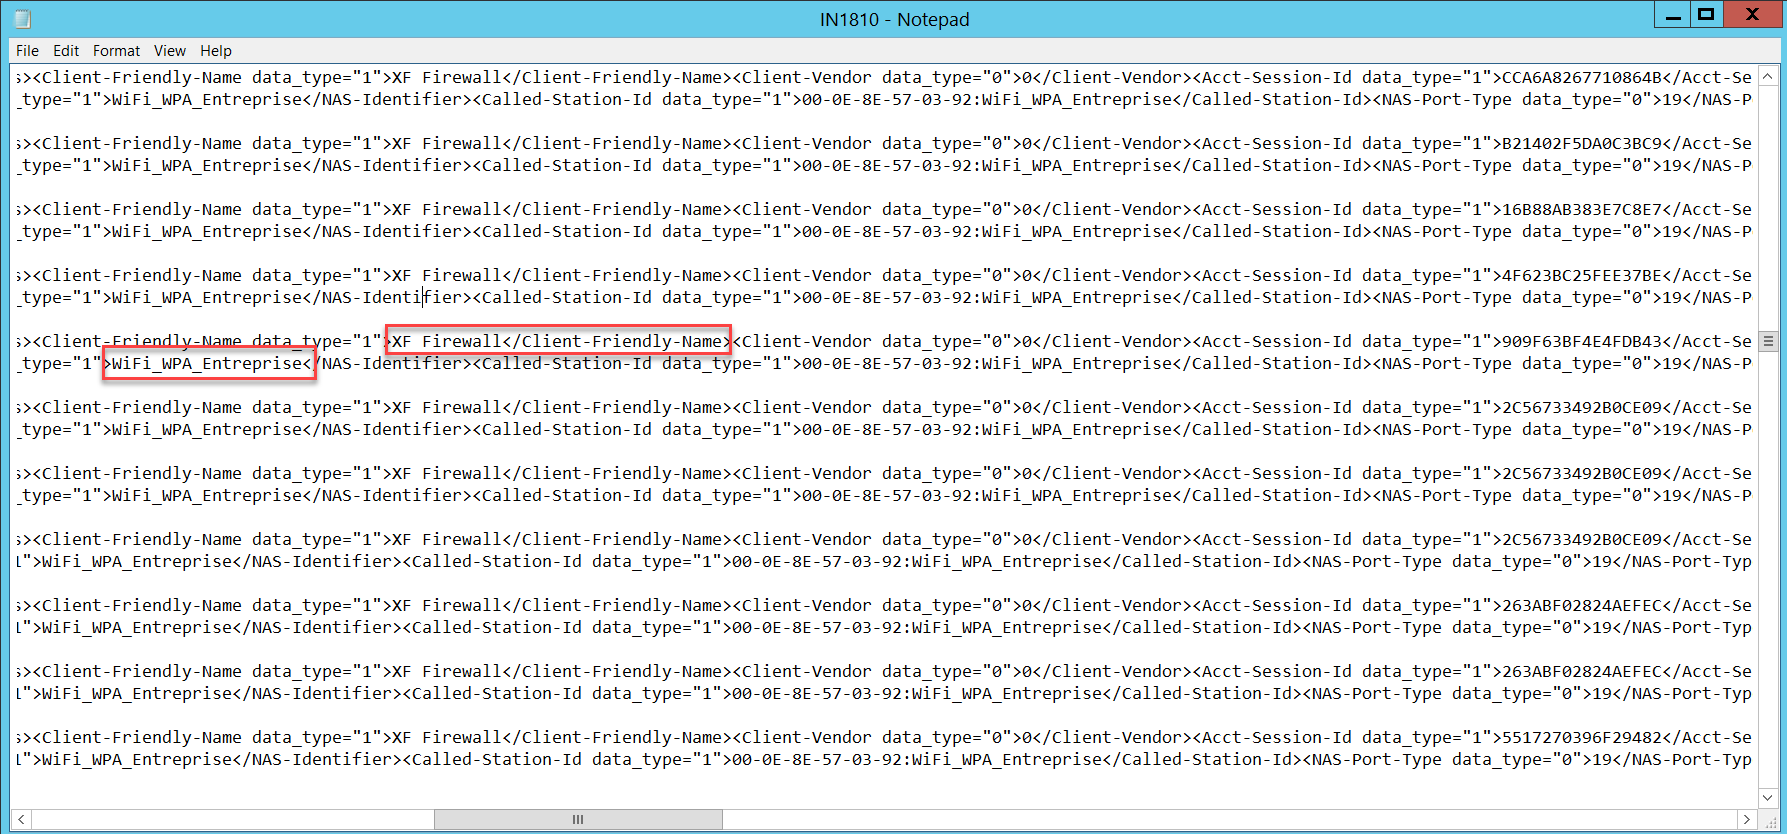
Also, you can verify the log file configured earlier in NPS accounting. In our example, it’s in C:\Windows\System32\LogFiles.

Revamped
[edited by: Erick Jan at 7:19 AM (GMT -8) on 13 Dec 2024]