

Disclaimer: This information is provided as-is for the community's benefit. Please contact Sophos Professional Services if you require assistance with your specific environment.
Overview
This article provides a high-level overview of using Microsoft Intune to deploy the Sophos Central Endpoint Agent on Windows devices.
The steps below are provided assuming that you have already used Intune to deploy packages to Windows devices and are familiar with the general workflows described.
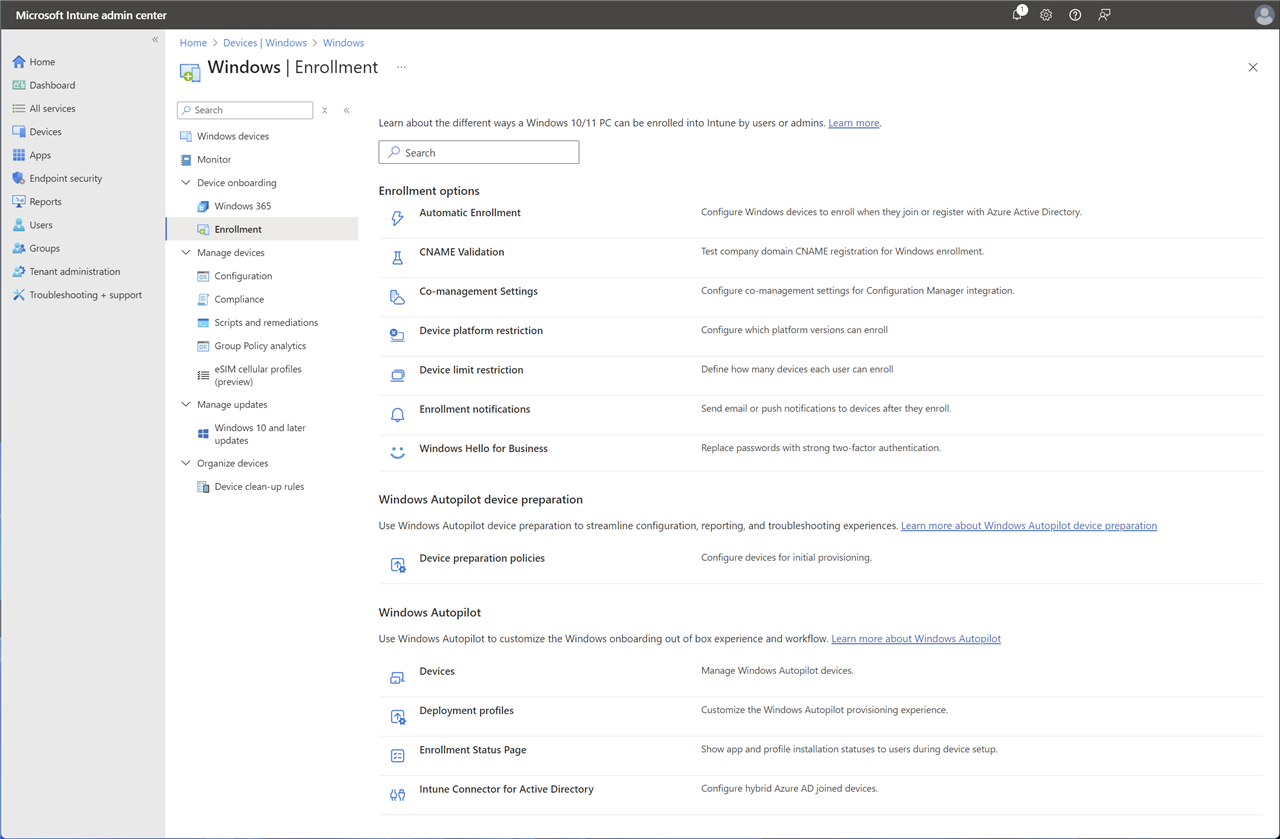
Note: It is recommended to deploy using AutoPilot from Windows enrollment
The following sections are covered:
- Creating the .intunewin file from the Sophos Central installer
- Creating the Win32 app within Intune
- Endpoint deployment
Product and Environment
- Microsoft Intune
- Sophos Central Endpoint
- Windows
Creating the .intunewin file from the Sophos Central installer file
- Create the following folders using a Command Prompt with admin privilege:
md C:\Tempmd C:\Temp\IntunePackageSourcemd C:\Temp\IntunePackageOutputmd C:\Temp\Intune-Win32-App-Packaging-Tool-master
- Download the Sophos Central installer
SophosSetup.exefrom your Sophos Central Admin dashboard and save it atC:\Temp\IntunePackageSource. - Go to Github, and download the Microsoft Win32 app packaging tool (
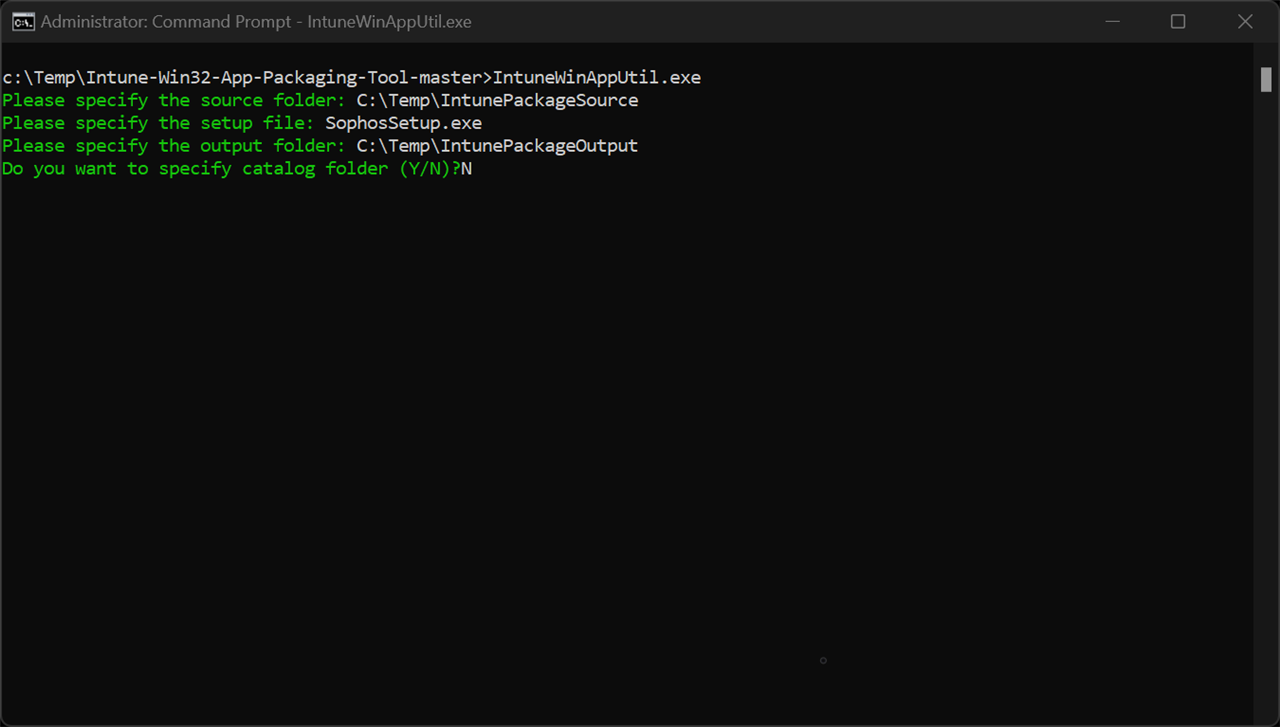
IntuneWinAppUtil.exe) and save it atC:\Temp\Intune-Win32-App-Packaging-Tool-master. - Using a Command Prompt, run the packaging tool from the specified folder above.
- When prompted, specify the following:
- Source folder:
C:\Temp\IntunePackageSource - Setup file:
SophosSetup.exe - Output folder:
C:\Temp\IntunePackageOutput - Catalog folder:
N
- Source folder:
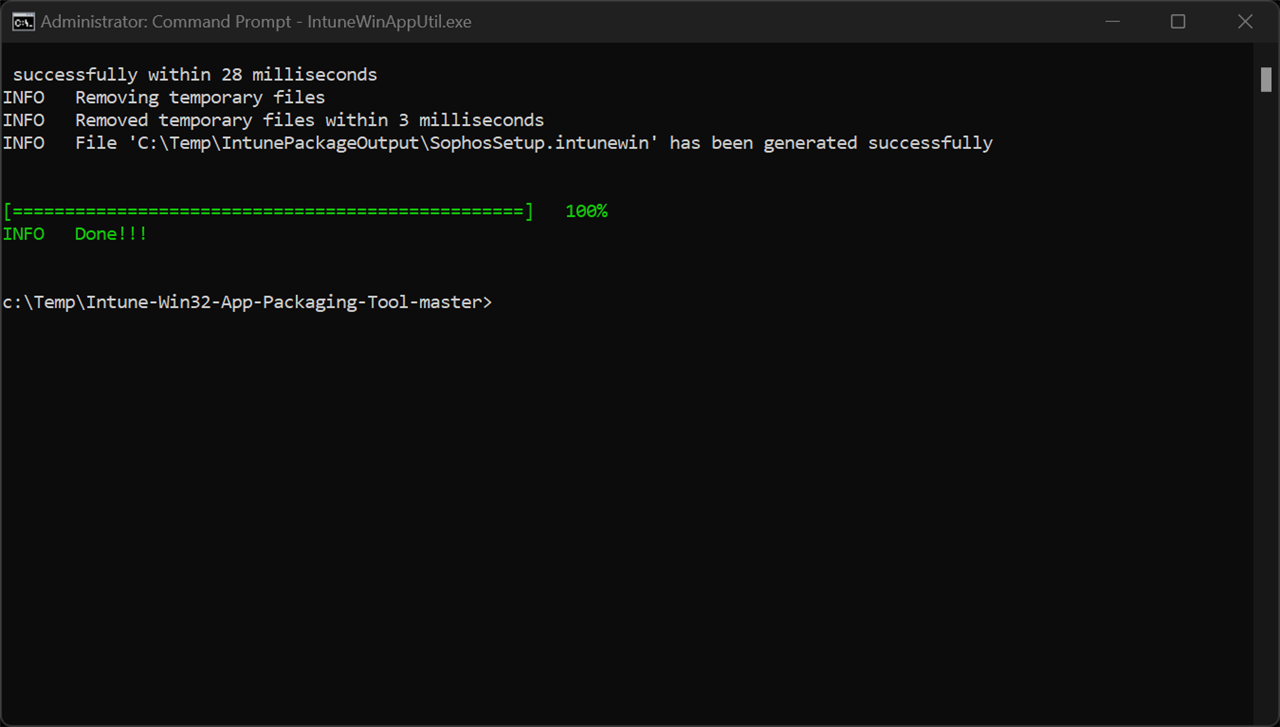
The message INFO File 'C:\Temp\IntunePackageOutput\SophosSetup.intunewin' has been generated successfully will be displayed.
Creating the Win32 app within Intune
- Sign in to your Azure AD tenant with an account that can manage Intune.
- Search for and click Intune.
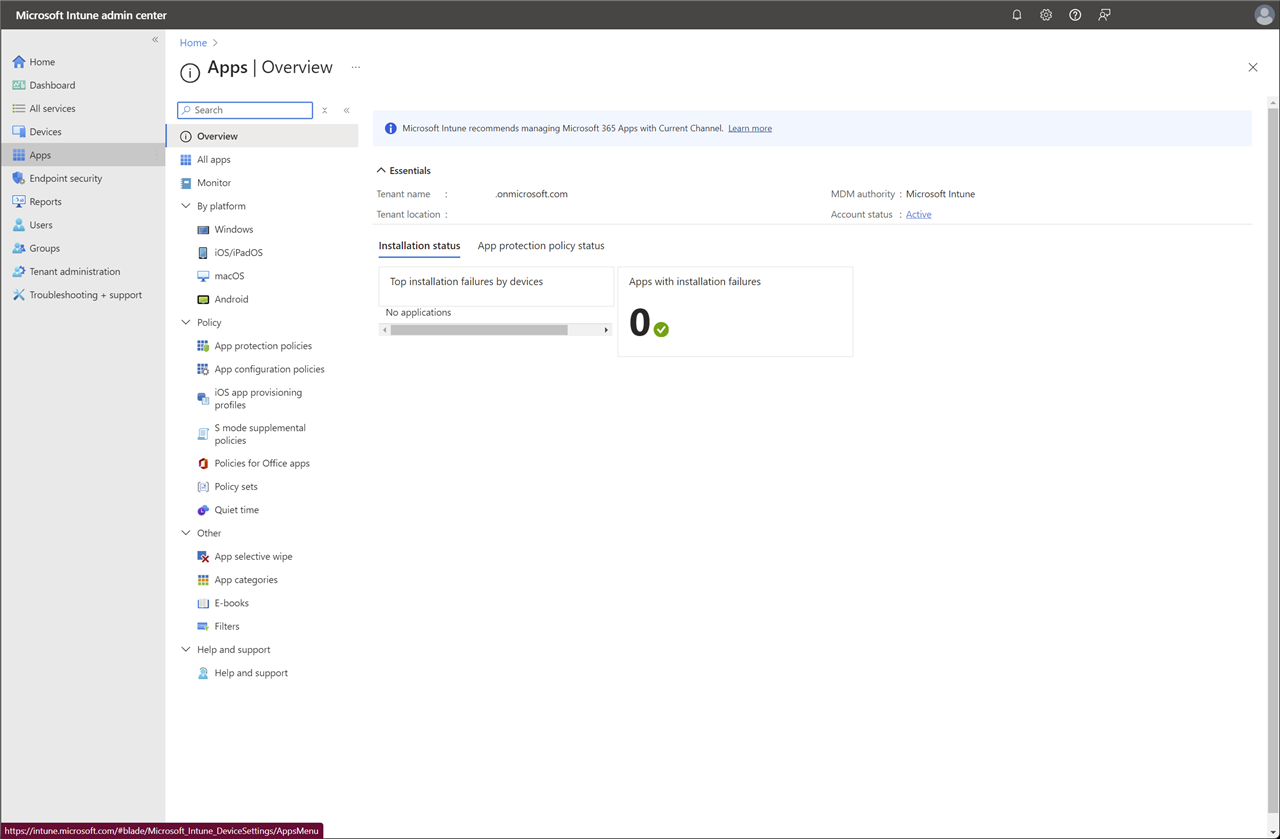
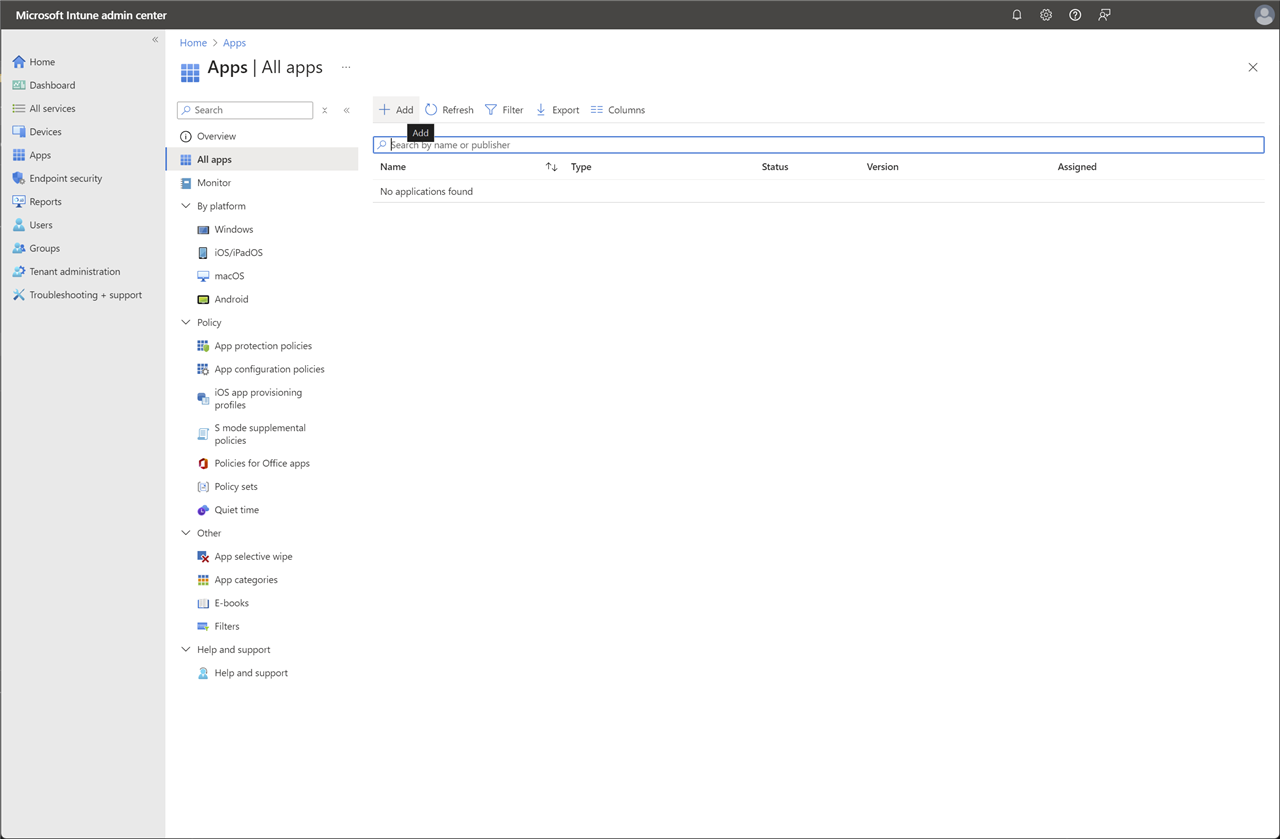
- In the Microsoft Intune admin center, click Apps.
- Click All Apps > Add.
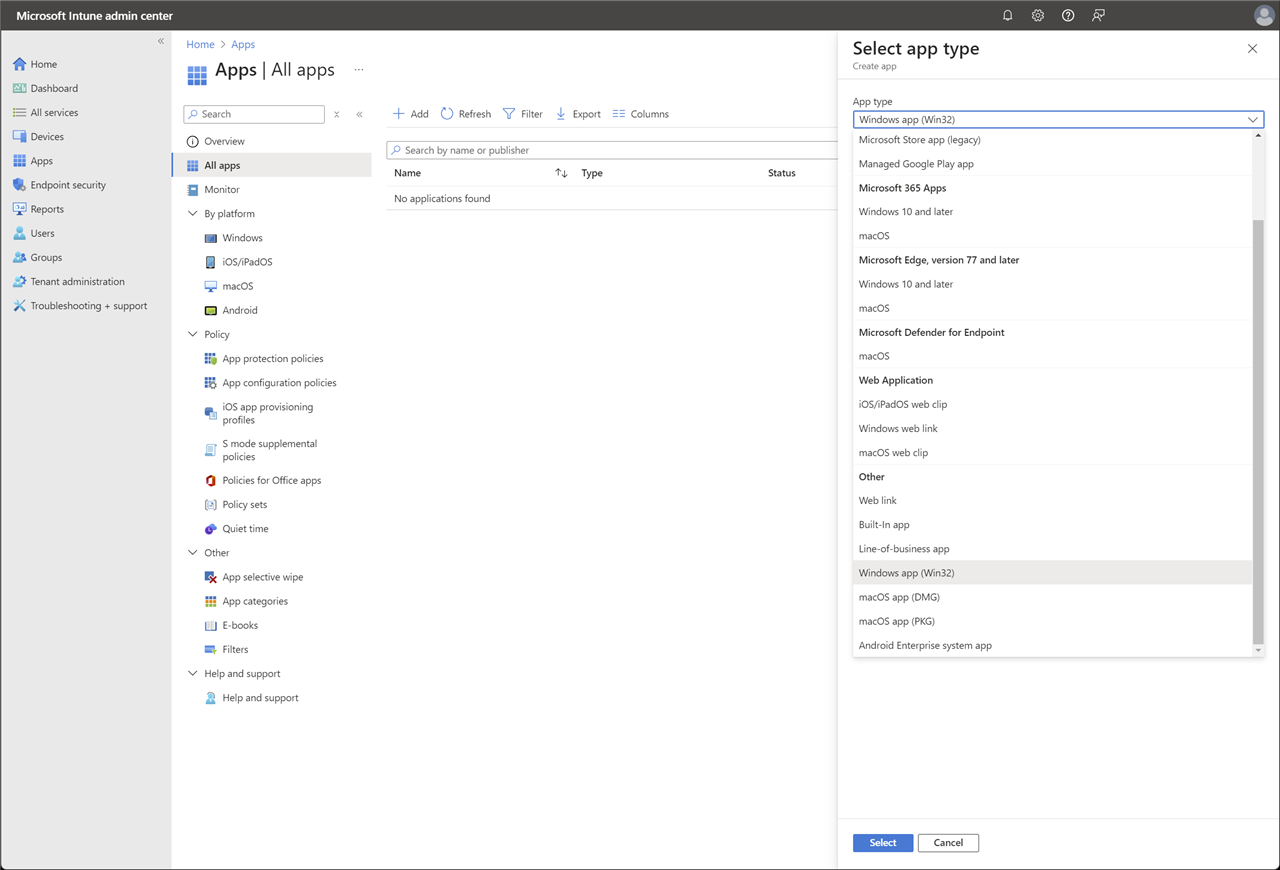
- Select Windows app (Win32) for the App type, then click Select.
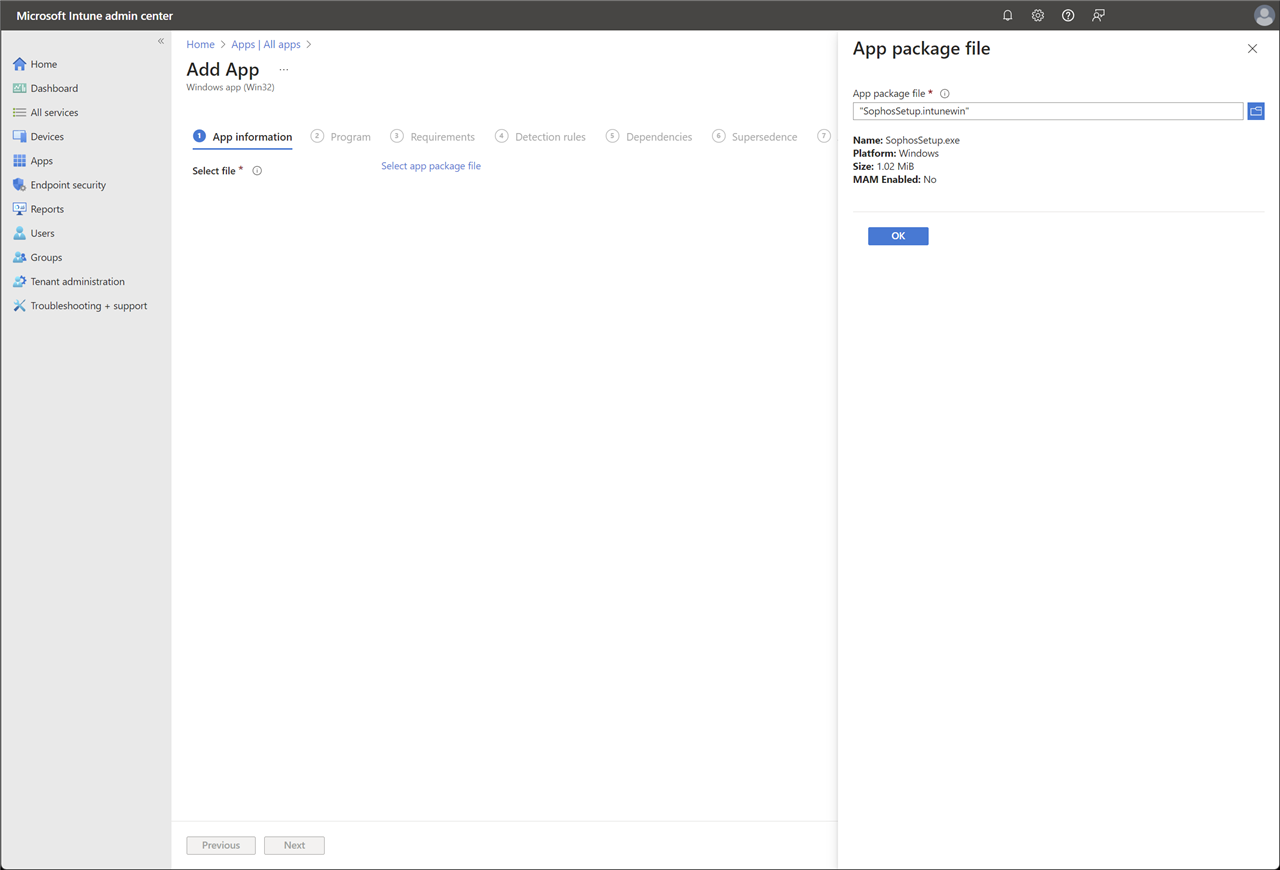
- In the App information click Select app package file.
- Select the SophosSetup.intunewin file from C:\Temp\IntunePackageOutput, then click OK.
- The app information can then be configured as follows:
- Name:
Sophos Central - Publisher:
Sophos Ltd - Information URL: https://soph.so/XPL1ij
- Privacy URL: https://soph.so/oclS8c
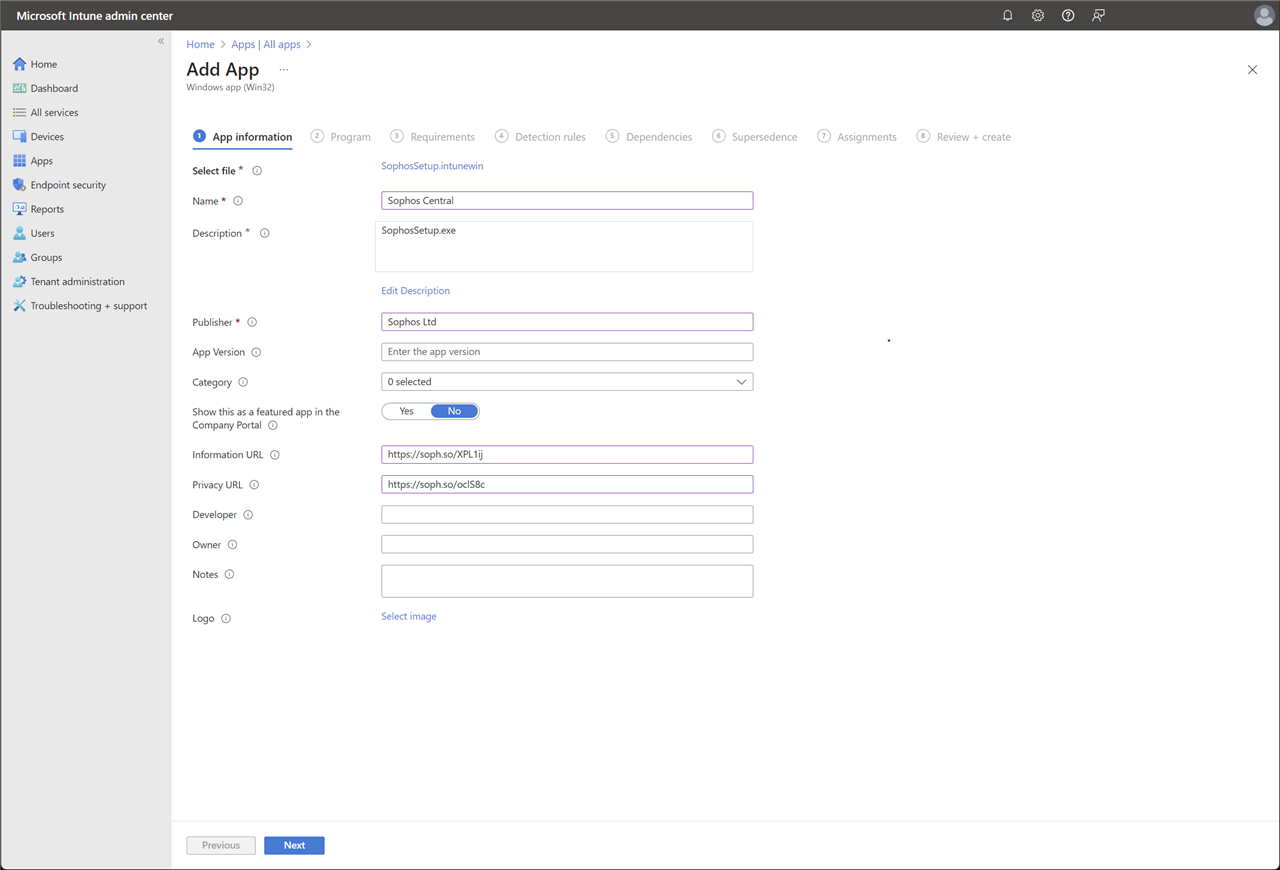
- Name:
- In the Program tab, enter the install and uninstall commands, then click Next.
- Install command:
SophosSetup.exe --quiet - Uninstall command:
%ProgramFiles%\Sophos\Sophos Endpoint Agent\uninstallcli.exeLeave the Return code and Code type values as default.
Note: For more information on the available command-line options, see Sophos Central Admin: Installer command-line options for Windows.
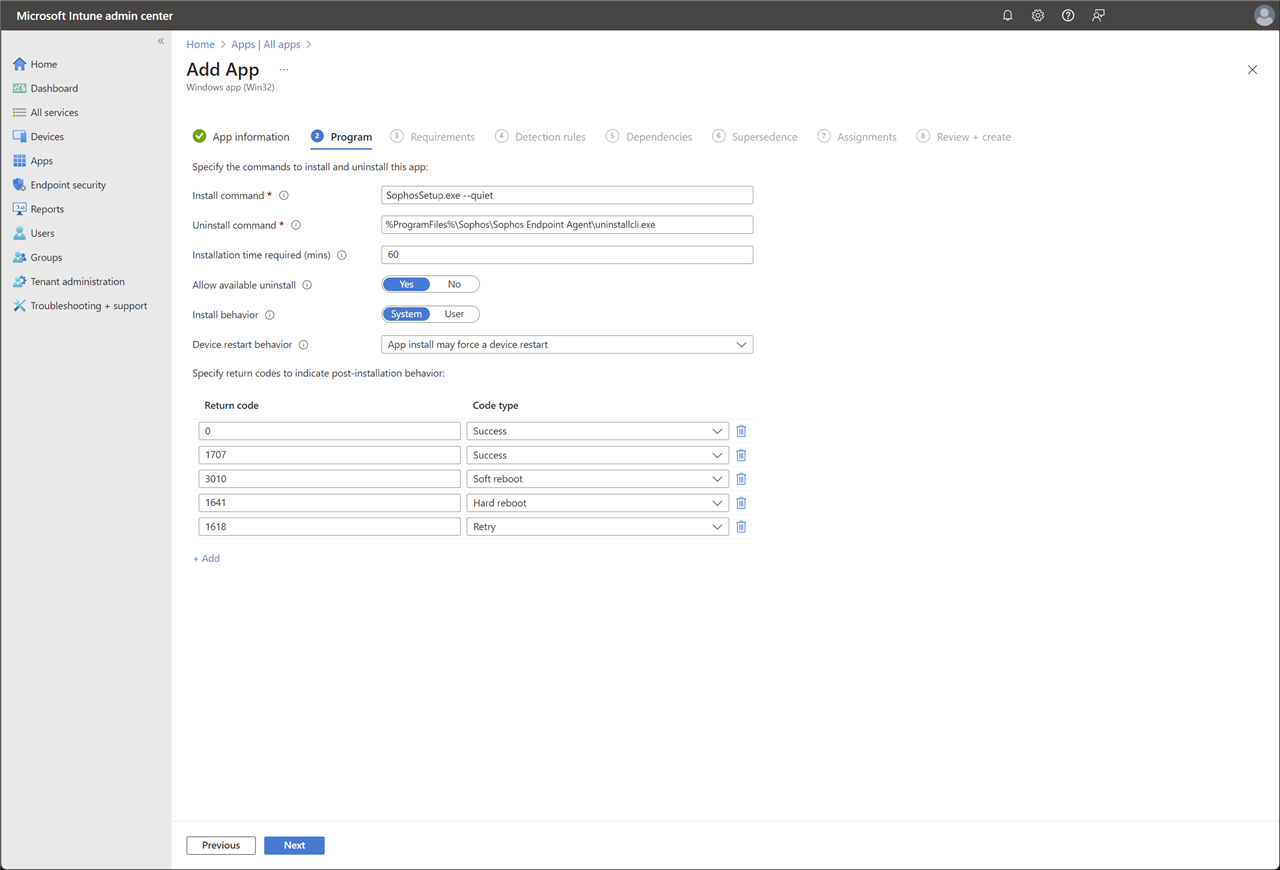
- Install command:
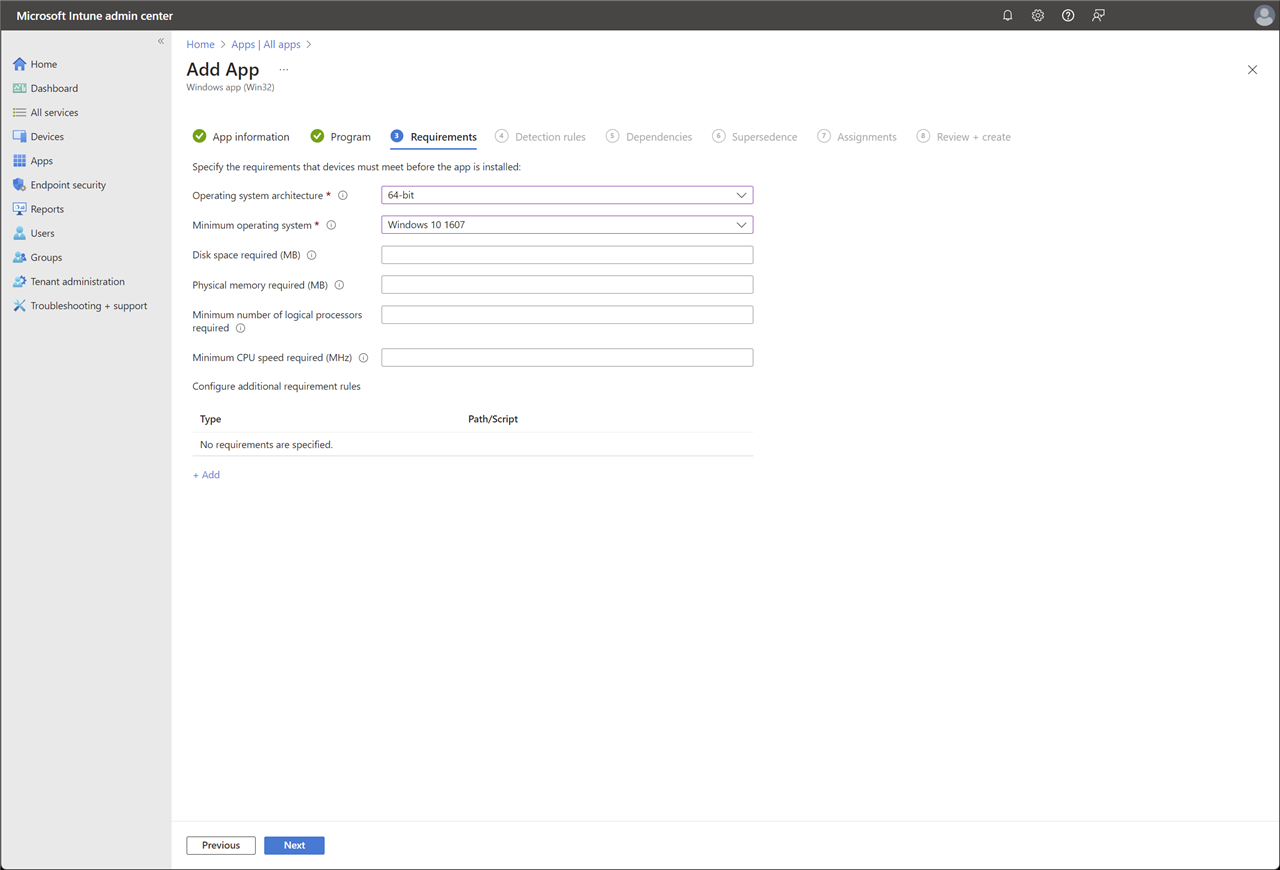
-
In the Requirements tab, select the OS architecture and the Minimum OS you want to deploy, then click Next.
- In the Detections rule tab, select Manually Configure detection rules from the Rules format drop-down menu. Enter the following on the Detection rule:
- Rule type:
File - Path:
%ProgramFiles%\Sophos\Sophos UI - File or folder:
Sophos UI.exe - Detection method:
File or folder exists.Click OK followed by Next.
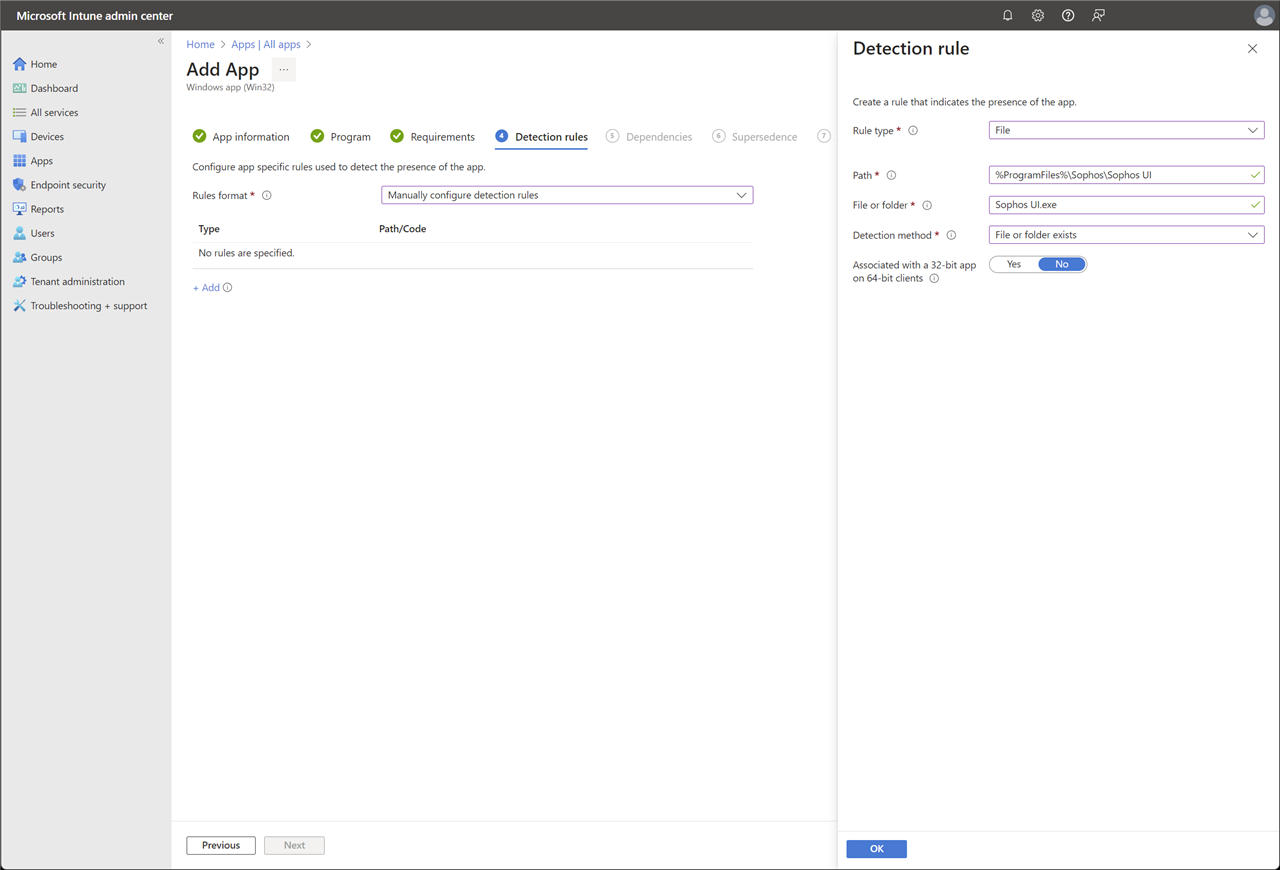
- Rule type:
- Click Next on the Dependencies and Supersedence tabs.
- In the Assignments tab > Required, click Add group, select the group to which you want to assign the app, and then click Next.
Note: The app will be automatically installed on enrolled devices.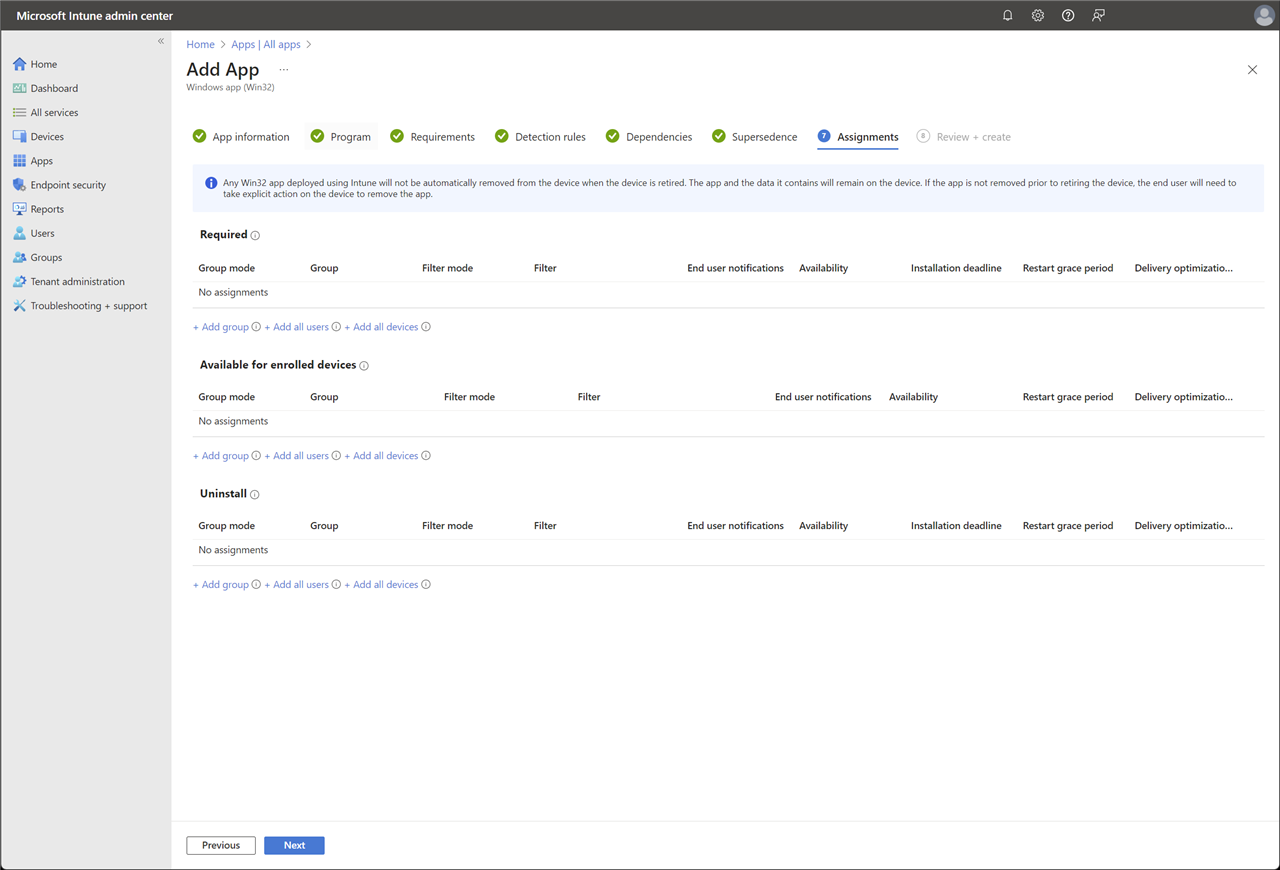
-
In the Review + create tab, check the details of your app and click Create.
The new app will now show in the Apps section of your Microsoft Intune admin center.
Endpoint deployment
Once your devices are configured and enrolled with Windows Autopilot, the Sophos Endpoint Agent will automatically deploy. You may see the following notifications on your devices.
You will also see the Sophos Endpoint Agent icon in the system tray.
Related information
- Win32 app management in Microsoft Intune
- Sophos Central Endpoint and Server: Installation methods
- SophosZap: Frequently Asked Questions
Sign up for the Sophos Support Notification Service to receive proactive SMS alerts for Sophos products and Sophos Central services.
updated Sept 26, 2024 KBT-10114
[edited by: Raymond at 5:05 AM (GMT -7) on 26 Sep 2024]

