As of Android 10, device administrator management (legacy) is no longer possible due to google depreciating the usage of this on the OS. Android Enterprise is Google's new initiative to allow companies to manage Android devices within the workplace.
Within Sophos mobile we currently offer two Android Enterprise management modes:
• Android Enterprise full device management: This allows you to fully control the device using the settings and policies google gives access to. This is commonly used for devices that a company purchased to distribute to their users.
• Android Enterprise Work profile management: This allows you to manage a dedicated workspace that is given on a user’s device. This is commonly used for “Bring Your Own Device” environments, as you can only control the restrictions within the created workspace on the phone. (This doesn't allow the administrator to control the entire phone)
Goals
• Understand how to prepare Android Enterprise work profile enrollment.
• Understand how to successfully enroll a device into Sophos mobile using an Android Enterprise work profile.
Prerequisites
• Android Enterprise has already been set up under the google setup tab. For information on this please see: https://docs.sophos.com/central/Mobile/help/en-us/esg/Sophos-Mobile/tasks/SetupAfWManagedGooglePlayAccount.html
• A user you are prepared to assign the device to. All android enterprise devices must have a user assigned to them during the enrollment stage. For more information on users please see: https://docs.sophos.com/central/Mobile/help/en-us/esg/Sophos-Mobile/concepts/Users.html
Android Enterprise work profile
Preparing enrollment for the device:
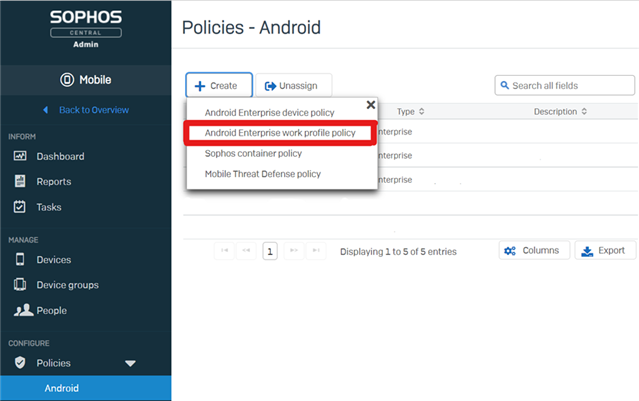
1. Start by heading into the 'Android Policies' section within your mobile dashboard and create a new Android Enterprise work profile policy.
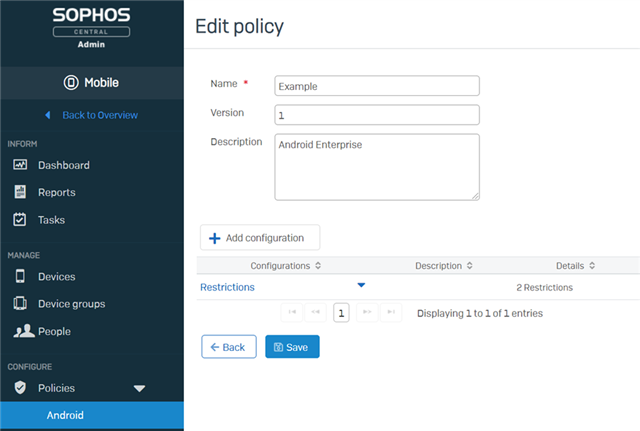
2. Once created, you can edit the configuration for the Policy. For a full list of the configurations please see the following page: https://docs.sophos.com/central/Mobile/help/en-us/esg/Sophos-Mobile/concepts/ConfigurationsAfW.html
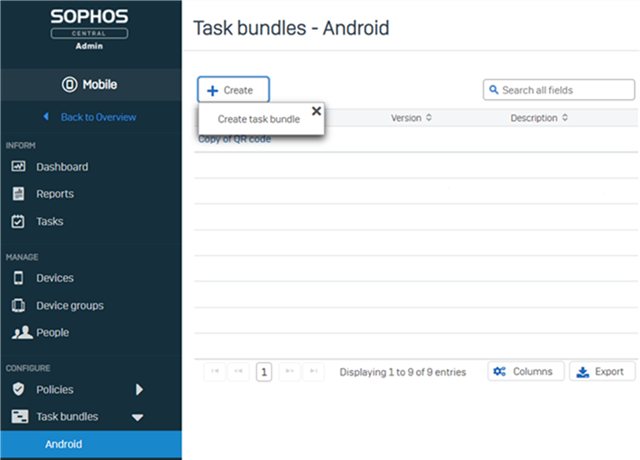
3. After you have finished your configurations, save the Policy then head to the 'Task bundles' section on the left-hand pane and select ‘Android’. Once at the Android task bundles page, click on the 'Create' box and select ‘Create a new task bundle’.
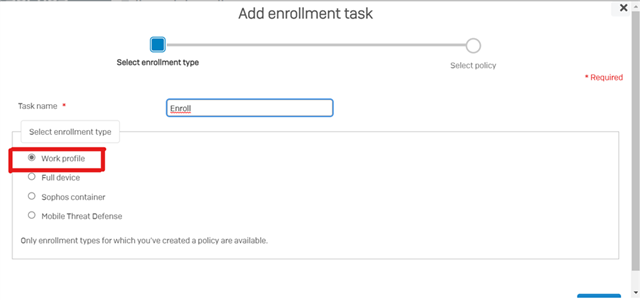
4. Within your newly created task bundle, name the task bundle then click 'Add task' and select "Enroll".
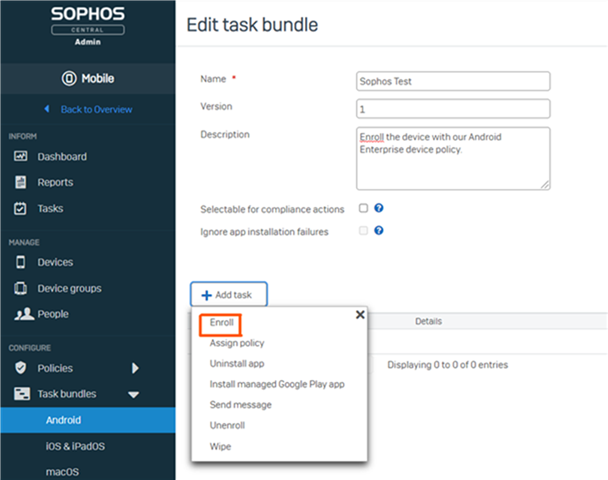
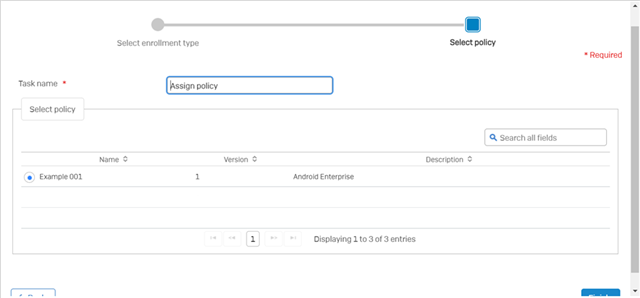
5. From here you will want to select 'Work profile' for the type of enrollment, then select the Policy we created in step 2.
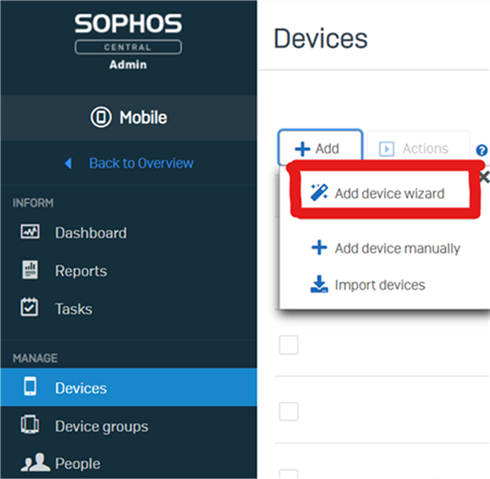
6. Save the task bundle then head into the 'Devices' section on the left-hand pane. From here click 'Add' then 'Add device wizard' which will run through an enrollment wizard.
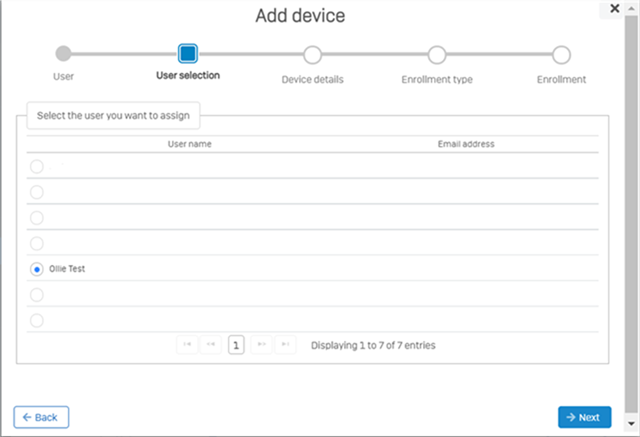
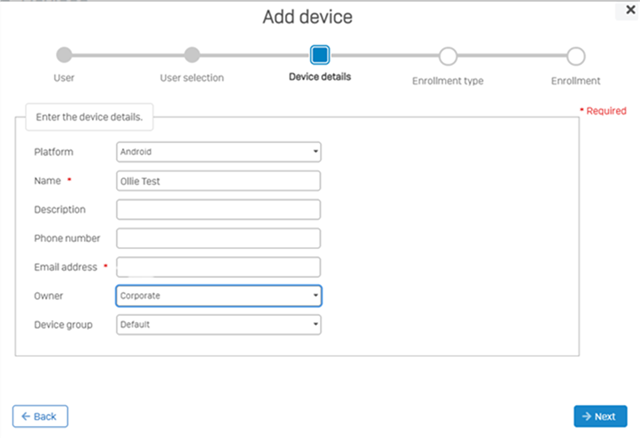
7. Running through the add device wizard, the first section will be to assign a user to the device. For Android enterprise enrollment a user must be assigned to the device.
8. Next you can select the device details such as the name you want to give the device within your mobile dashboard as well as the group you wish for the device to be assigned to. For more information on device groups please see: https://docs.sophos.com/central/Mobile/help/en-us/esg/Sophos-Mobile/concepts/DeviceGroups-1.html?hl=groups
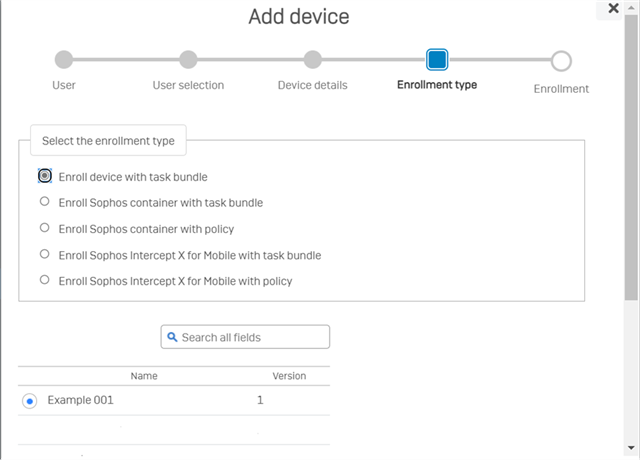
9. Next, we need to select the task bundle for the device that we created in steps 3 - 5 which will enroll the device with an Android Enterprise work profile and apply our Policy.
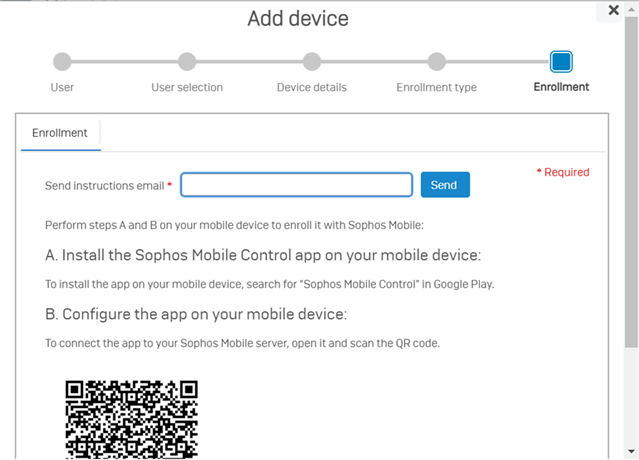
10. Lastly, we are given the QR code that we can scan using our Android device.
Preparing and enrolling the Android device
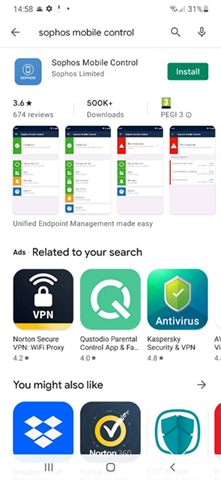
1. For work profile enrollment, the device must already be setup for normal use. Head into the app store and install the “Sophos Mobile control app”.
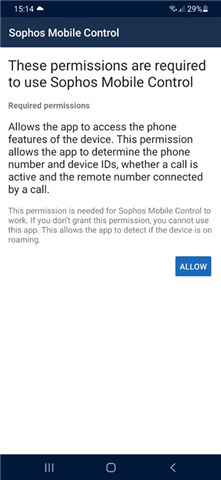
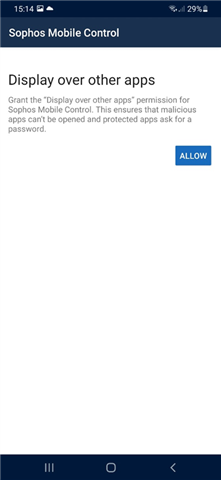
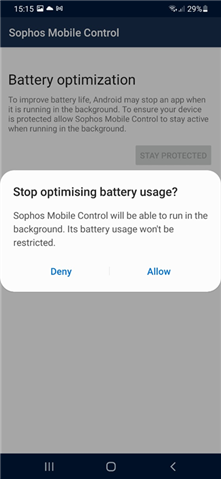
2. Once the app has been installed, open the Sophos Mobile Control app and allow all permissions.


3. Once you have given all the required permissions you will be given the option to “SCAN QR CODE”. Once you have clicked on this, scan the QR code that was generated in step 10.

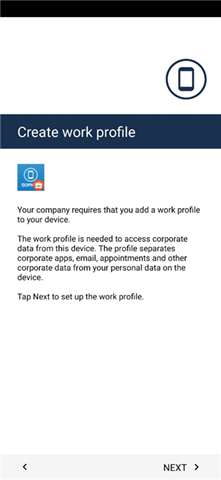
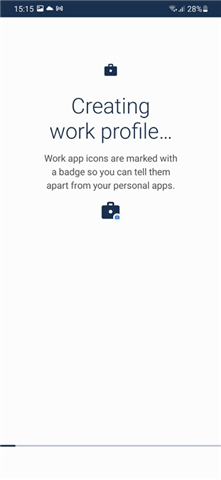
4. Once scanned, the device will inform you that you are enrolling into a work profile, and you will need to give additional permissions to the app.
5. Once all the permissions are given, you will be taken back to the device’s home screen. If you then open the apps section on your home screen you can find the location to switch between your workspace apps and your personal apps.
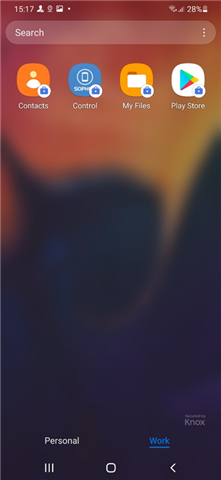
6. You can now uninstall the Sophos Mobile Control app from your personal section as it is now installed under your workspace.
7. After a minute or so the enrollment will complete, and you will be prompted with the message “Device enrollment successful” as shown below.
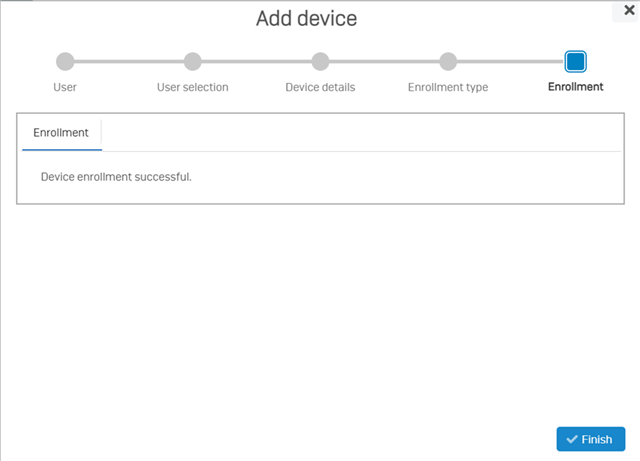
The device should now be enrolled into Sophos mobile.


 Quote
Quote