

Android Enterprise Self Service QR Code Enrollment
Introduction
As of Android 10, device administrator management (legacy) is no longer possible due to Google depreciating the usage of this on the OS. Android Enterprise device management is Google's new initiative to allow companies to manage Android devices within the workplace.
In our Recommended Reads, we have two different management modes covered:
Android Enterprise Full Device management - https://community.sophos.com/sophos-mobile/f/recommended-reads/132167/sophos-mobile---android-enterprise-full-device-management-enrollment
Android Enterprise Work Profile management - https://community.sophos.com/sophos-mobile/f/recommended-reads/132235/sophos-mobile---android-enterprise-work-profile-enrollment
An alternative enrollment method is available for “Android Enterprise Full Device” management where an end-user is able to set up a Self Service Portal account to enroll their mobile device. An External LDAP connection can also be used instead, as a way to associated your users with their respective devices.
Prerequisites
- Android Enterprise has already been set up under the google setup tab. For information on this please see: https://docs.sophos.com/central/Mobile/help/en-us/esg/Sophos-Mobile/tasks/SetupAfWManagedGooglePlayAccount.html
- A user with an email address added is present in Sophos Central.
Goals
- Understand how to prepare Android Enterprise Self Service QR Enrollment for the Full Device management mode.
- Understand how to successfully enroll a device into Sophos Mobile using this method.
Set up Self Service Portal access
From Sophos Central, ensure that all users that you wish to enroll with SMC have an e-mail address applied to their user entry.
Note: If you have enabled "User access" settings, your users may have already received this setup email. An LDAP connection can be used instead of the SSP account, as a means to associate your devices to their respective users.
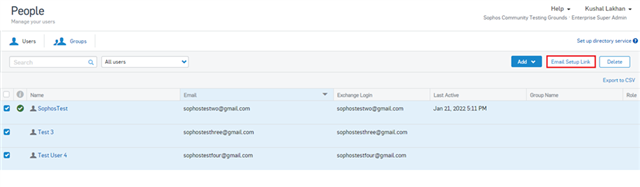
- From the "People" page in Sophos Central, highlight all users you'd like to set up and click the "Email Setup Link" button
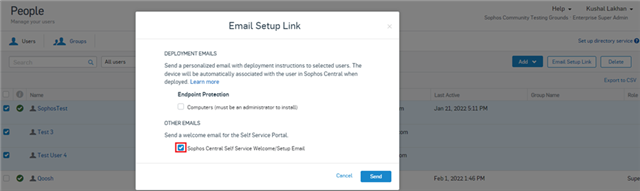
- Check "Sophos Central Self Service Welcome/Setup Email" and click "Send".
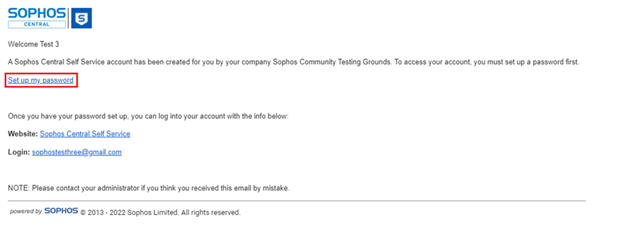
- Click “Set up my password” in the email received.
- Enter your email address and click “Send Verification Code.”

- A new e-mail will be sent to you containing a code.
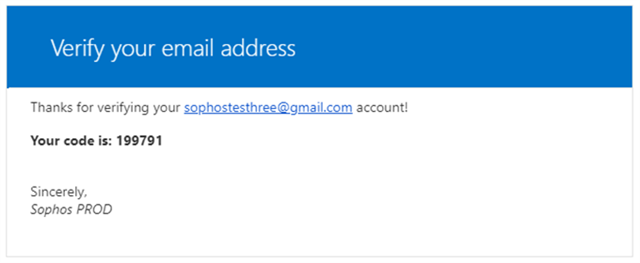
- Enter the code you received and click "Verify Code"
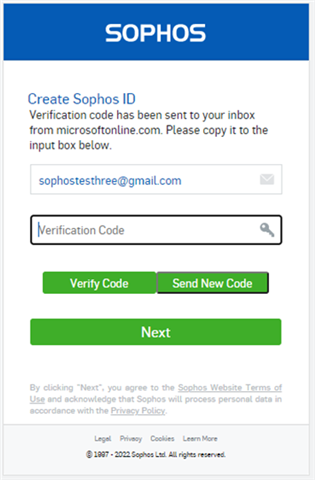
- Enter the desired password to your “Self Service Portal” account.

Create the Android Enterprise Policy and Task bundle
Create the Android Enterprise Full Device policy in the SMC portal, or use an existing one.
- Policies > Android > Create > Android Enterprise device Policy
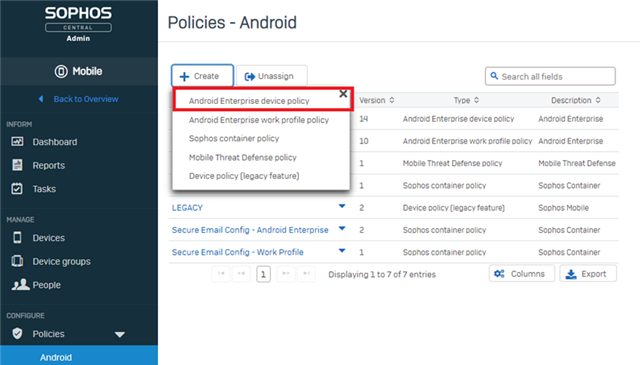
- Define the configuration you wish to apply within the Policy
- Save the Policy
Create a Task Bundle to strictly assign the policy
- Task Bundles > Android > Create > Create task bundle
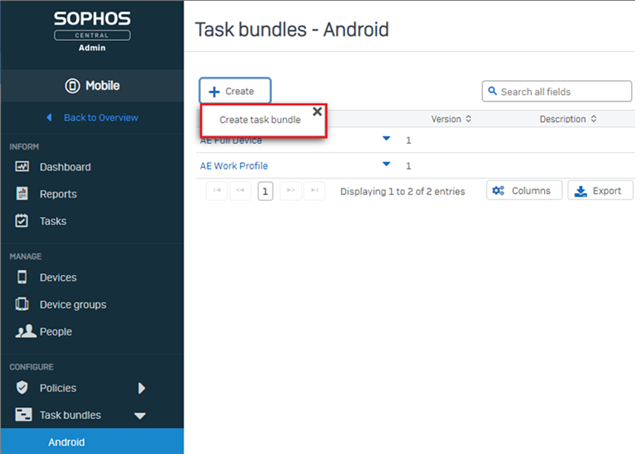
- Select “Add Task”
- Specify “Assign policy” and select the Android Enterprise Device Policy created in the previous step.
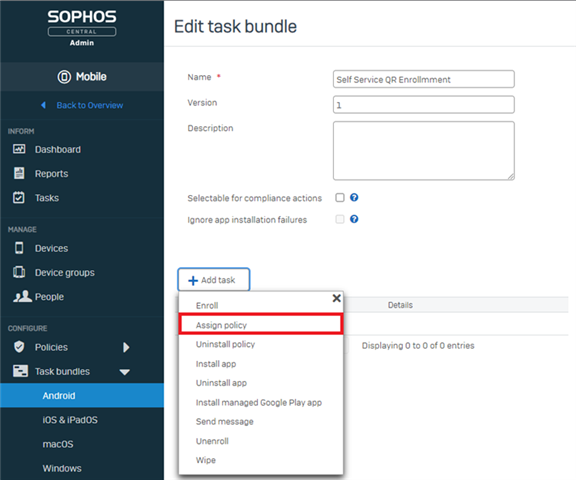
- Save
Create the enrollment QR code
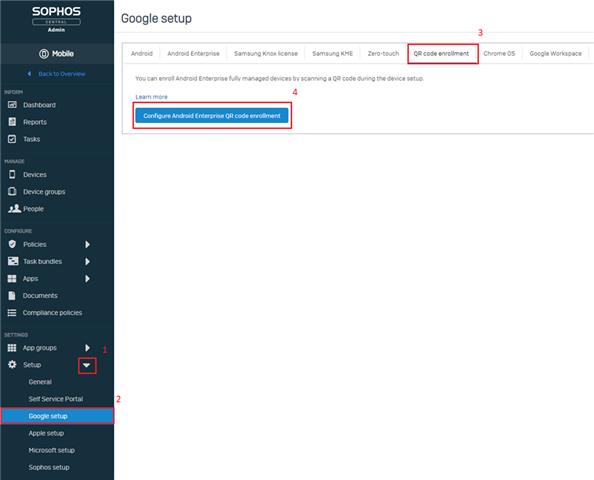
- Go to: Setup > Google Setup > QR code enrollment > Configure Android Enterprise QR code enrollment
- Enable/Disable system applications, specify Wi-Fi settings if needed and click Next.
- Use the drop-down menu next to “Task bundle” to specify the task bundle we created in the previous step to strictly assign the policy.
- Specify a Device Group you’d like to associate these QR enrolled devices to.
- Click Finish
Note: The enrollment QR Code will be displayed. You may want to print out this code so that you can post it in the office or send this QR Code to all users via e-mail.
Enroll the device
- Start by performing a factory reset on the device you wish to enroll.
- On the startup/welcome screen tap on the screen 6 times.
- The screen will change to state "QR code setup," press Next.
- Connect to a wireless network.
- A QR scanner will begin downloading. Once completed, the camera will open.

- Scan the QR code you created.
Note: If your Android Enterprise policy requires the device to be encrypted, the device will prompt to begin encrypting.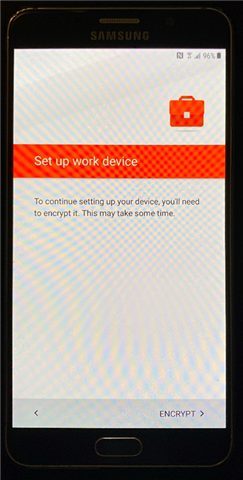
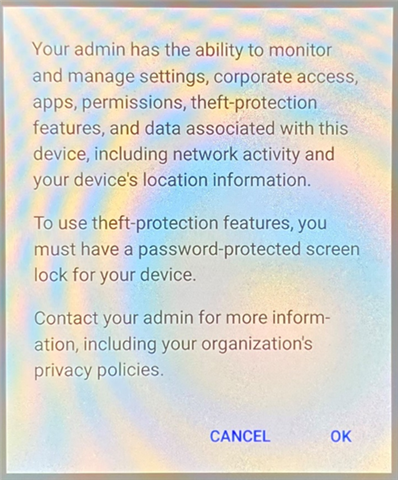
- Press “OK” on the following page advising “Your admin has the ability to monitor…”
- The following will now occur automatically:
- The mobile device will download the Sophos Mobile Control application
- Updates to the Google Play store will be installed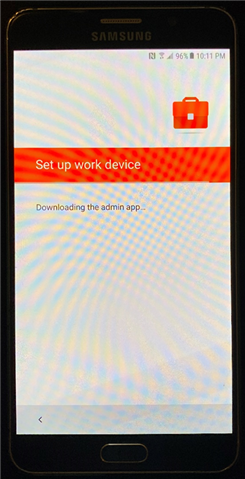

- An auto-enrollment screen will be displayed after which you will need to authenticate with your SSP account.
- As a final step after the device returns to the home screen, open the Sophos Mobile Control app to approve battery optimization and you’re all set.
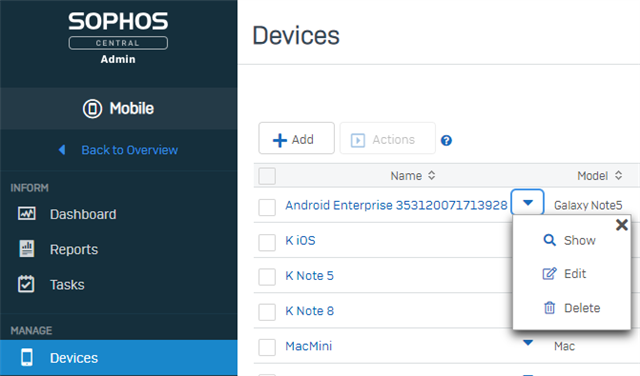
In Sophos Mobile, the device will be shown as "Android Enterprise #####," which is not very descriptive. I suggest renaming the device to something more easily identifiable using the "Edit" button as shown below.
Thanks for reading. If you have any questions, feel free to post them using the reply button below.
Edited spacing
[edited by: Qoosh at 9:58 PM (GMT -8) on 9 Feb 2022]