

Download appropriate binary (32-bit or 64-bit) from the free tools page:
Start screen when you start the binary:

- Clicking the “Settings” button will show Settings and other tabs
Settings tab:
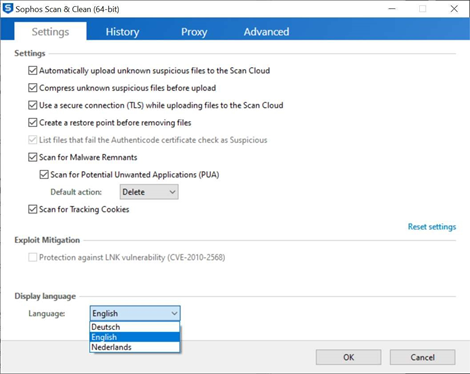
- Automatically upload unknown suspicious files to the Scan Cloud
- Uploads files that are not known in the Scan Cloud for classification. Only PE files are uploaded so no PDF, TXT files etc.
- Compress unknown suspicious files before upload
- If a file is large it will compress it so the upload won't take that long.
- Use a secure connection (TLS) while uploading files to the Scan Cloud
- Uses a secure TLS connection to communicate with the Scan Cloud. Disabling the setting results in file upload through HTTP.
- Create a restore point before removing files
- Creates a Windows Restore Point before removal of (malware) files. If a removal fails, Windows can restore to this point.
- List files that fail the Authenticode certificate check as Suspicious
- This feature is enabled by default from Windows 7 and up and can't be unchecked. In Windows XP this can be toggled.
- Scan for Malware Remnants
- Sometimes there are leftovers from malware like images or text files, checking this feature will remove leftovers if they are found.
- Scan for Potentially Unwanted Applications (PUA)
- Scans the system for Potentially Unwanted Applications, you can choose the default action like deleting the file or ignore the file.
- Scan for Tracking Cookies
- Cookie detection for web browsers.
- Reset settings
- Restore the default settings.
- Display Language
- Dutch, English, French, German, Italian, Japanese, and Spanish are currently supported.
History tab:
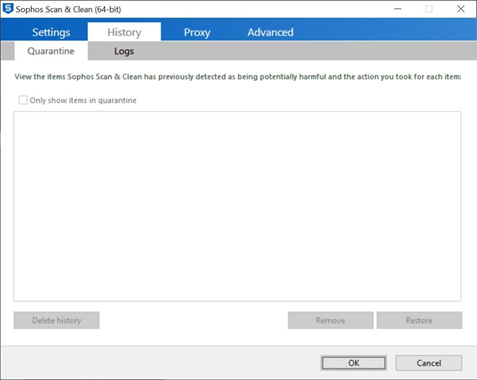
Two sub-tabs are shown:
- Quarantine:
- Displays all items that are deleted and are placed in Quarantine. Items can be Restored from this tab or completely removed.
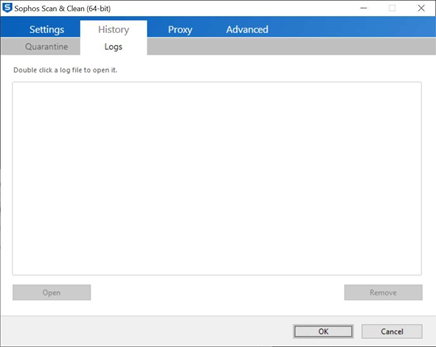
- Logs:
- If a scan and/or removal took place a log is written, this is shown in the Logs tab.
Proxy tab:
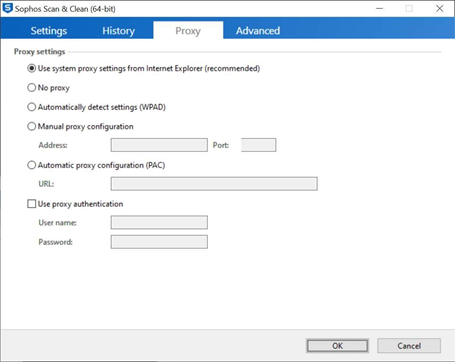
- All kinds of proxy settings can be entered here. The default is most of the time correct. If specific settings are necessary they can be configured here.
Advanced tab:
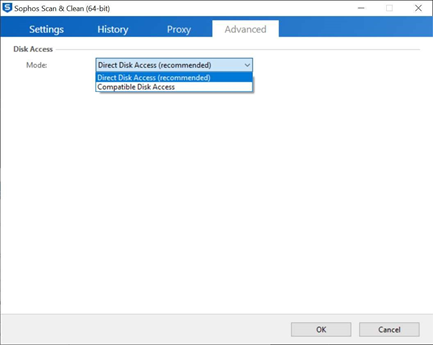
This tab shows the Disk Access mode.
- Direct Disk Access is recommended
- This scans the disk without interference from other antivirus software like Windows Defender.
- Compatible Disk Access
- Compatible Disk Access is needed if Direct Disk Access does not work on a specific PC, for example if a specific hard disk driver is used.
Clicking the "OK" or "Cancel" button will exit the Settings screen and will return to the main screen.
Clicking the "Next" button after starting the application:

- Started for the first time the EULA will be shown after you click the "Next" button on the Start screen. If you check the checkbox you can click continue to the next screen.
Registration screen:
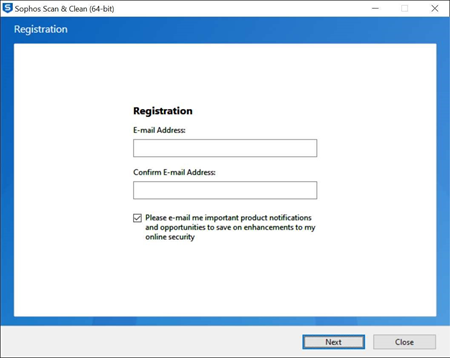
- The registration screen will be shown, if you don't enter an email address the registration screen will be displayed every time you start a scan. If you enter your email address, it will only be shown once.
Scanning / Classifying screen:
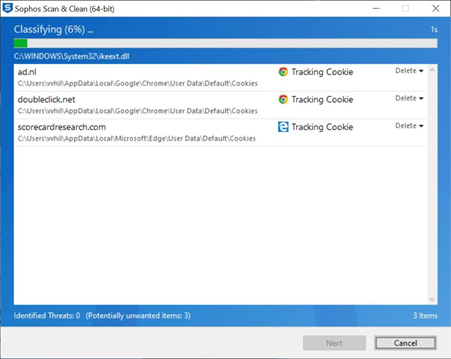
- Here the scan progress and detections are shown. If malware is found, the blue background will turn red (in the next Scan & Clean release). Once the scan is completed, the "Next" button will be clickable and the removal process can take place
Results screen:
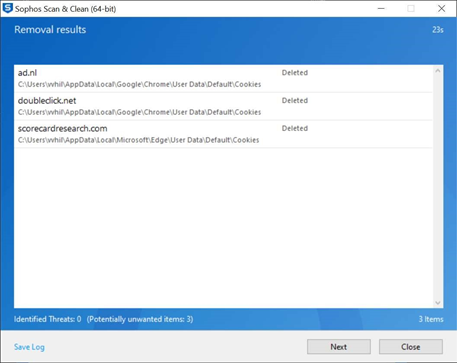
- Here the removal results are displayed and if further action is needed, for example a restart. There’s also an option to manually "Save Log". This is sometimes handy for support purposes.
Finish screen:
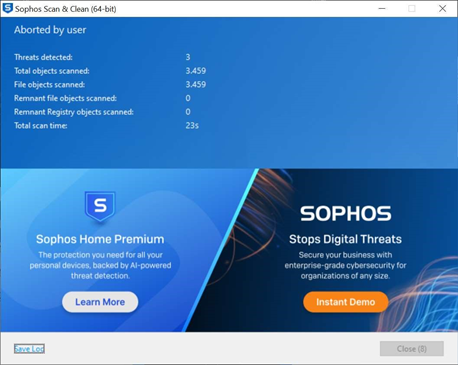
- Here all the results are displayed, what kinds of threats are found, scan duration etc. Also the banner is shown which is clickable and will go to configured landing pages. Pressing the "Close" button will quit the application.
Updated supported languages
[edited by: Qoosh at 4:00 PM (GMT -7) on 20 Oct 2021]
 Quote
Quote