3CX DLL-Sideloading attack: What you need to know
Have it set up in VirtualBox using host-only as use describe, when using another VM I can't get to the GUI. Can't figure out what I'm doing wrong here. The address is http://172.16.16.16, right?
==
When in doubt, Script it out.
Definitely, for example right now the VM "client" guest is configured with IP of 172.16.16.32, subnet mask 255.255.255.0, gateway and DNS pointing to 172.16.16.16. Just checked the console of the SFOS VM under Network Administration and it does show the current IP address as the default (16). Can ping the SFOS, but the browser just returns HTTP 404. Do you have to use a custom port, as with UTM, or something else I'm missing? I feel like I'm missing something obvious here.
Yeah, try: Https://172.16.16.16:4444 JUST like the UTM [:)]
In this case, screen shots of your SFOS vbox Network configuration and that of your connecting CLIENT would greatly help.
If I understand you correctly, see attached.
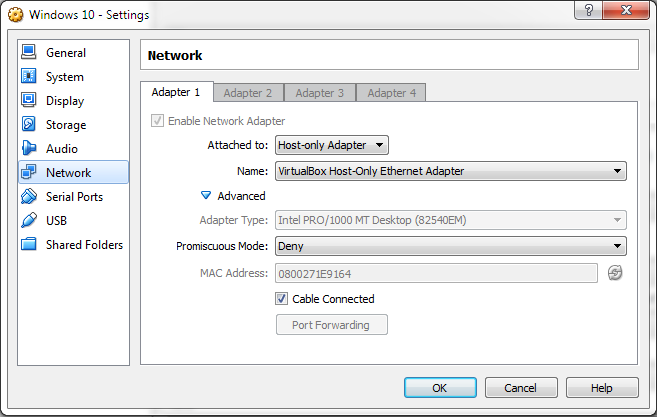
I've downloaded and imported the appliance into Virtualbox, I checked its network config, the first adapter (LAN) is setup as internal network and the second one (WAN) as NAT. Now if I understand correctly, internal network with VB means its only accessible from another VM attached to the same network so I am struggling to access the interface from my host. Any hints?
The easiest way, and this is pending host system resources, is to simply build another VM as a client machine. This new clients machine will have one NiC and attached to the Host Only Adapter. You will need to change the primary NiC on the SFOS Beta to be Host Only rather than Internal Network; well, this is how I do it. I isolate my clients VMs, forcing them to another guest, in this case being SFOS, on the same Host Only network.
Chris McCormack said: First, setup a Host Only Network via Virtualbox > Preferences > Network - IPv4 Address 172.16.16.1 - Netmask 255.255.255.0 - DHCP Server Address 172.16.16.0 - Netmask: 255.255.255.0 - Lower Bound and Upper Bound 172.16.16.2 to 172.16.16.15 Then in the VM settings for network... Adapter 1: set to Host-Only Adapter and select the Host Only Network you created above with default adapter type of PCnet-FAST III - This will create a virtual LAN network inside your host on a 172 subnet on the LAN side of the Copernicus Firewall that will enable your host and any other VMs you desire to access the LAN side, including the management console at 172.16.16.16. Adapter 2: set to Bridged Adapter and select the interface on your host that has an active network connection (such as your laptop WiFi), again the default adapter type of PCnet-FAST III is fine. - This will bridge the WAN side of the Firewall to your real network and will get an IP from your real DHCP service (or you can assign a fixed one later). After you start the VM, give it some time to startup (a few minutes) and connect to the Copernicus Firewall management console on 172.16.16.16 in your browser.
First, setup a Host Only Network via Virtualbox > Preferences > Network - IPv4 Address 172.16.16.1 - Netmask 255.255.255.0 - DHCP Server Address 172.16.16.0 - Netmask: 255.255.255.0 - Lower Bound and Upper Bound 172.16.16.2 to 172.16.16.15 Then in the VM settings for network... Adapter 1: set to Host-Only Adapter and select the Host Only Network you created above with default adapter type of PCnet-FAST III - This will create a virtual LAN network inside your host on a 172 subnet on the LAN side of the Copernicus Firewall that will enable your host and any other VMs you desire to access the LAN side, including the management console at 172.16.16.16. Adapter 2: set to Bridged Adapter and select the interface on your host that has an active network connection (such as your laptop WiFi), again the default adapter type of PCnet-FAST III is fine. - This will bridge the WAN side of the Firewall to your real network and will get an IP from your real DHCP service (or you can assign a fixed one later). After you start the VM, give it some time to startup (a few minutes) and connect to the Copernicus Firewall management console on 172.16.16.16 in your browser.
Following this step by steps solved the issue. It is great.