Disclaimer: This information is provided as-is for the benefit of the Community. Please contact Sophos Professional Services if you require assistance with your specific environment.
Table of Contents
Overview
This recommended read describes how to make HTTPS Scanning CA (certificate) available via the Captive Portal via base64 encoding and 'data' URI.
Configuration Steps
Step1. Download a copy of your SSL CA file from the Sophos Firewall ( Note: If you're using the built-in CA, it’ll save as file 'SecurityAppliance_SSL_CA.pem')
Step2. Encode the whole file using base64 and output it as a single line.
On Windows, you can use this powershell command:
[System.Convert]::ToBase64String([System.Text.Encoding]::UTF8.GetBytes( (Get-Content -Raw SecurityAppliance_SSL_CA.pem) ))
On a Mac or a Linux system, you can do this by running:
base64 SecurityAppliance_SSL_CA.pem | tr -d '\n'
In both examples, replace 'SecurityAppliance_SSL_CA.pem' with the path and filename of the your certificate as necessary.
Step3. Go to Authentication > web authentication > Captive portal appearance. In the Login Page Footer HTML text box, paste the following:
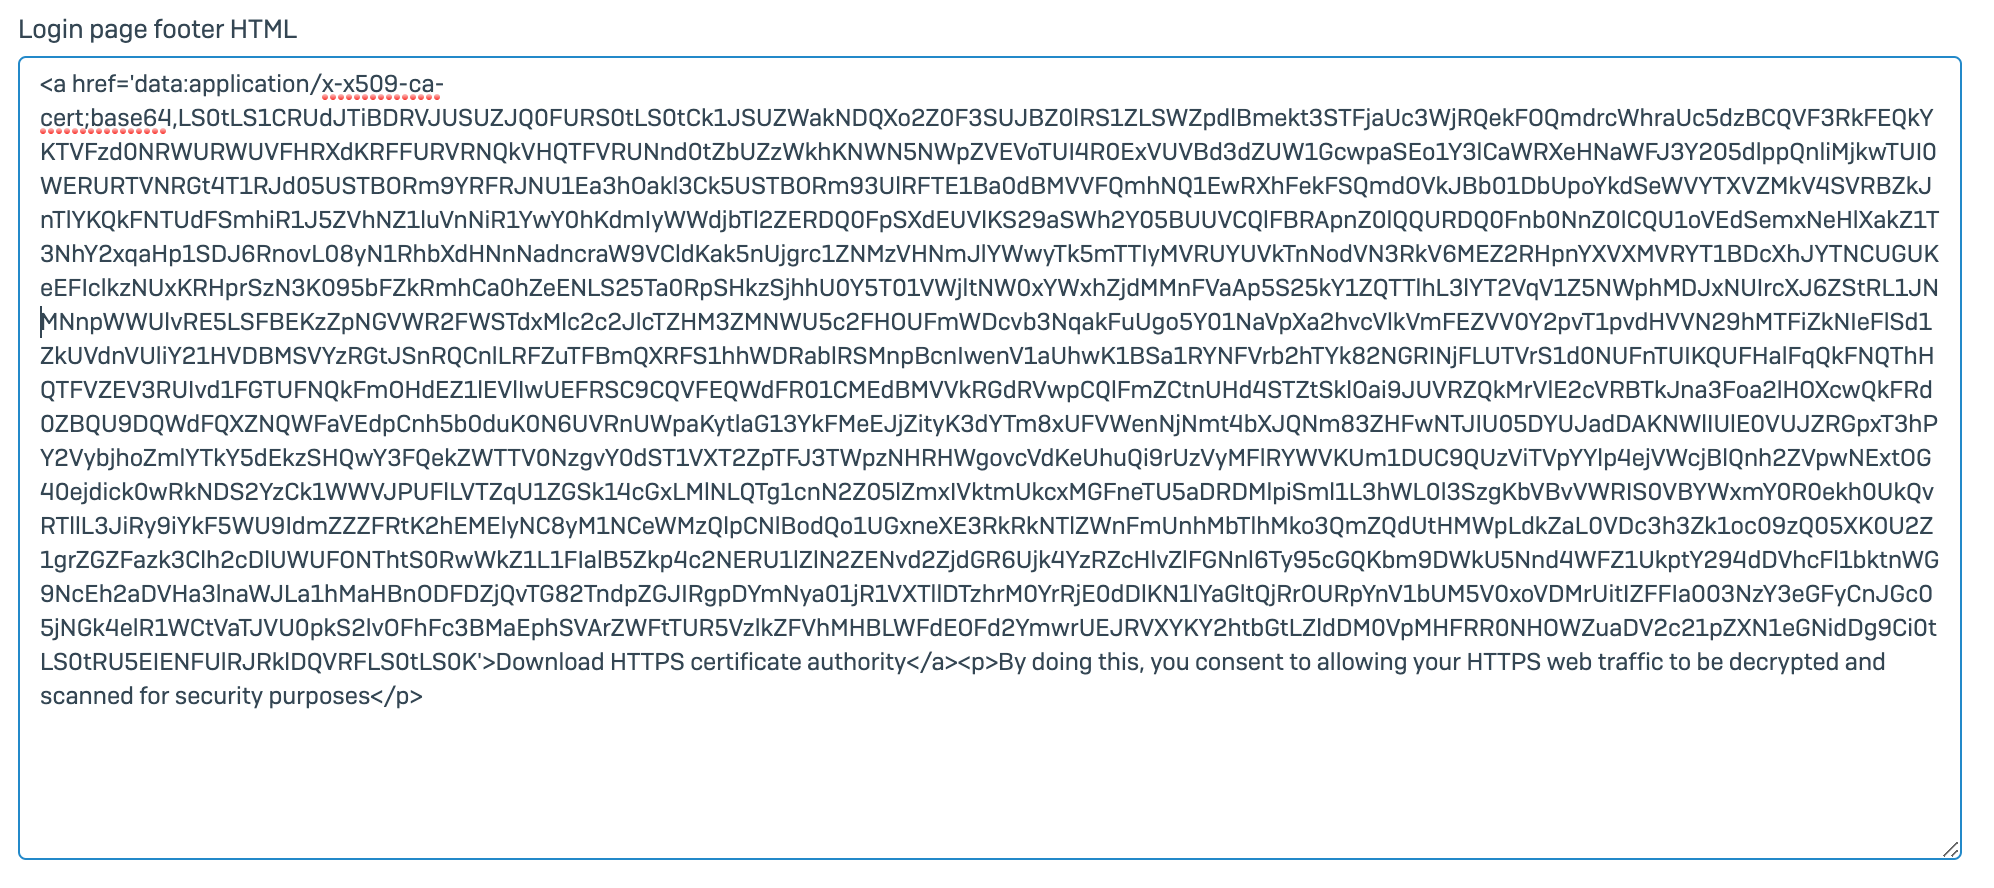
<a href='data:application/x-x509-ca-cert;base64,
Next, copy and paste the base64 block - output of the command in step 2.
Finally, append the following text at the end of the base64 block:
'>Download HTTPS certificate authority</a><p>By doing this, you consent to allow your HTTPS web traffic to be decrypted and scanned for security purposes</p>
You should end up with something that looks like this:
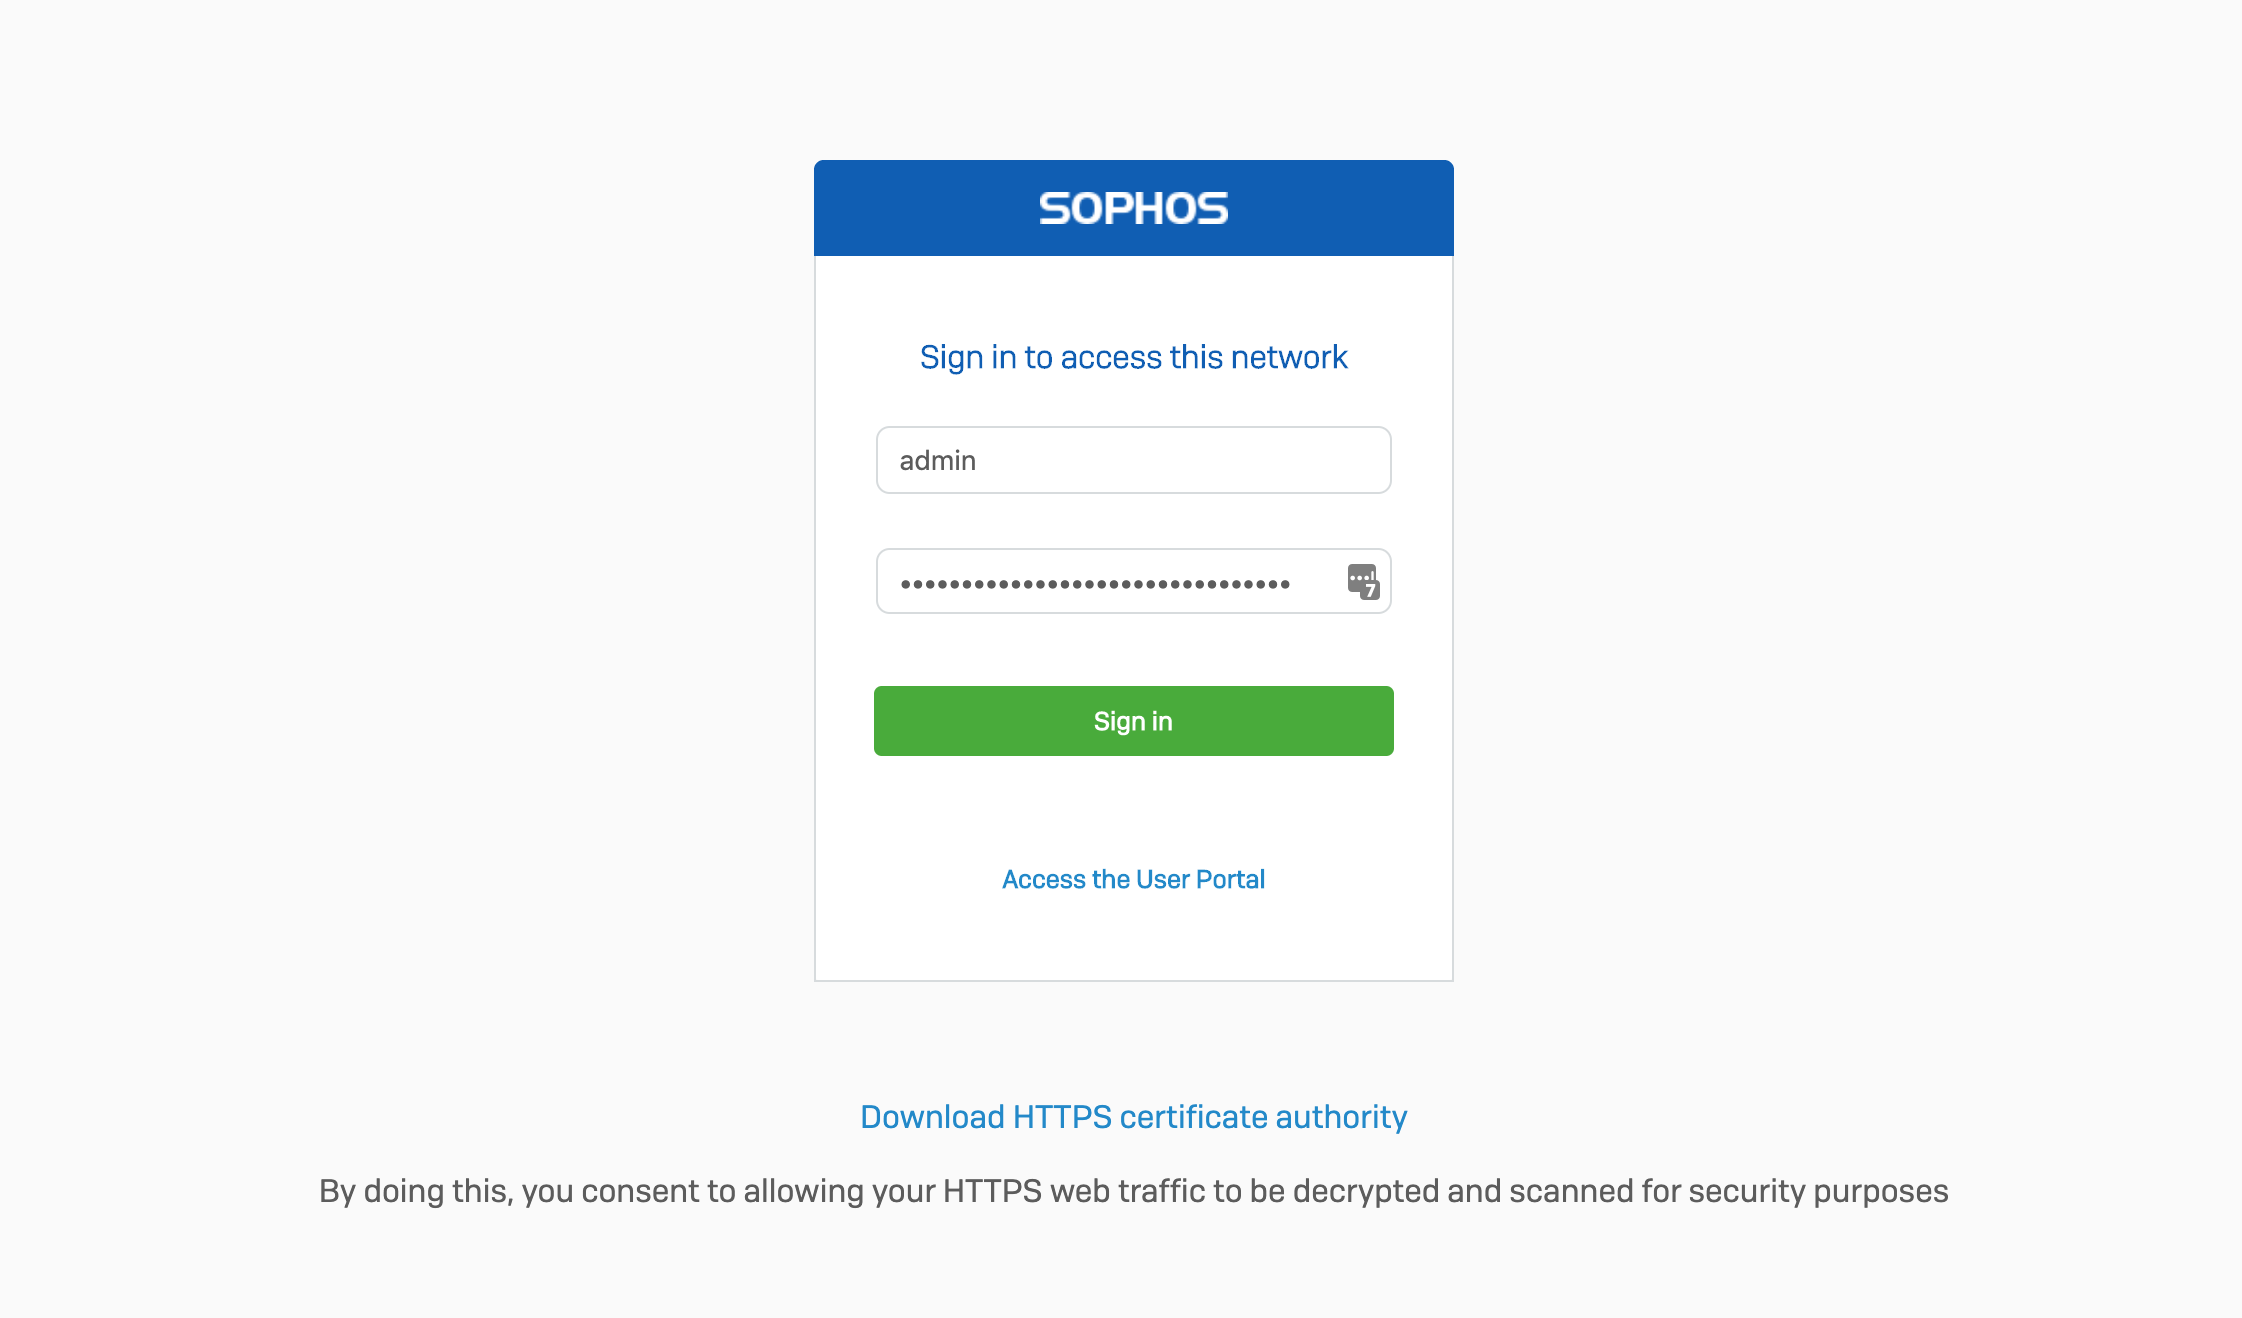
 Step4. Click 'Preview' to see what it looks like, and check that the file downloads correctly when you click the link.

Step5. Click Apply to save
Corrected spacing for code
[edited by: Erick Jan at 11:52 PM (GMT -7) on 30 Oct 2024]

